Volar un dron puede ser una actividad divertida y desafiante. ¿Acabas de comprar tu primer dron y quieres acumular tus primeras horas de vuelo? Entonces lee nuestros diez consejos para pilotos novatos de drones para que tus primeros vuelos sean un poco más fáciles.
Consejos antes de volar un dron
¿A qué debes prestar especial atención antes de empezar a volar un dron?
1. Comprueba las condiciones meteorológicas.
Comprueba las condiciones meteorológicas antes de volar tu dron. La mayoría de los drones no pueden volar bajo la lluvia y los vientos fuertes también pueden causar problemas. La aplicación UAV Forecast está especialmente diseñada para pilotos. A través de esta aplicación gratuita, puedes ver de un solo vistazo factores meteorológicos clave como: velocidad del viento, dirección del viento, previsión meteorológica y el número de satélites a los que se puede conectar el dron.
La aplicación ofrece información general sobre el tiempo: no es bueno para volar o es bueno para volar.
¿No sabes qué licencia necesitas?
2. Calibre la brújula de su dron y compruebe todas las piezas.
Antes de volar tu dron, es importante revisar todas sus piezas y calibrar su brújula, por ejemplo. Comprueba que no haya daños en las hélices ni en el exterior del dron. Comprueba que las baterías estén suficientemente cargadas y retira la cubierta del cardán (!) de la cámara.
Calibrar la brújula del dron:
Siga los pasos indicados en el controlador del dron.
3. Vuele solo en espacio aéreo abierto.
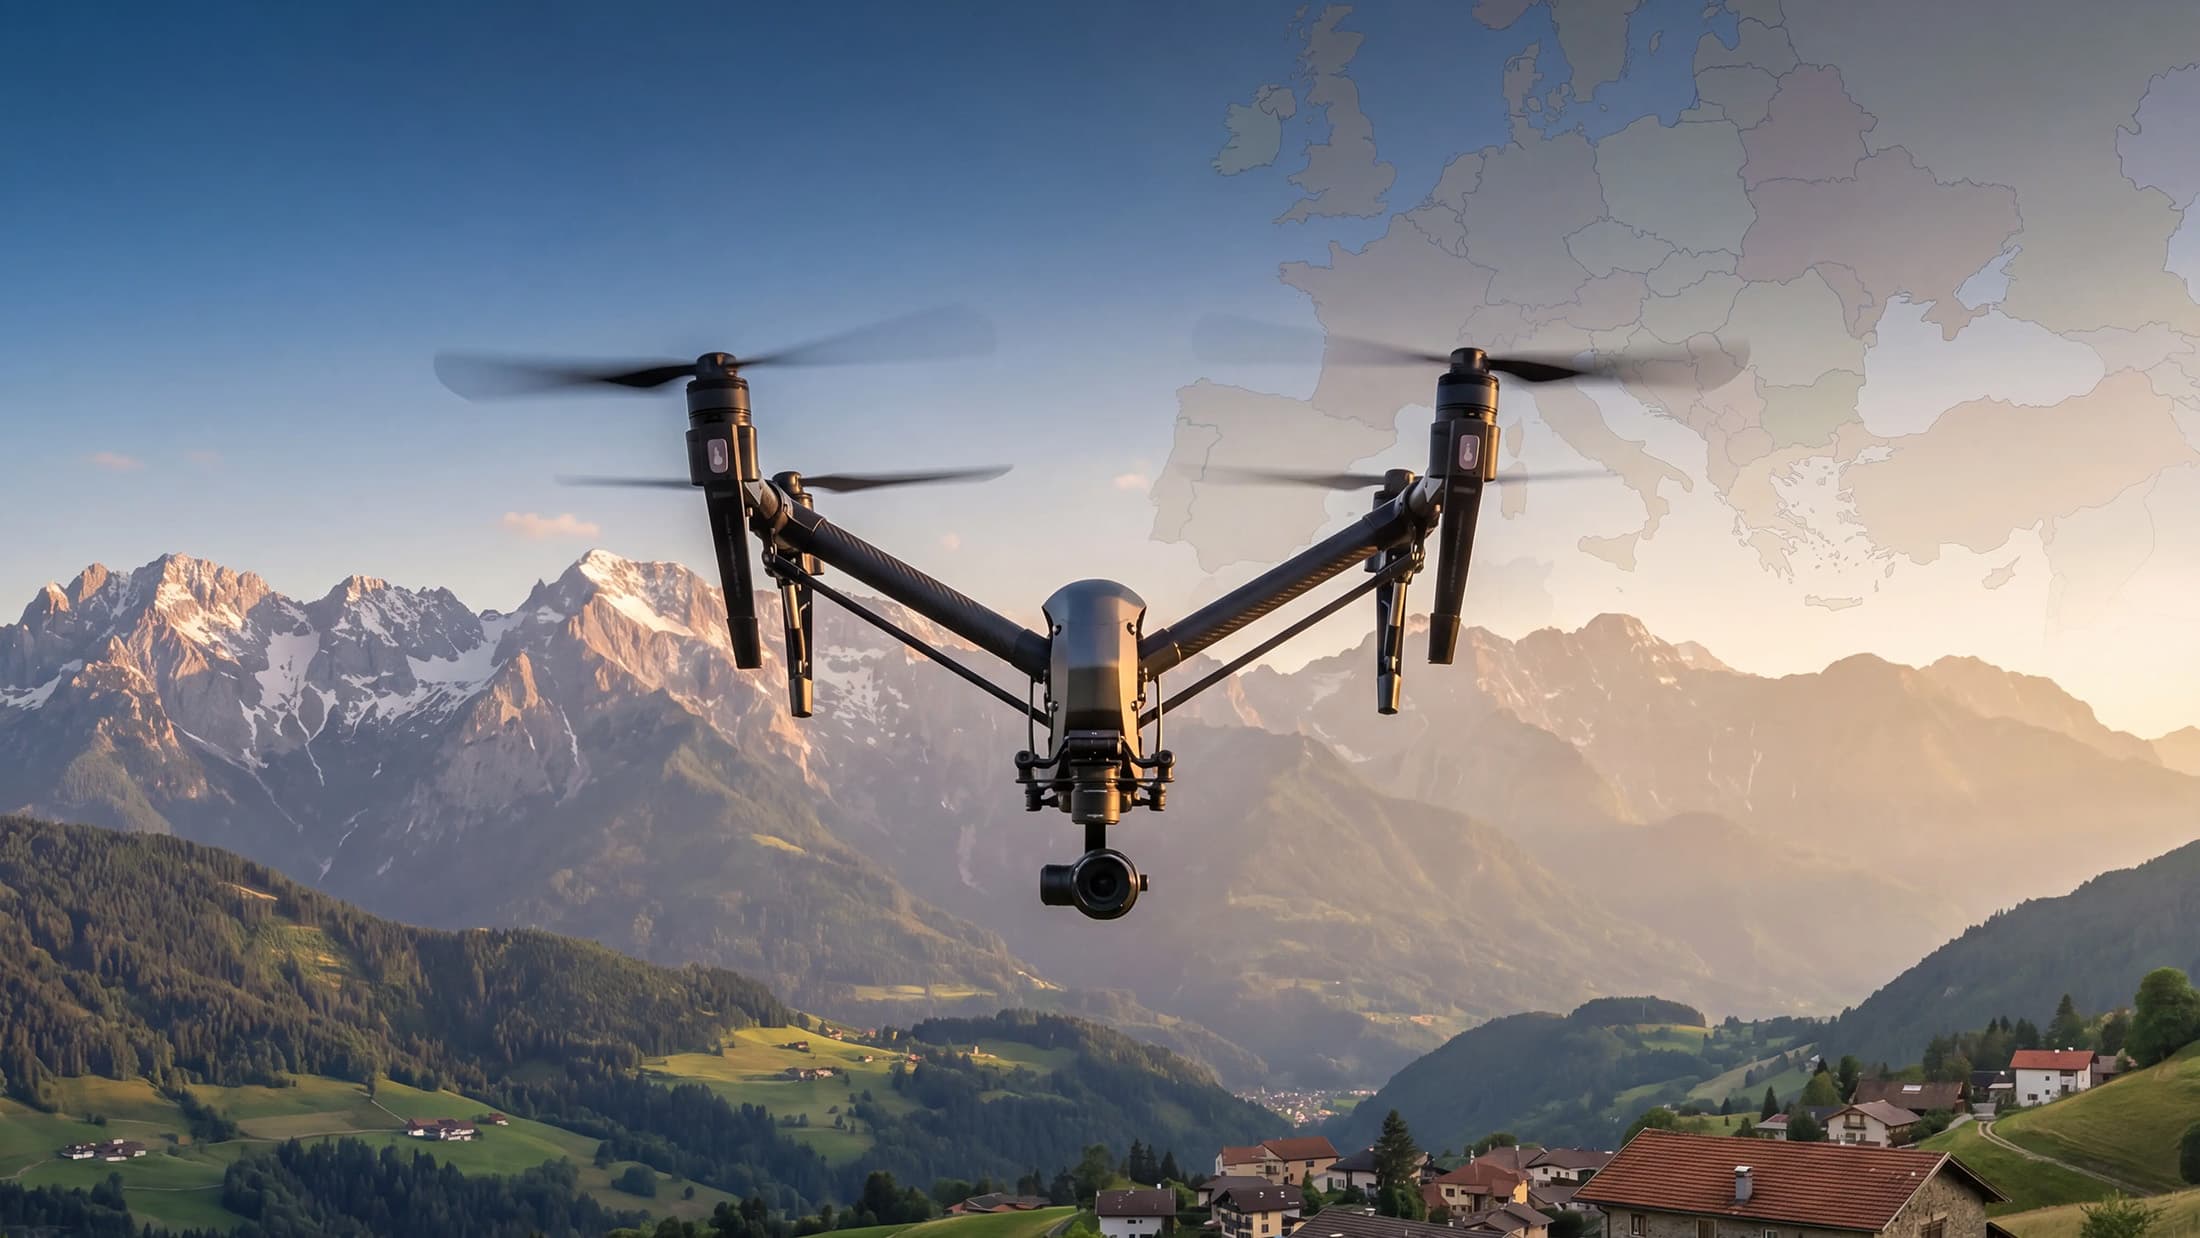
Existen diferentes tipos de zonas de vuelo. Entre ellas se incluyen las zonas de exclusión aérea (temporales), las zonas Natura 2000 y las zonas de vuelo a baja altura. Los lugares en los que se permite volar con drones dependen del espacio aéreo y de las restricciones vigentes. El mapa de drones de cada país de la UE muestra todas las restricciones posibles para cada ubicación.
Consejos durante el vuelo con drones
Qué hay que tener en cuenta al volar un dron.
4. Vuele siempre con visión directa.
La legislación europea establece que los pilotos de drones deben volar siempre el dron a la vista directa. Esto significa que siempre debe poder ver el dron cuando lo esté volando. De esta manera, puede observar el entorno en el que vuela y evitar accidentes con obstáculos, personas o vehículos.

5. Vigila los parámetros del dron.
Algunos parámetros importantes, que se pueden encontrar en el controlador del dron:
- Modo avión (el GPS es el valor predeterminado)
- Señales de satélite
- Conexión al controlador
- Tasa de acceso
- Altura del dron
- Distancia desde el dron
El dron busca redes satelitales, como GPS, a las que conectarse. Asegúrate de que el dron tenga al menos entre 6 y 8 señales satelitales para volar. Si la señal GPS se pierde o se deteriora, intenta aterrizar el dron de forma segura lo antes posible. La barra, en la parte superior de la pantalla del controlador, indica si el dron tiene suficientes señales GPS para volar.
El porcentaje de batería del dron se muestra en porcentaje y voltios. Cuando llega al 30 %, recibirá una notificación indicando que la batería del dron está empezando a agotarse. Recomendamos aterrizar el dron cuando el porcentaje de batería sea del 20 % y no volar innecesariamente hasta que quede un porcentaje mínimo. En ese caso, el dron aterrizará automáticamente.
La altura del dron también se muestra en el controlador. La altitud máxima para los drones de vuelo libre en Europa es de 120 metros.
Con la señal de conexión, se muestra la intensidad de la conexión de radio entre el dron y el controlador. Si la señal disminuye, acerque el dron al controlador para que la señal no se pierda por completo. Si la señal se pierde por completo, el dron suele volar automáticamente al punto de despegue almacenado (Return to Home).
6. Vuela en un entorno sin obstáculos.
Realice sus primeros vuelos con el dron en un entorno sin demasiados obstáculos. Un prado grande es ideal para ello. Aunque la mayoría de los drones actuales cuentan con sensores de obstáculos, no se puede confiar plenamente en ellos. Es posible que los sensores de obstáculos no detecten obstáculos pequeños, como ramas de árboles sin hojas. Por lo tanto, realice sus primeras horas de vuelo en un entorno seguro para familiarizarse con los controles.

7. En caso de duda: utilice RTH.
Si te encuentras en una situación difícil con tu dron, no te asustes. Hay dos formas de intervenir.
Mantén el dron en vuelo estacionario. Para ello, basta con soltar ambos mandos durante un momento. El dron se detendrá y el dispositivo, en modo GPS, permanecerá suspendido en el aire en una posición fija. A continuación, podrás pilotar tranquilamente el dron hasta un lugar seguro.
Utiliza el botón RTH. Al pulsar el botón RTH, el dron volará de forma autónoma hasta el lugar desde el que despegó. El botón RTH siempre se encuentra en el controlador del dron.
8. Aprovecha los modos de vuelo del dron.
Muchos drones tienen modos de vuelo incorporados, que tú, como piloto principiante, puedes aprovechar para crear imágenes impresionantes. El uso de estos modos de vuelo automatiza el proceso de vuelo. Los modos de vuelo que puedes utilizar como piloto principiante son:
- Seguimiento activo
- Disparos rápidos
- Hiperlapso
- Puntos de ruta
- Tiros maestros
ActiveTrack
Con ActiveTrack, el dron sigue al sujeto de la foto. Con un movimiento de vuelo fluido, se realiza un seguimiento del sujeto hasta que se desactiva ActiveTrack.
de QuickShot El programa QuickShot te permite capturar el sujeto de la imagen mediante una opción de vuelo preprogramada. Selecciona la opción que mejor se adapte a tu sujeto y QuickShot tomará la foto.
Hyperlapse
Con Hyperlapse, el dron toma múltiples fotos, lo que permite que el dispositivo vuele y gire. Puedes establecer una ruta de vuelo utilizando puntos de referencia. Todas las imágenes se fusionan en un solo vídeo.
Puntos de referencia
Seleccione algunas perspectivas por adelantado. El dron volará entonces siguiendo una ruta suave utilizando estas diferentes perspectivas.
MasterShots
Seleccione un sujeto y el dron tomará varias fotos del mismo en el modo MasterShots.
Consejos para principiantes
¿Qué debes preparar como piloto de drones antes de que se te permita volar en el espacio aéreo europeo?
9. Regístrese como operador.
Si el dron tiene cámara, debes registrarte como operador. Puedes registrarte fácilmente en línea rellenando un formulario. El número de operador debe estar visible en el exterior del dron. Esto se puede hacer mediante una pegatina o una placa con la marca.
Si el dron tiene una etiqueta C1 o superior, también debe transmitir el número de operador con Remote ID. El registro como operador es obligatorio. Si no cumple con este requisito, se expone a una multa.

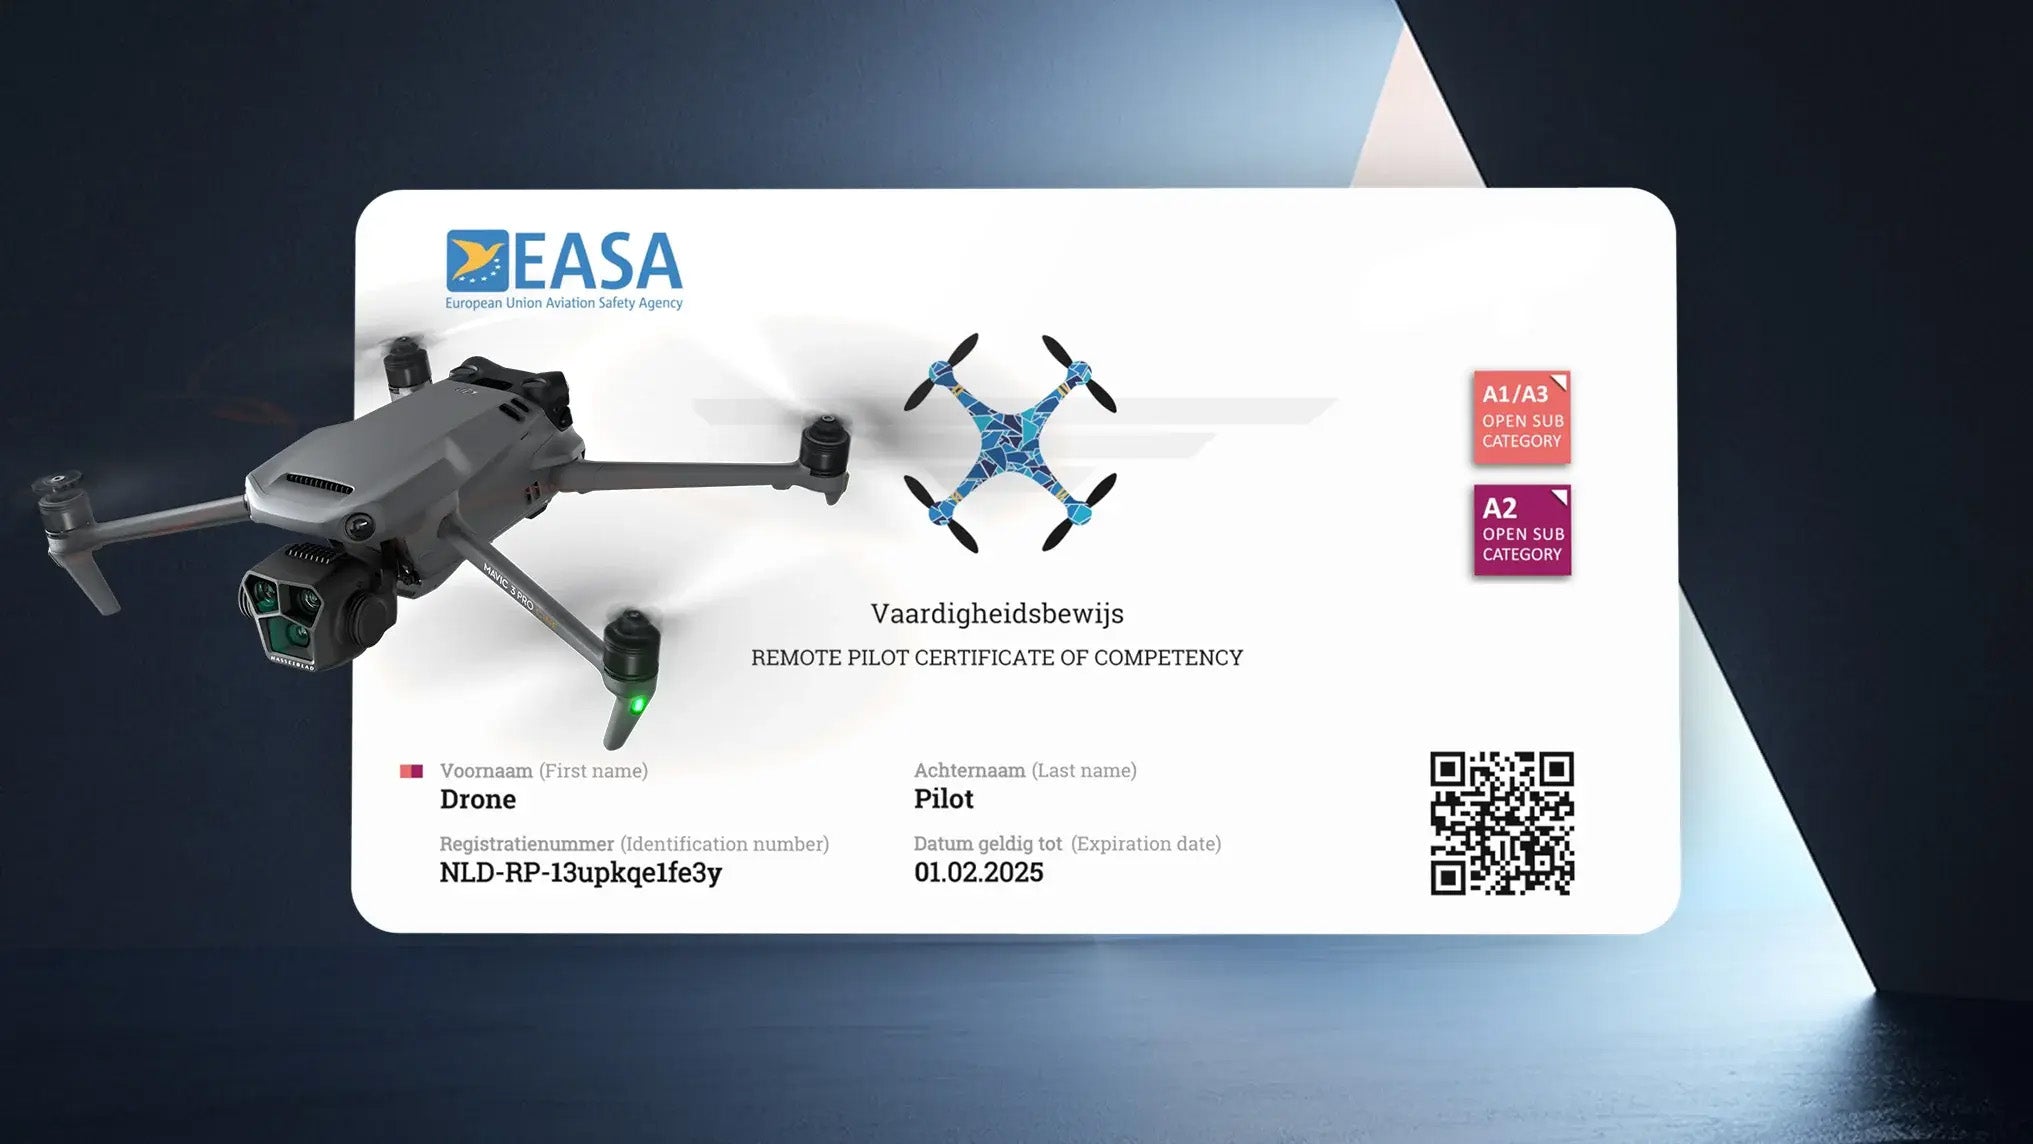
10. Obtenga su licencia de drones de la UE.
A menudo es obligatorio poseer una licencia de drones de la UE si se desea volar en Europa. Si tu dron pesa más de 249 gramos, debes obtener al menos el certificado básico A1-A3.
En el curso de formación para obtener el certificado de piloto de drones de la UE, aprenderás todas las normas europeas sobre drones. La formación finaliza con un examen en línea. Puedes volver a realizarlo de forma gratuita. Una vez aprobado, solicitarás el certificado oficial de piloto de drones de la EASA, que recibirás en formato digital en cuestión de minutos.
Si desea pilotar un dron con etiqueta C2, necesitará el certificado adicional A2 además del certificado básico.