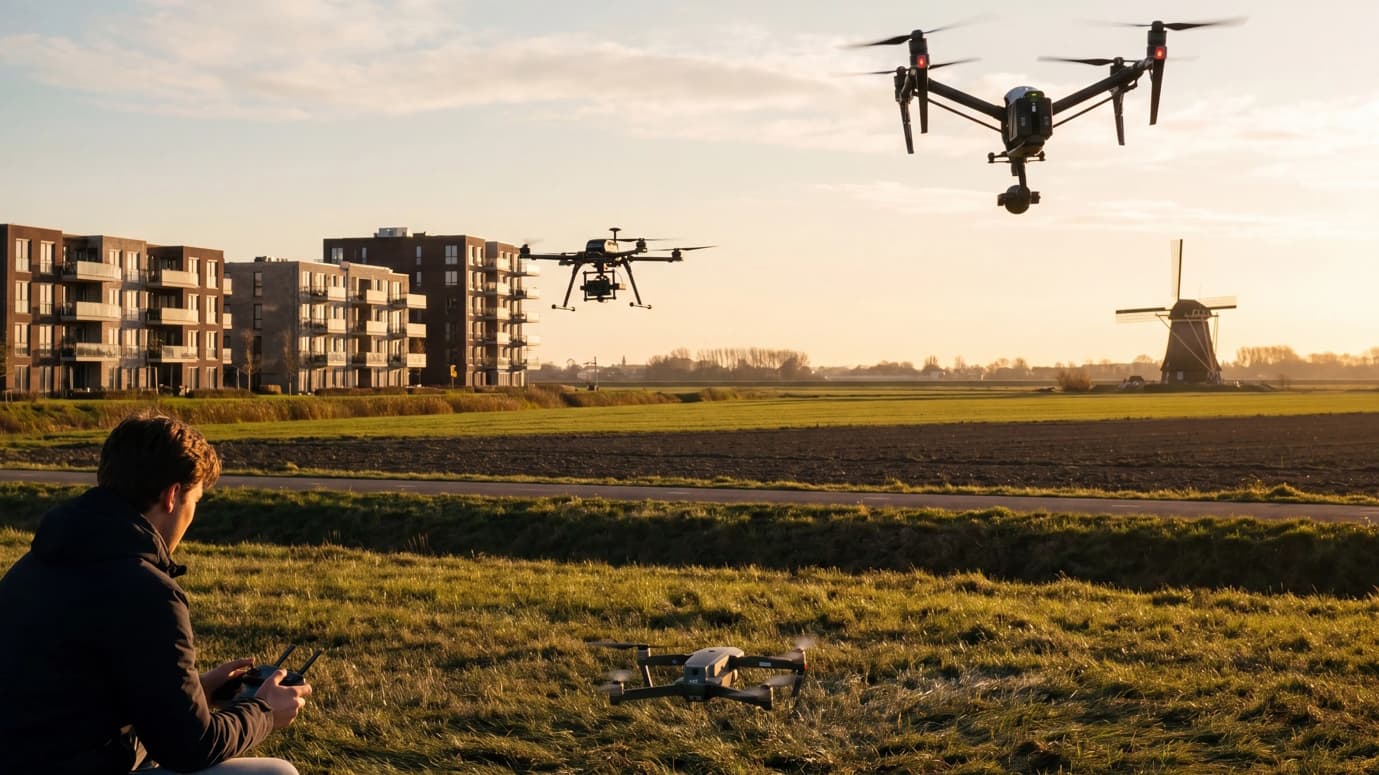
Doriți să începeți să pilotați o dronă? Acest blog conține toate informațiile utile de care aveți nevoie pentru primele dvs. zboruri cu drona. Acest ghid vă spune tot ce trebuie să aranjați și să știți înainte de primul zbor cu drona, vă explică cum să controlați o dronă și vă oferă sfaturi pentru fotografiere și videografie.
Conținutul acestui ghid pentru începători
Acest blog acoperă următoarele subiecte:
- Ce trebuie să pregătiți pentru primul zbor cu drona?
- Explicație de bază a modului de control al unei drone
- Noțiuni introductive privind fotografierea și videografia cu dronă
- Explicația de bază a diferitelor moduri de zbor
- Mișcări ale dronelor pentru imagini dinamice
Să analizăm aceste subiecte pas cu pas.

1. Ce trebuie să aranjați înainte de primul zbor cu drona?
Din păcate, nu puteți pilota o dronă oricând doriți. Există o serie de norme europene pentru zborurile cu drone. De asemenea, veți avea probabil nevoie de un certificat și de un număr de operator. Mai jos veți găsi mai multe informații despre ce trebuie să organizați înainte de zborul cu drona.
Nu știi sigur de ce licență ai nevoie?
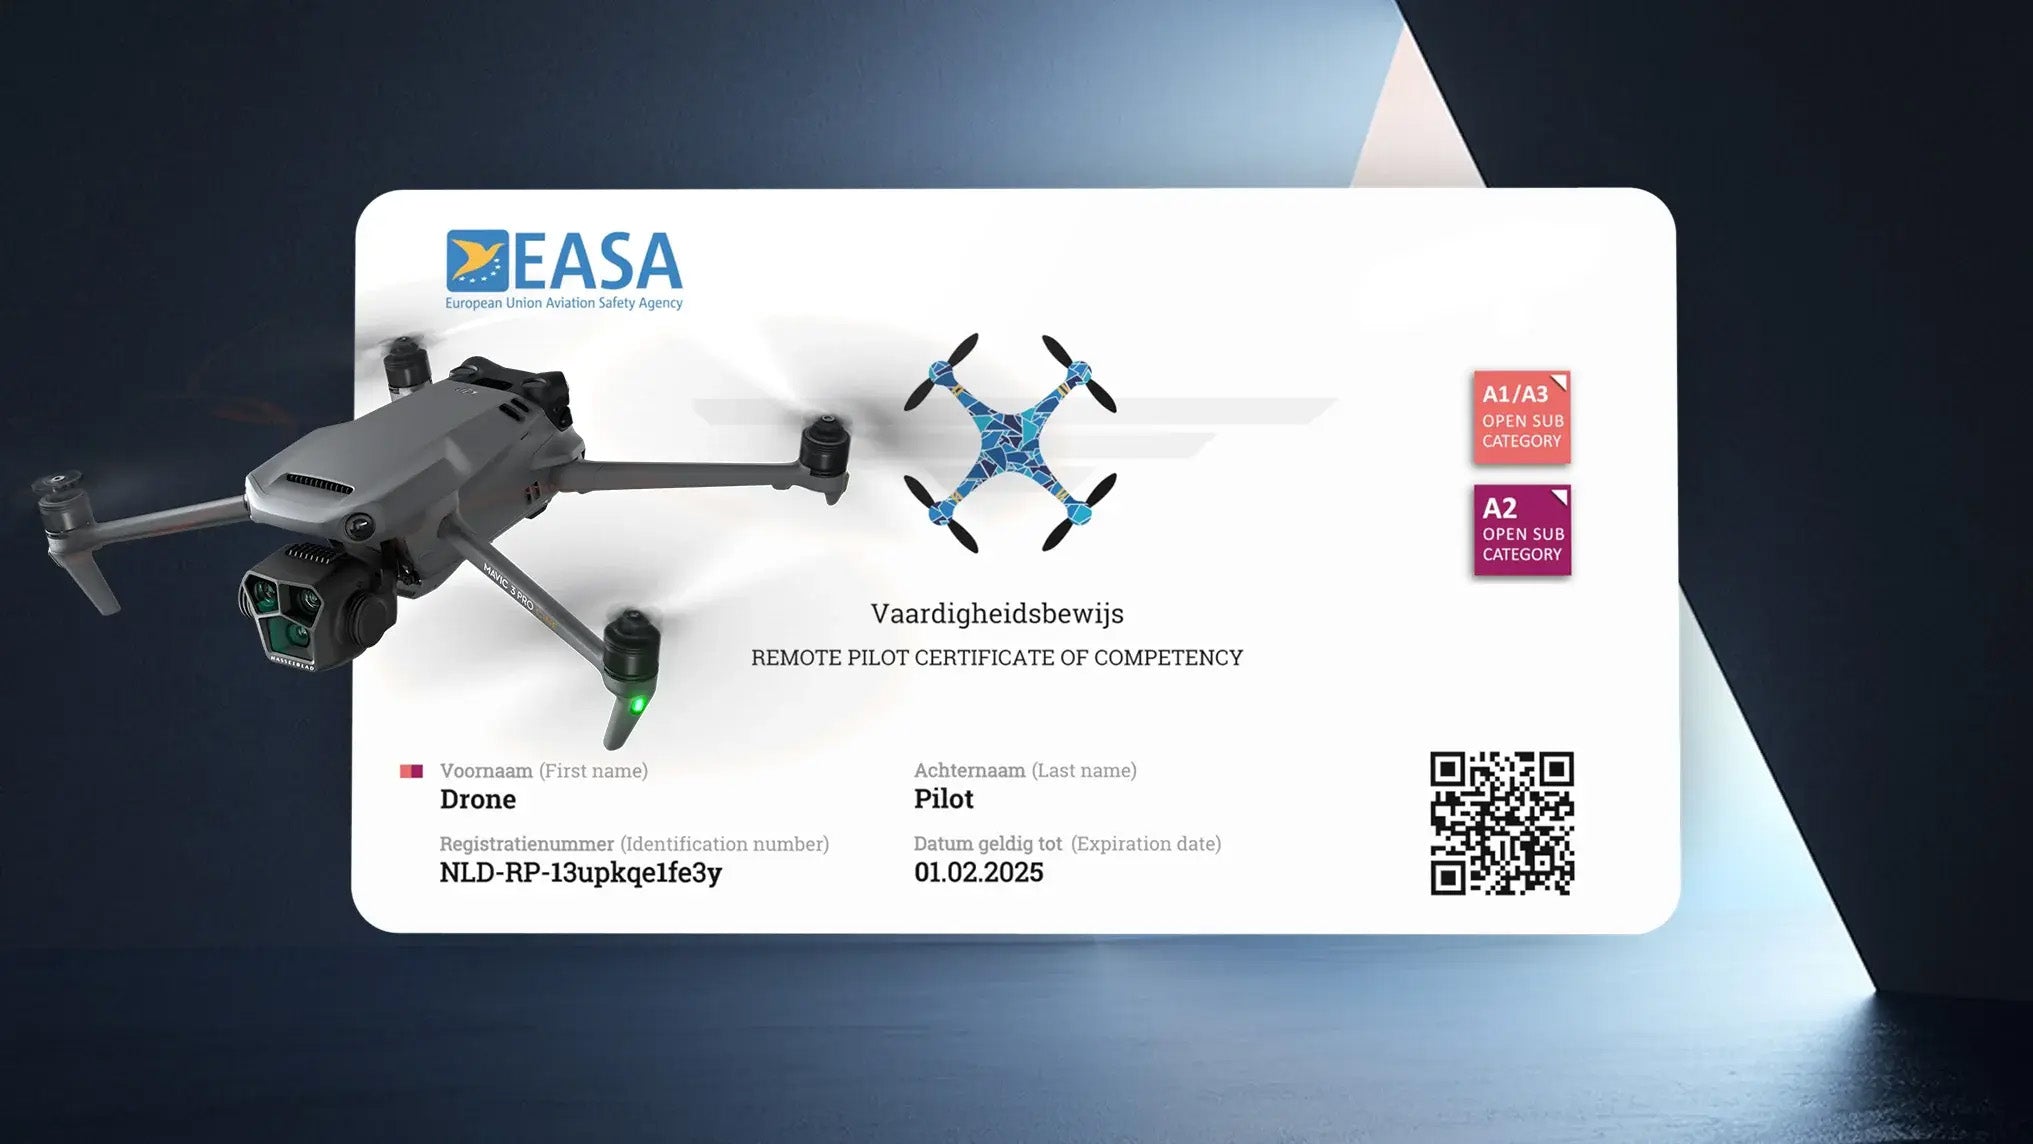
Licența UE pentru drone
Drona dvs. cântărește 250 de grame sau mai mult? Atunci licența UE pentru drone este obligatorie dacă doriți să pilotați o dronă în spațiul aerian european. Puteți obține licența prin susținerea unui examen online. Există două certificate pe care le puteți obține: certificatul de bază A1/A3 și certificatul suplimentar A2. Certificatul de care aveți nevoie depinde de drona pe care doriți să o pilotați.
Numărul operatorului
Un număr de operator este obligatoriu dacă drona dvs. are o cameră. Puteți solicita un număr de operator de la autoritățile din țara dumneavoastră de reședință. Locuiți în afara UE? Atunci puteți solicita un număr de operator în țara în care veți zbura. Numărul de operator trebuie să fie afișat vizibil pe exteriorul dronei.
Drona dvs. are o etichetă C1 sau superioară? Atunci numărul operatorului trebuie transmis prin intermediul Remote ID. Puteți introduce acest număr în meniul de zbor la DJI Drones. Nu uitați, este obligatoriu!
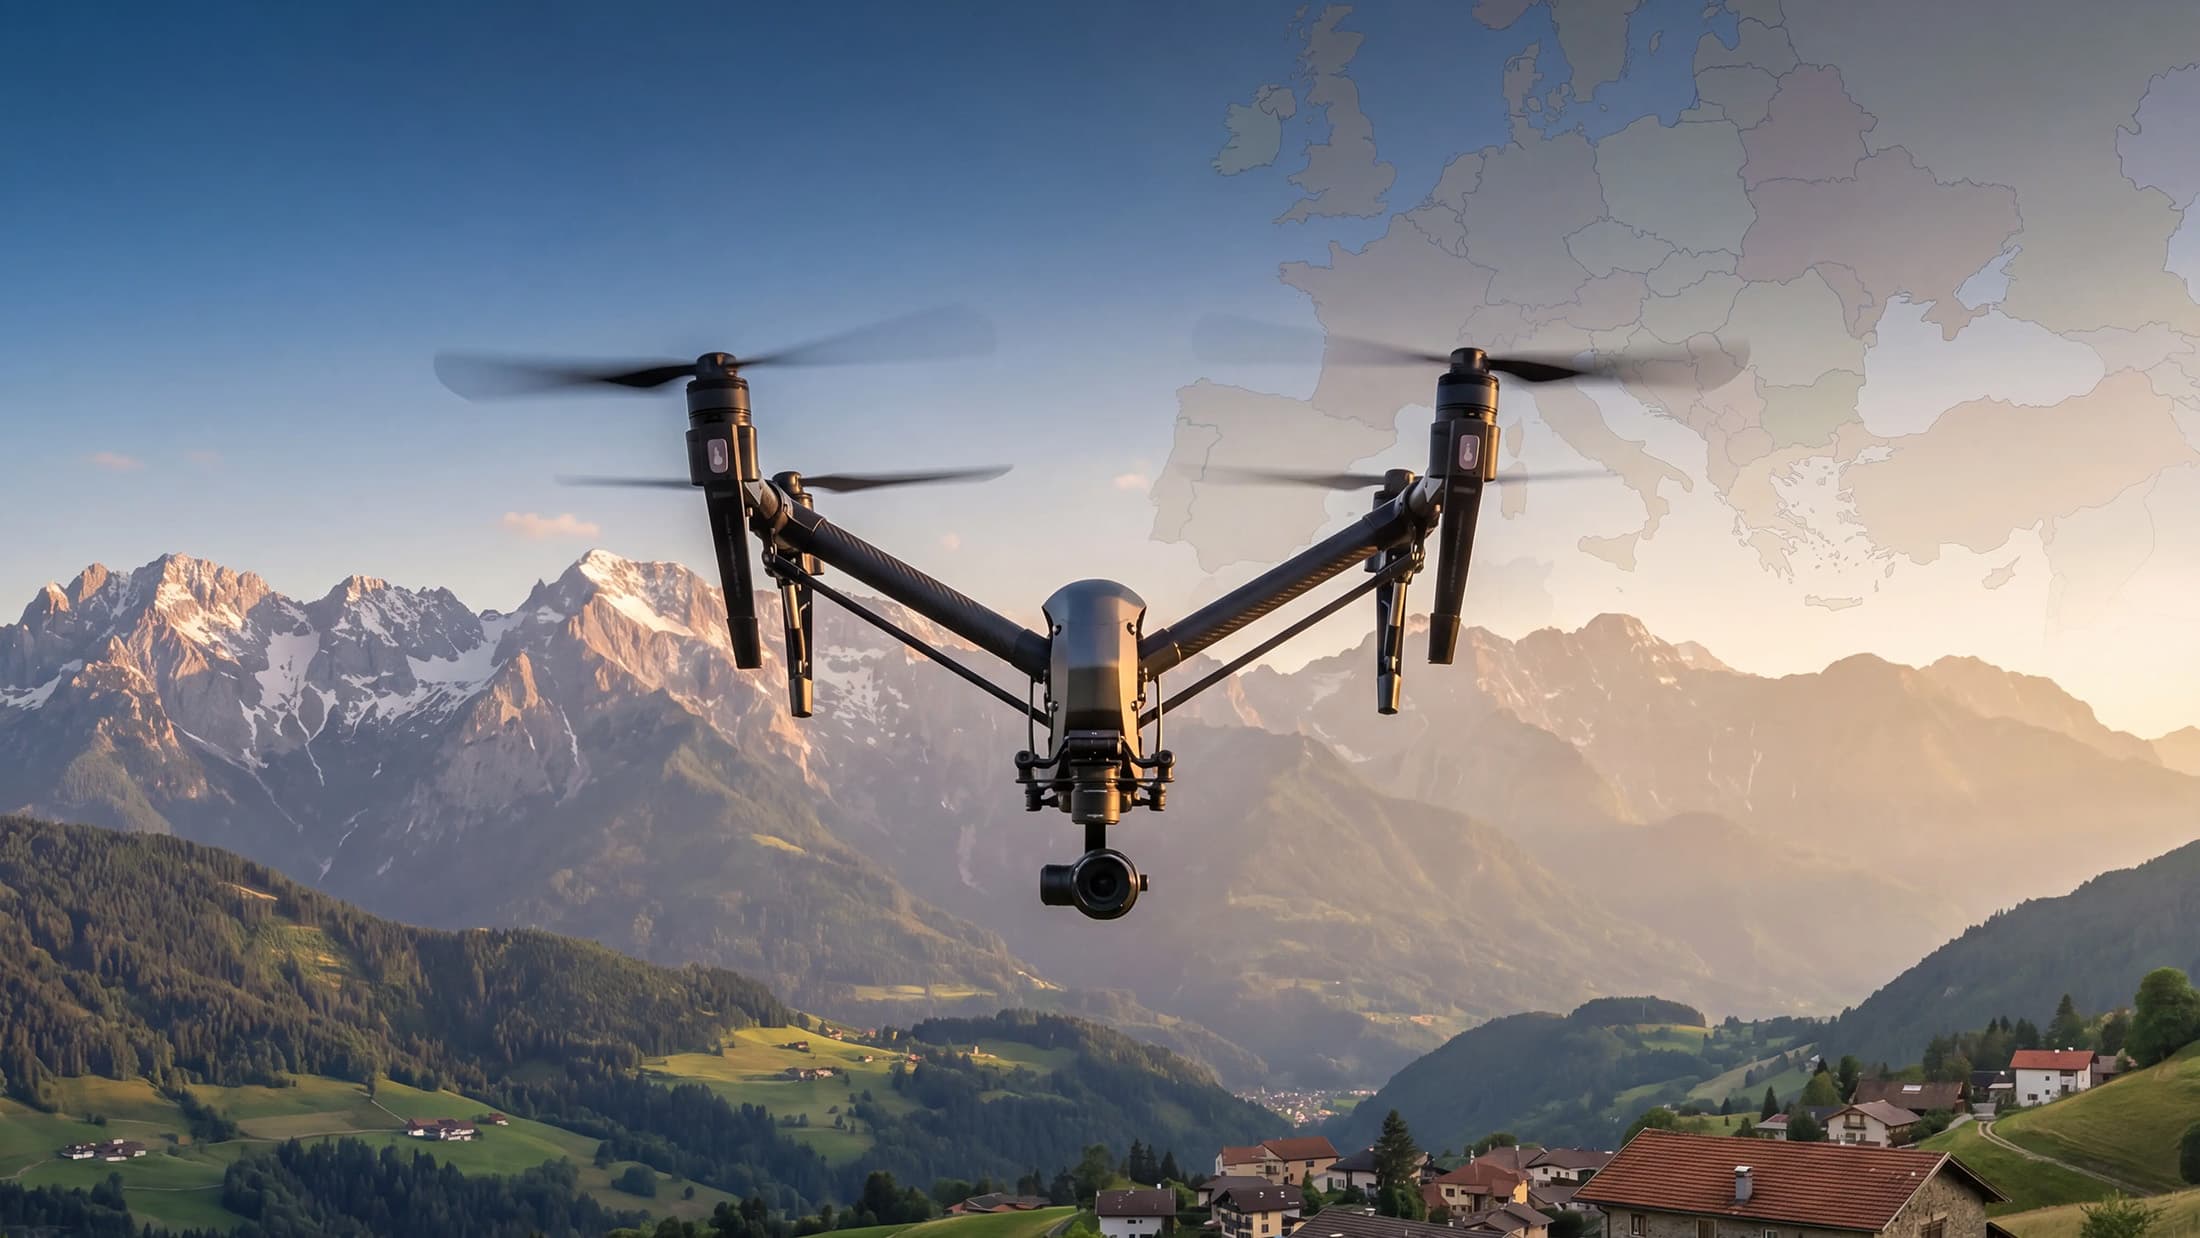
Cunoașterea reglementărilor europene privind dronele
Înainte de a vă pilota drona, trebuie să cunoașteți regulamentul european privind dronele. Zborul unei drone nu este permis peste tot. De asemenea, trebuie să pilotați întotdeauna drona în raza vizuală directă a pilotului și nu puteți zbura la o înălțime mai mare de 120 de metri.
Aplicație (harta zonelor de interdicție aeriană)
Există mai multe aplicații disponibile pentru descărcare care vă permit să vizualizați spațiul aerian. Zborurile cu drone sunt permise numai în spațiul aerian deschis, necontrolat. Acesta este spațiul aerian în care nu sunt active zone de interdicție de zbor. O aplicație permite să vedeți cu ușurință dacă zborul este permis în locația dvs. curentă.

2. Explicația de bază a modului de control al unei drone
Sunteți gata de zbor? Atunci puteți începe să zburați. Puteți controla o dronă cu ajutorul unui controler care are două joystick-uri.
- Înclinare: Prin deplasarea joystick-ului în direcția pitch, drona zboară înainte și înapoi.
- Rotire: Prin deplasarea joystick-ului în direcția de rulare, drona zboară la stânga sau la dreapta.
- Yaw: Mișcarea joystick-ului în direcția yaw determină drona să se rotească în sensul acelor de ceasornic sau în sens invers acelor de ceasornic în jurul propriei axe.
- Accelerație: Mișcarea joystick-ului în direcția accelerației determină urcarea sau coborârea dronei.
Funcții și butoane importante de pe controlerul dronei
- Butonul RTH: Butonul de întoarcere la domiciliu asigură că drona dvs. zboară automat înapoi în punctul în care a decolat.
- Lumini LED: LED-urile de pe controler indică cât de multă energie mai are bateria controlerului.
- Aparat foto: Butonul camerei vă permite să faceți o fotografie. Acest buton este de obicei situat pe partea din spate a controlerului. Este adesea marcat cu o imagine a unui aparat foto.
- Înregistrare: Butonul de înregistrare vă permite să începeți înregistrarea unui videoclip. Acest buton este, de asemenea, adesea situat pe partea din spate a controlerului dronei. Acesta este adesea marcat cu un punct roșu.
- Roți de control: Roțile de control sunt utilizate pentru a controla gimbalul și zoomul. Gimbalul stabilizează camera dronei și determină poziția camerei. Puteți utiliza roțile pentru a schimba poziția camerei. Roțile sunt adesea situate pe partea din spate a controlerului dronei.
3. Începerea fotografiei și videografiei cu dronă
Dronele sunt adesea achiziționate pentru fotografie și videografie. Doriți să începeți să faceți fotografii și videoclipuri cu drona dvs.? Iată câteva sfaturi utile.
1. Lumina:
Lumina soarelui determină atmosfera fotografiilor cu drona. Cea mai frumoasă lumină este în timpul răsăritului și apusului de soare. Aceasta se numește ora de aur. Culorile sunt calde și se creează umbre lungi. În timpul zilei, lumina este mai dură și mai rece, ceea ce duce rapid la supraexpunere și la fotografii mai puțin interesante.
2. AEB (Auto Exposure Bracketing):
Cu AEB, drona face mai multe fotografii cu expuneri diferite. Le puteți uni într-o singură fotografie cu o gamă dinamică mai bună sau le puteți edita separat pentru a alege cea mai bună expunere.
3. Setări ale aparatului foto:
Învățați să lucrați manual cu diafragma, viteza obturatorului și ISO pentru a avea mai mult control asupra imaginilor. Fotografiați de preferință în DNG (RAW) pentru cea mai bună calitate și mai multe opțiuni de editare.
4. Compoziție:
Utilizați regula celor trei treimi în loc să plasați subiectul în centru. Acest lucru creează o imagine mai dinamică. Puteți activa o grilă cu nouă casete pe controler ca ajutor.
5. Post-procesare:
Post-procesarea vă permite să îmbunătățiți culorile, să corectați umbrele și să rafinați expunerea. Dacă este necesar, combinați fotografiile AEB pentru un rezultat final mai bogat. Un software popular pentru acest lucru este Adobe Lightroom.
6. Utilizați modurile de zbor
Multe drone au moduri de zbor încorporate. Cu aceste moduri de zbor, drona preia controlul și captează în mod autonom imagini frumoase cu drona. Diferitele moduri de zbor sunt explicate pe scurt mai jos.
7. Mișcări dinamice ale dronei
Combinarea mișcării dronei cu mișcarea camerei creează imagini dinamice ale dronei. Acestea sunt interesante de urmărit. Mai jos sunt prezentate o serie de mișcări ușoare ale dronei pe care le puteți încerca ca pilot începător de drone.

4. Explicația de bază a diferitelor moduri de zbor
Multe drone au încorporate moduri de zbor pe care tu, ca pilot începător de dronă, le poți folosi pentru a crea imagini frumoase. Utilizarea acestor moduri de zbor automatizează zborul dronei. Modurile de zbor pe care le puteți utiliza, în calitate de pilot începător de drone, sunt:
ActiveTrack
Cu ActiveTrack, drona urmărește subiectul fotografiei. Subiectul este urmărit într-o mișcare de zbor lină până când ActiveTrack este oprit.
QuickShot
Cu programul QuickShot, puteți surprinde subiectul imaginii utilizând o opțiune de zbor preprogramată. Selectați opțiunea care se potrivește cel mai bine subiectului dvs. și QuickShot face fotografia.
Hyperlapse
Cu Hyperlapse, drona face mai multe fotografii în timp ce zboară și se rotește. Puteți seta o rută de zbor folosind puncte de referință. Toate fotografiile sunt combinate într-un singur videoclip.
Waypoints
Selectați în prealabil un număr de perspective. Drona va zbura apoi pe un traseu lin folosind aceste perspective diferite. Puteți citi cum să utilizați Waypoints în blogul nostru complet despre Waypoints.
MasterShots
Selectați un subiect, iar drona va face mai multe fotografii ale subiectului în modul MasterShots.

5. Mișcarea dronelor pentru imagini dinamice
1. Flyaway (Reveal Shot)
Cu Flyaway, dezvăluiți o locație sau un subiect într-un mod cinematic, zburând cu drona înapoi. Acest lucru scoate în evidență tot mai mult din împrejurimi. Această mișcare funcționează deosebit de bine în modul Sport, permițându-vă să creați distanța mai rapid și să obțineți un efect mai puternic. Doriți să faceți fotografia și mai dinamică? Atunci zburați ușor în sus în timp ce zburați cu spatele.
2. Fotografia de sus în jos
Pentru o fotografie de sus în jos, îndreptați camera direct în jos și plasați subiectul exact în centrul cadrului. Pentru a face imaginea mai interesantă, puteți zbura încet în sus sau vă puteți întoarce subtil la stânga sau la dreapta.
3. Orbit
Orbit este un clasic printre mișcările dronelor și creează un efect cinematografic frumos. Drona zboară lateral în timp ce se întoarce în direcția opusă. De exemplu, zburați spre stânga și întoarceți camera ușor spre dreapta. Scopul este să vă păstrați subiectul perfect în centrul imaginii. Acest lucru necesită puțină practică, dar liniile de grilă din setările imaginii dvs. fac acest lucru mult mai ușor.
Concluzie
Sperăm că acest ghid vă va da o mână de ajutor. În cele din urmă, veți învăța cel mai mult zburând (mult) cu drona dumneavoastră. Aveți nevoie de o licență UE pentru drone? O puteți obține rapid și ușor de la noi.