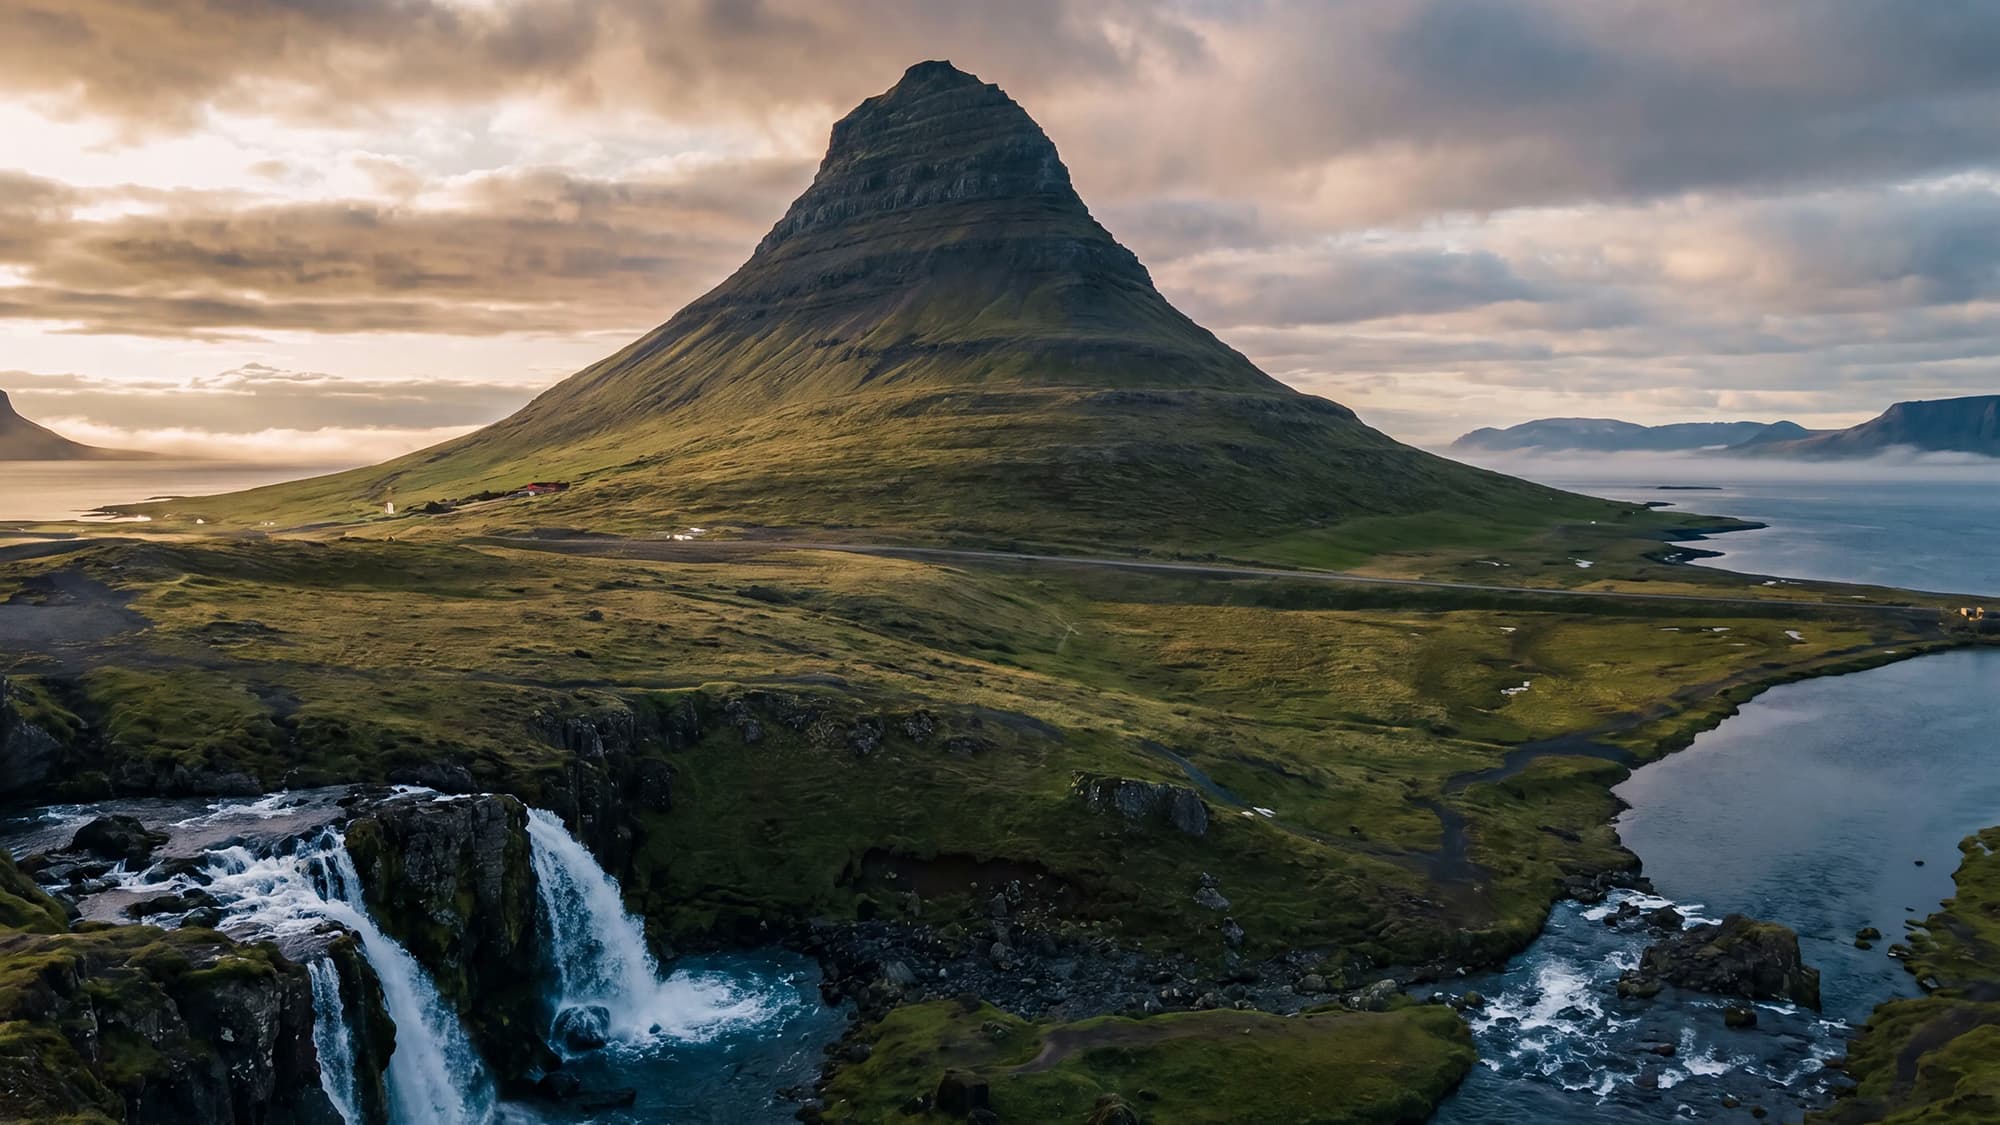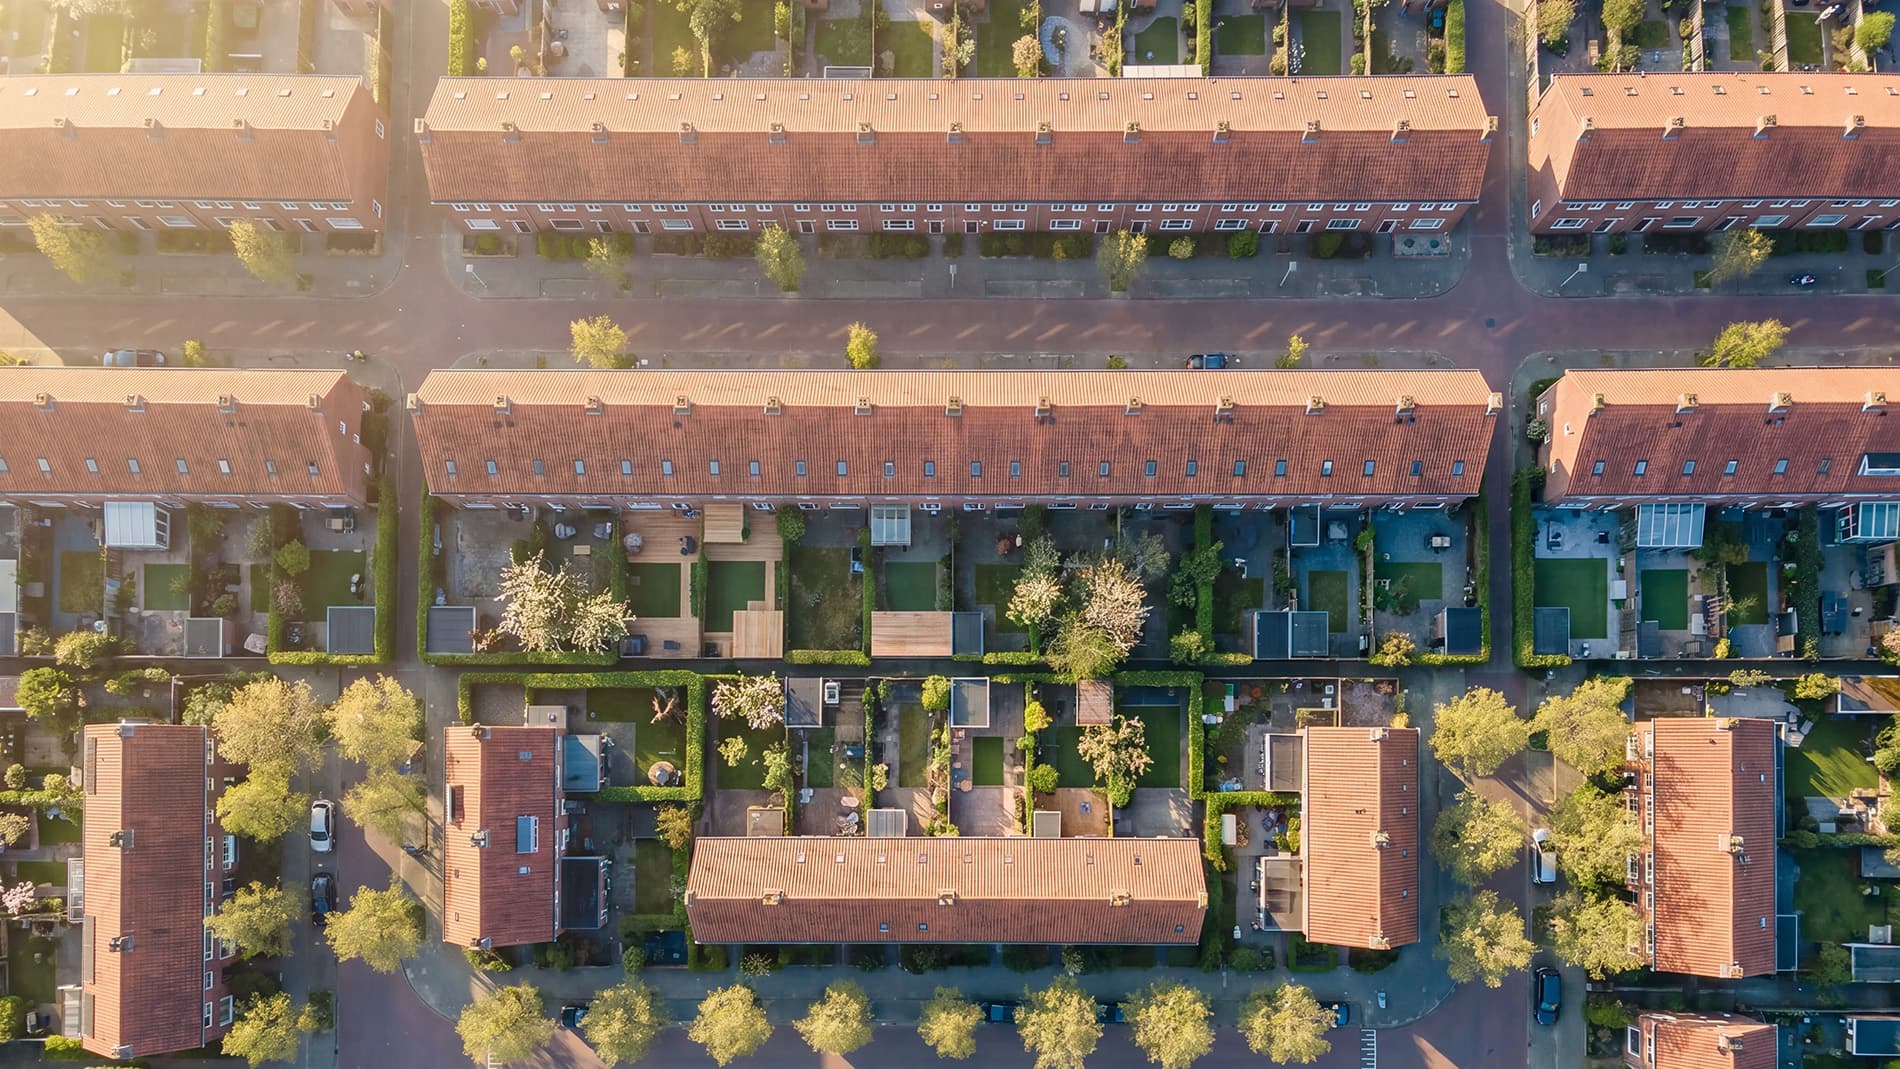
Some time ago, we wrote ten tips for taking the best drone photos. Many pilots have enthusiastically set to work taking beautiful drone images. Drone photos can come to life even more through post-processing. You can use your artistic freedom to change your drone photos to your liking. Read our seven handy tips you can apply when you want to get started with photo editing programmes.
1. Choose a photo editing programme
There are several editing programmes in which drone photos can be edited. Lightroom is the best-known photo editing programme. LR Enfuse and Aurora HDR are also fine editing programmes for editing drone photos. You can try these photo editing programmes for free for a few days. This way, you can find out in which programme you get the best results.
We use Lightroom for editing our drone photos. You can also achieve the results in other editing programmes, but these editing programmes will look slightly different in terms of workflow.
2. Merging different photos (AEB)
In our tips for taking the best drone photos, you will have read that you can use AEB. When AEB mode is enabled, the drone usually takes between three and five shots with different exposures. You can merge these different drone shots in your photo editing programme. Merging the drone photos creates a final result with dynamic colours.
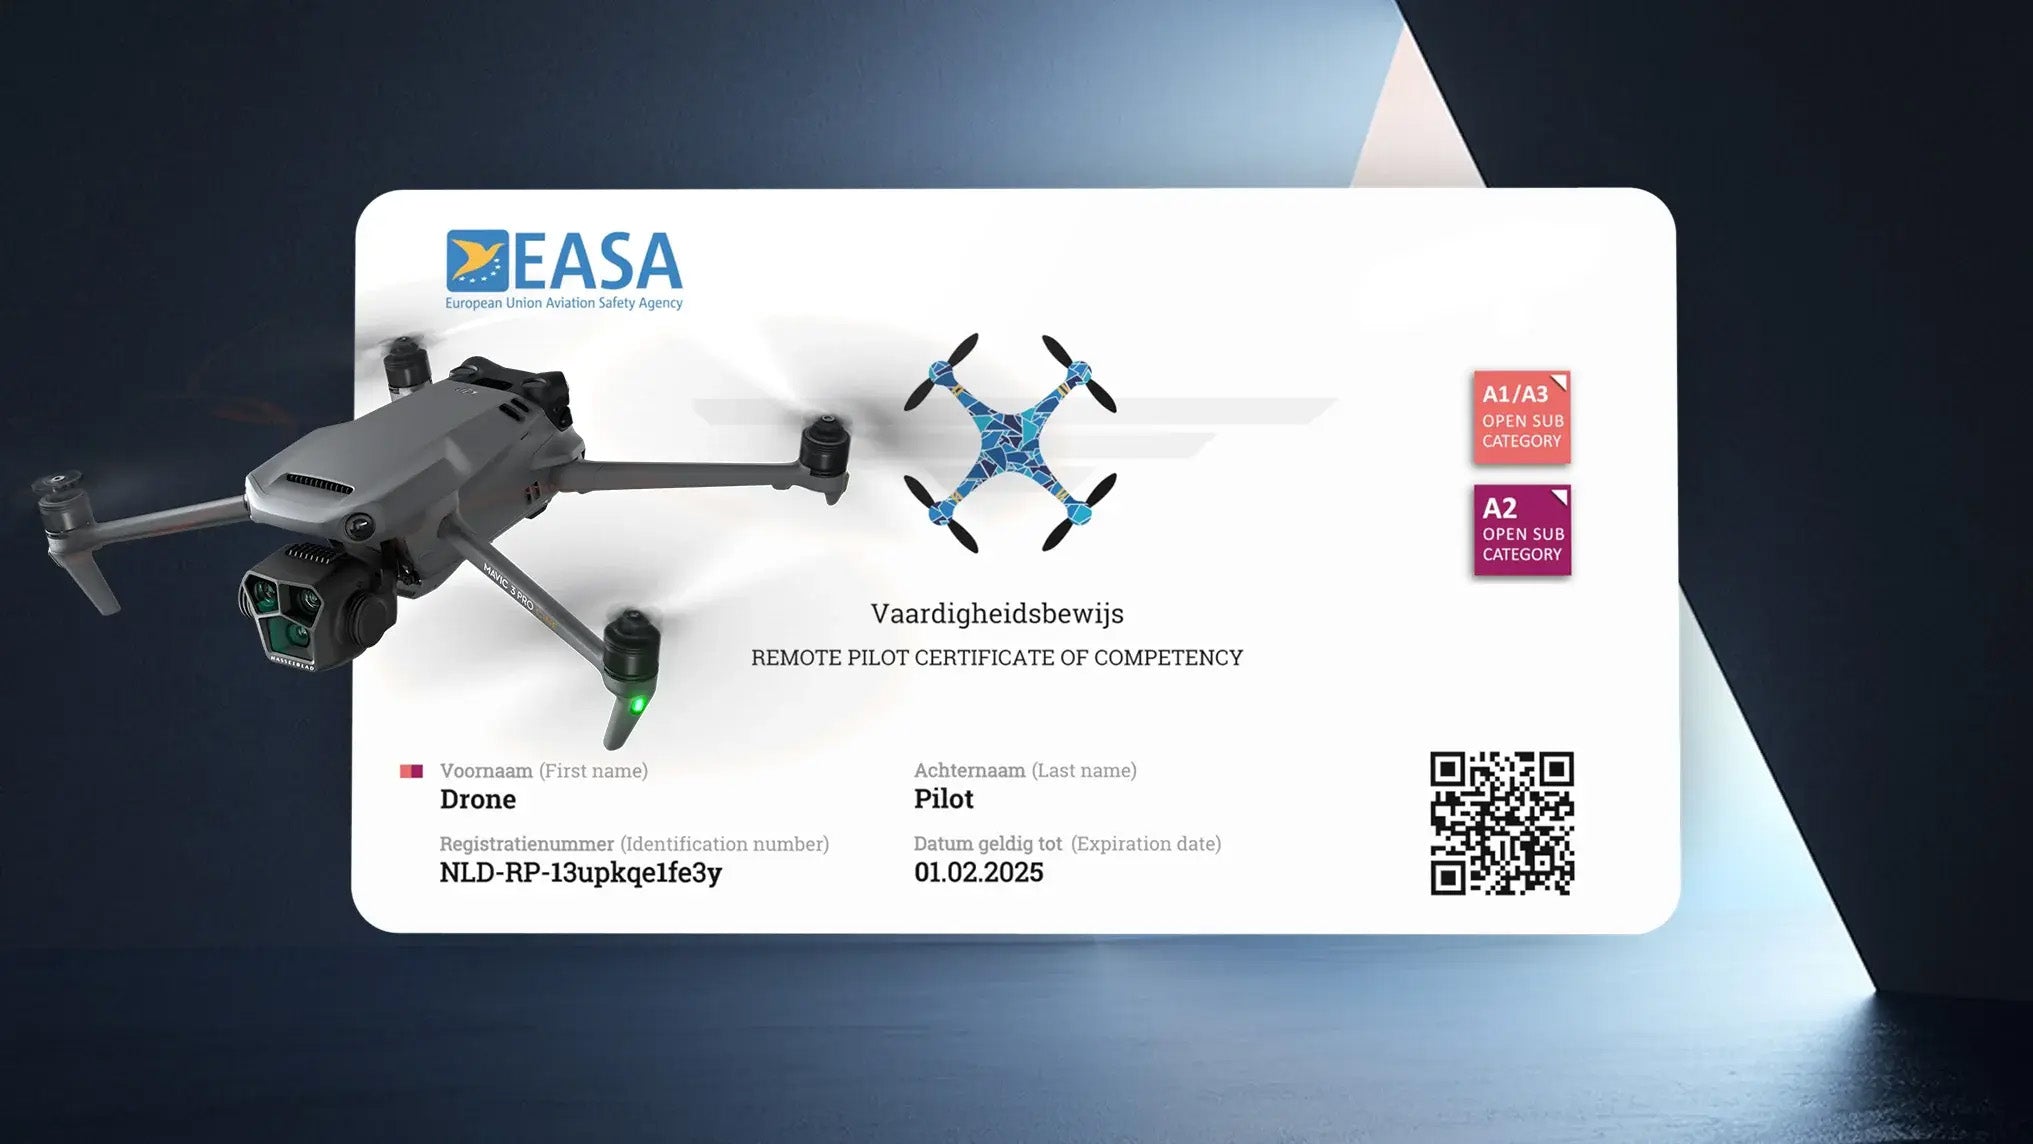
Não sabe qual a licença de que precisa?
3. Correct the exposure of the drone photos
There are some basic features that can be adjusted to make the exposure and colours of the drone photo more vibrant. In Lightroom, you can adjust these features with a slider. You can edit drone photos in various ways as you see fit. Editing an image takes some experience and insight, but with practice you will learn how to best edit your images.
Basic features you can adjust in the images are:
- Temperature
- Hue
- White balance
- Exposure
- Contract
- High lights
- Shadows
- Brightness
- Vividness
- Saturation

4. Refining colours on images
After adjusting exposure, you can refine the colours on the drone photo. In Lightroom, you can do this by selecting colour. There is a slider for each colour to make the colour in the photo more intense or softer.
You can choose to make the drone photo look as realistic as possible, but you can also use your artistic freedom to manipulate colours. Colours can quickly look unrealistic. Therefore, adjust colours carefully. Also take care not to colour other objects with it. For example, if you colour the sky an intense blue, the clouds (which are white) may also turn blue.
If you want to adjust a specific colour in the photo, select 'target adjustment'. This is the round button next to hue. When you select this tool, you can click anywhere in the photo and adjust the selected colour.

5. Place a mask over the sky or subject
In the new version of Lightroom, you can select a subject or sky. You can then place a mask over the subject or sky. This allows you to expose the subject or sky more or adjust the exposure. In previous versions of Lightroom, the subject or sky had to be selected with a brush first. This option is still there. If you want to select a specific part of the drone photo, you can use the brush. Selecting the subject and the sky is automated. After Lightroom selects the sky or subject, you can use the brush to make corrections. After this, you can adjust the colours and exposure of the subject and sky as you see fit and prefer.
6. Copy the settings to other drone photos
If you have taken several drone photos in one location, you can copy the settings and adjustments of one photo to other photos. So you don't have to manually re-adjust all settings per photo. Did you use a mask in your edit? If so, do not copy it along, as the subject and sky are likely to be different in each photo.

7. Save the drone photos in JPEG format
Are you satisfied with the final result? Then save the drone photos as JPEG files. This file type is usable on social media and for making prints. You can save a photo by selecting file and choosing export. A menu will then open, where you can select how you want to save the drone photo. For format, select JPEG file. Your photo will then be saved on your computer.