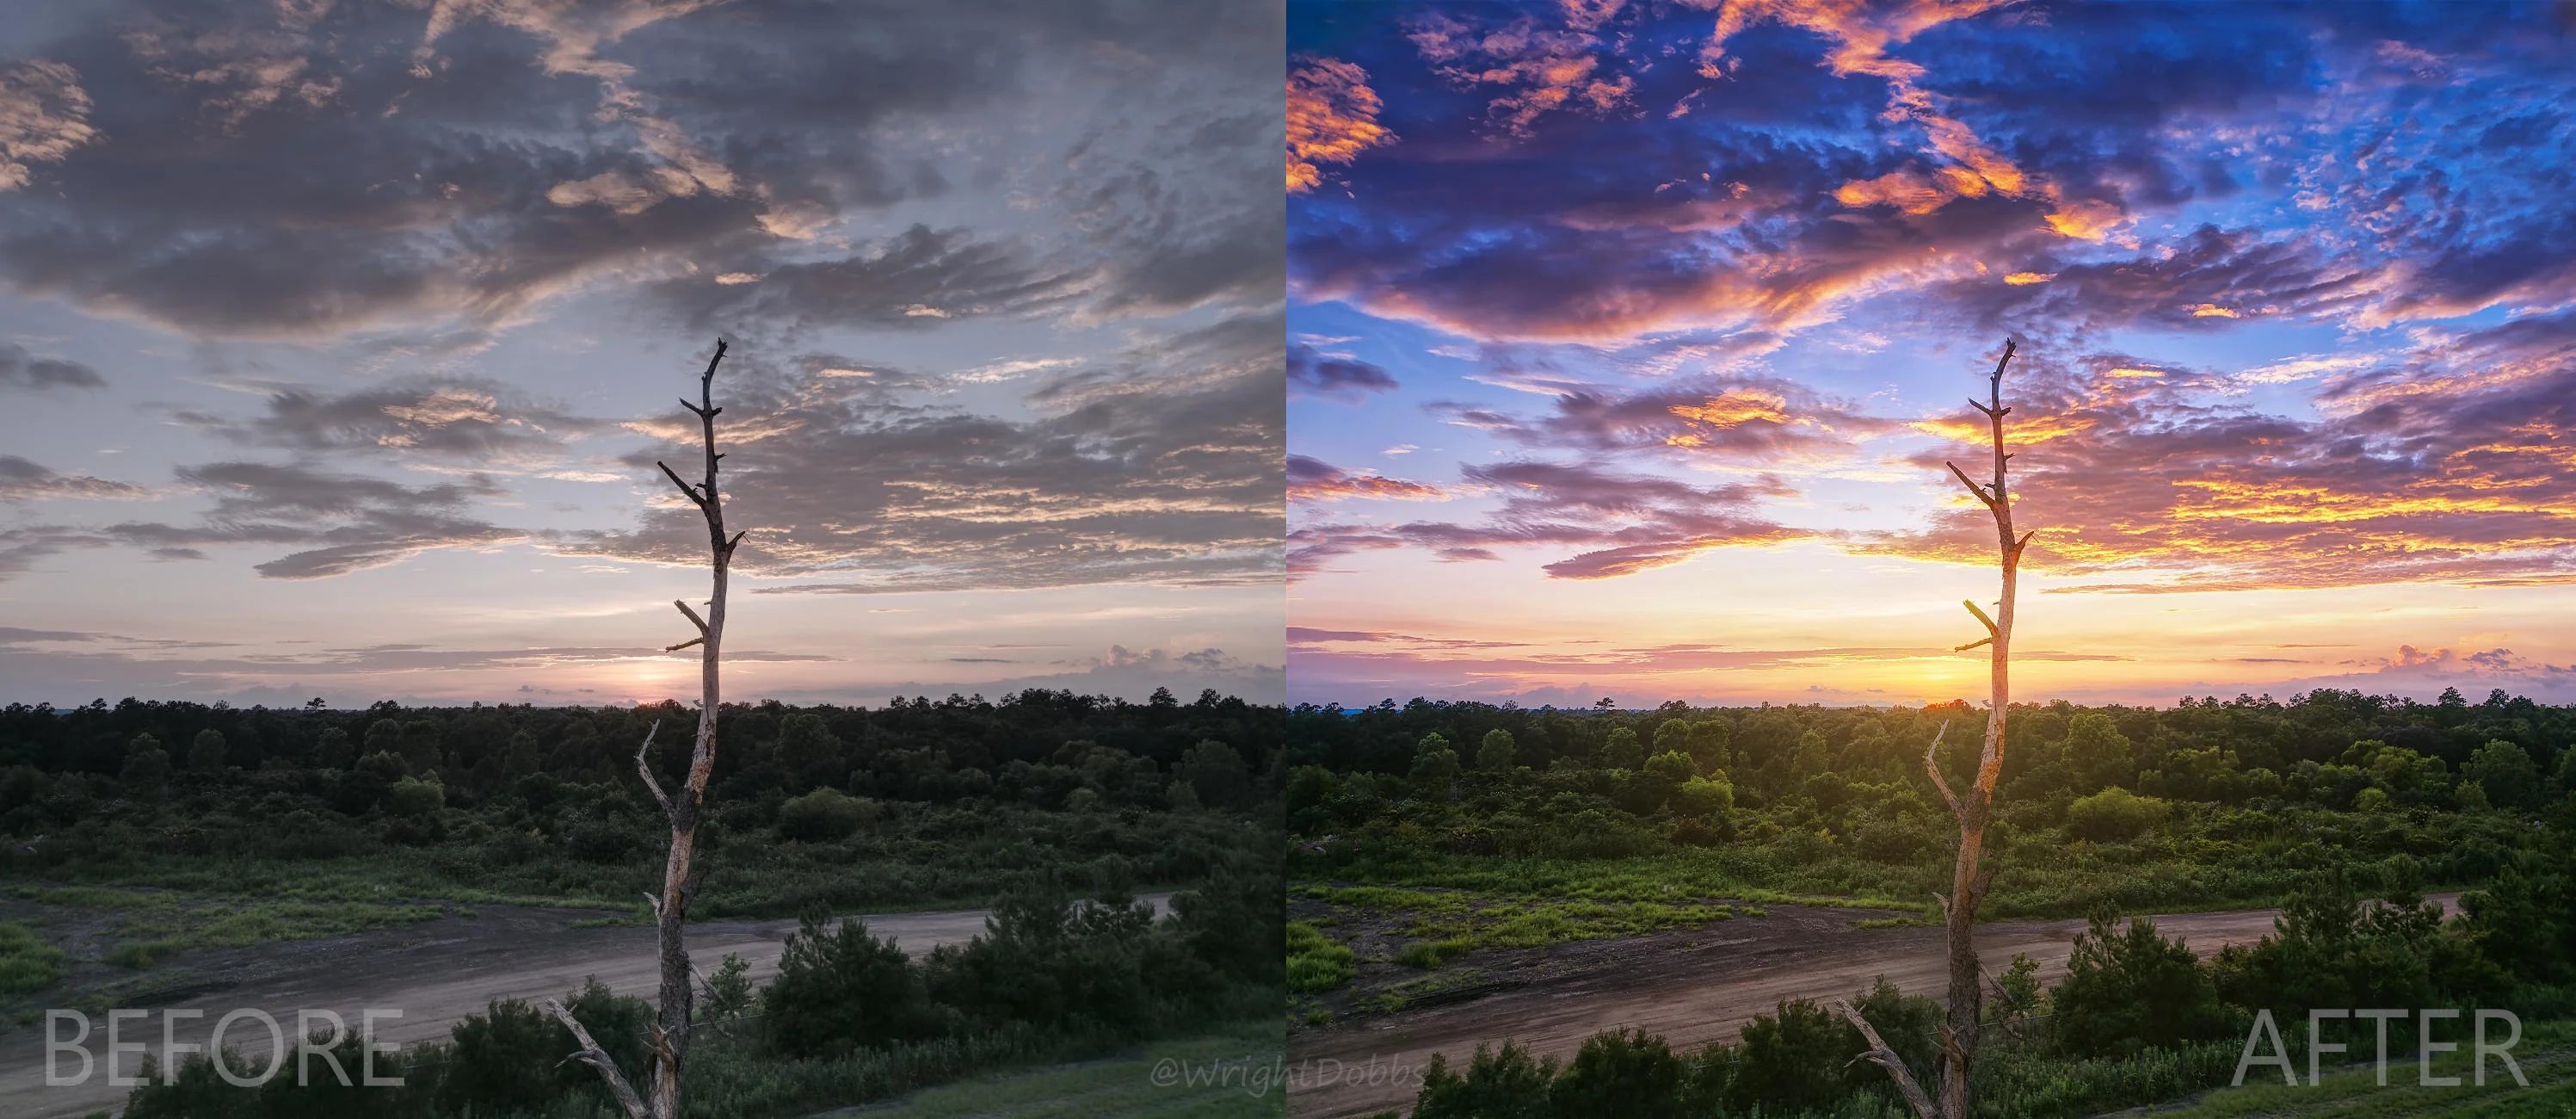
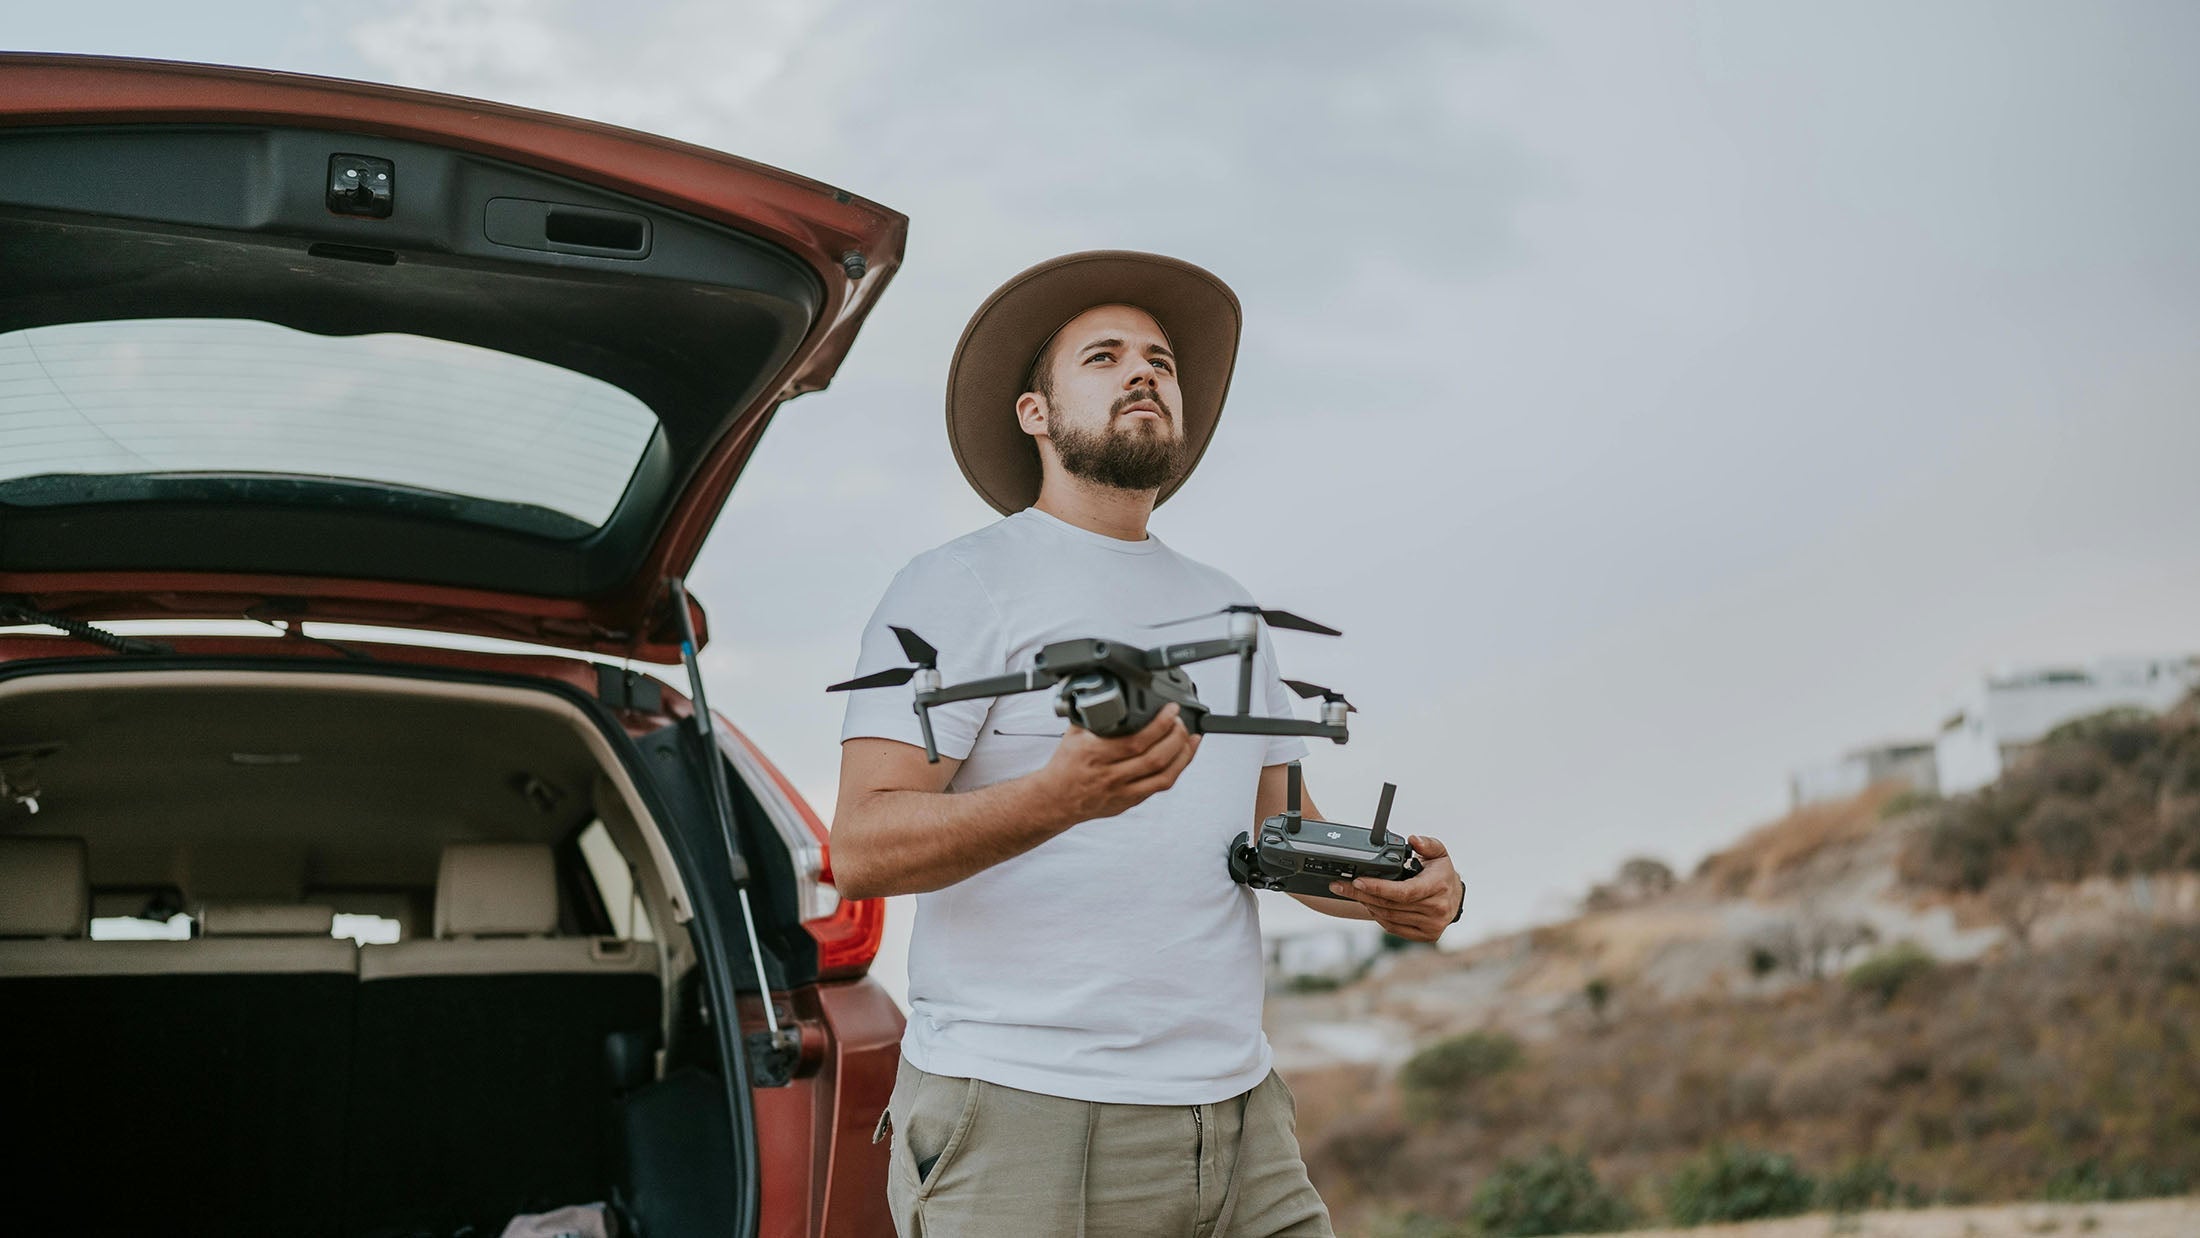
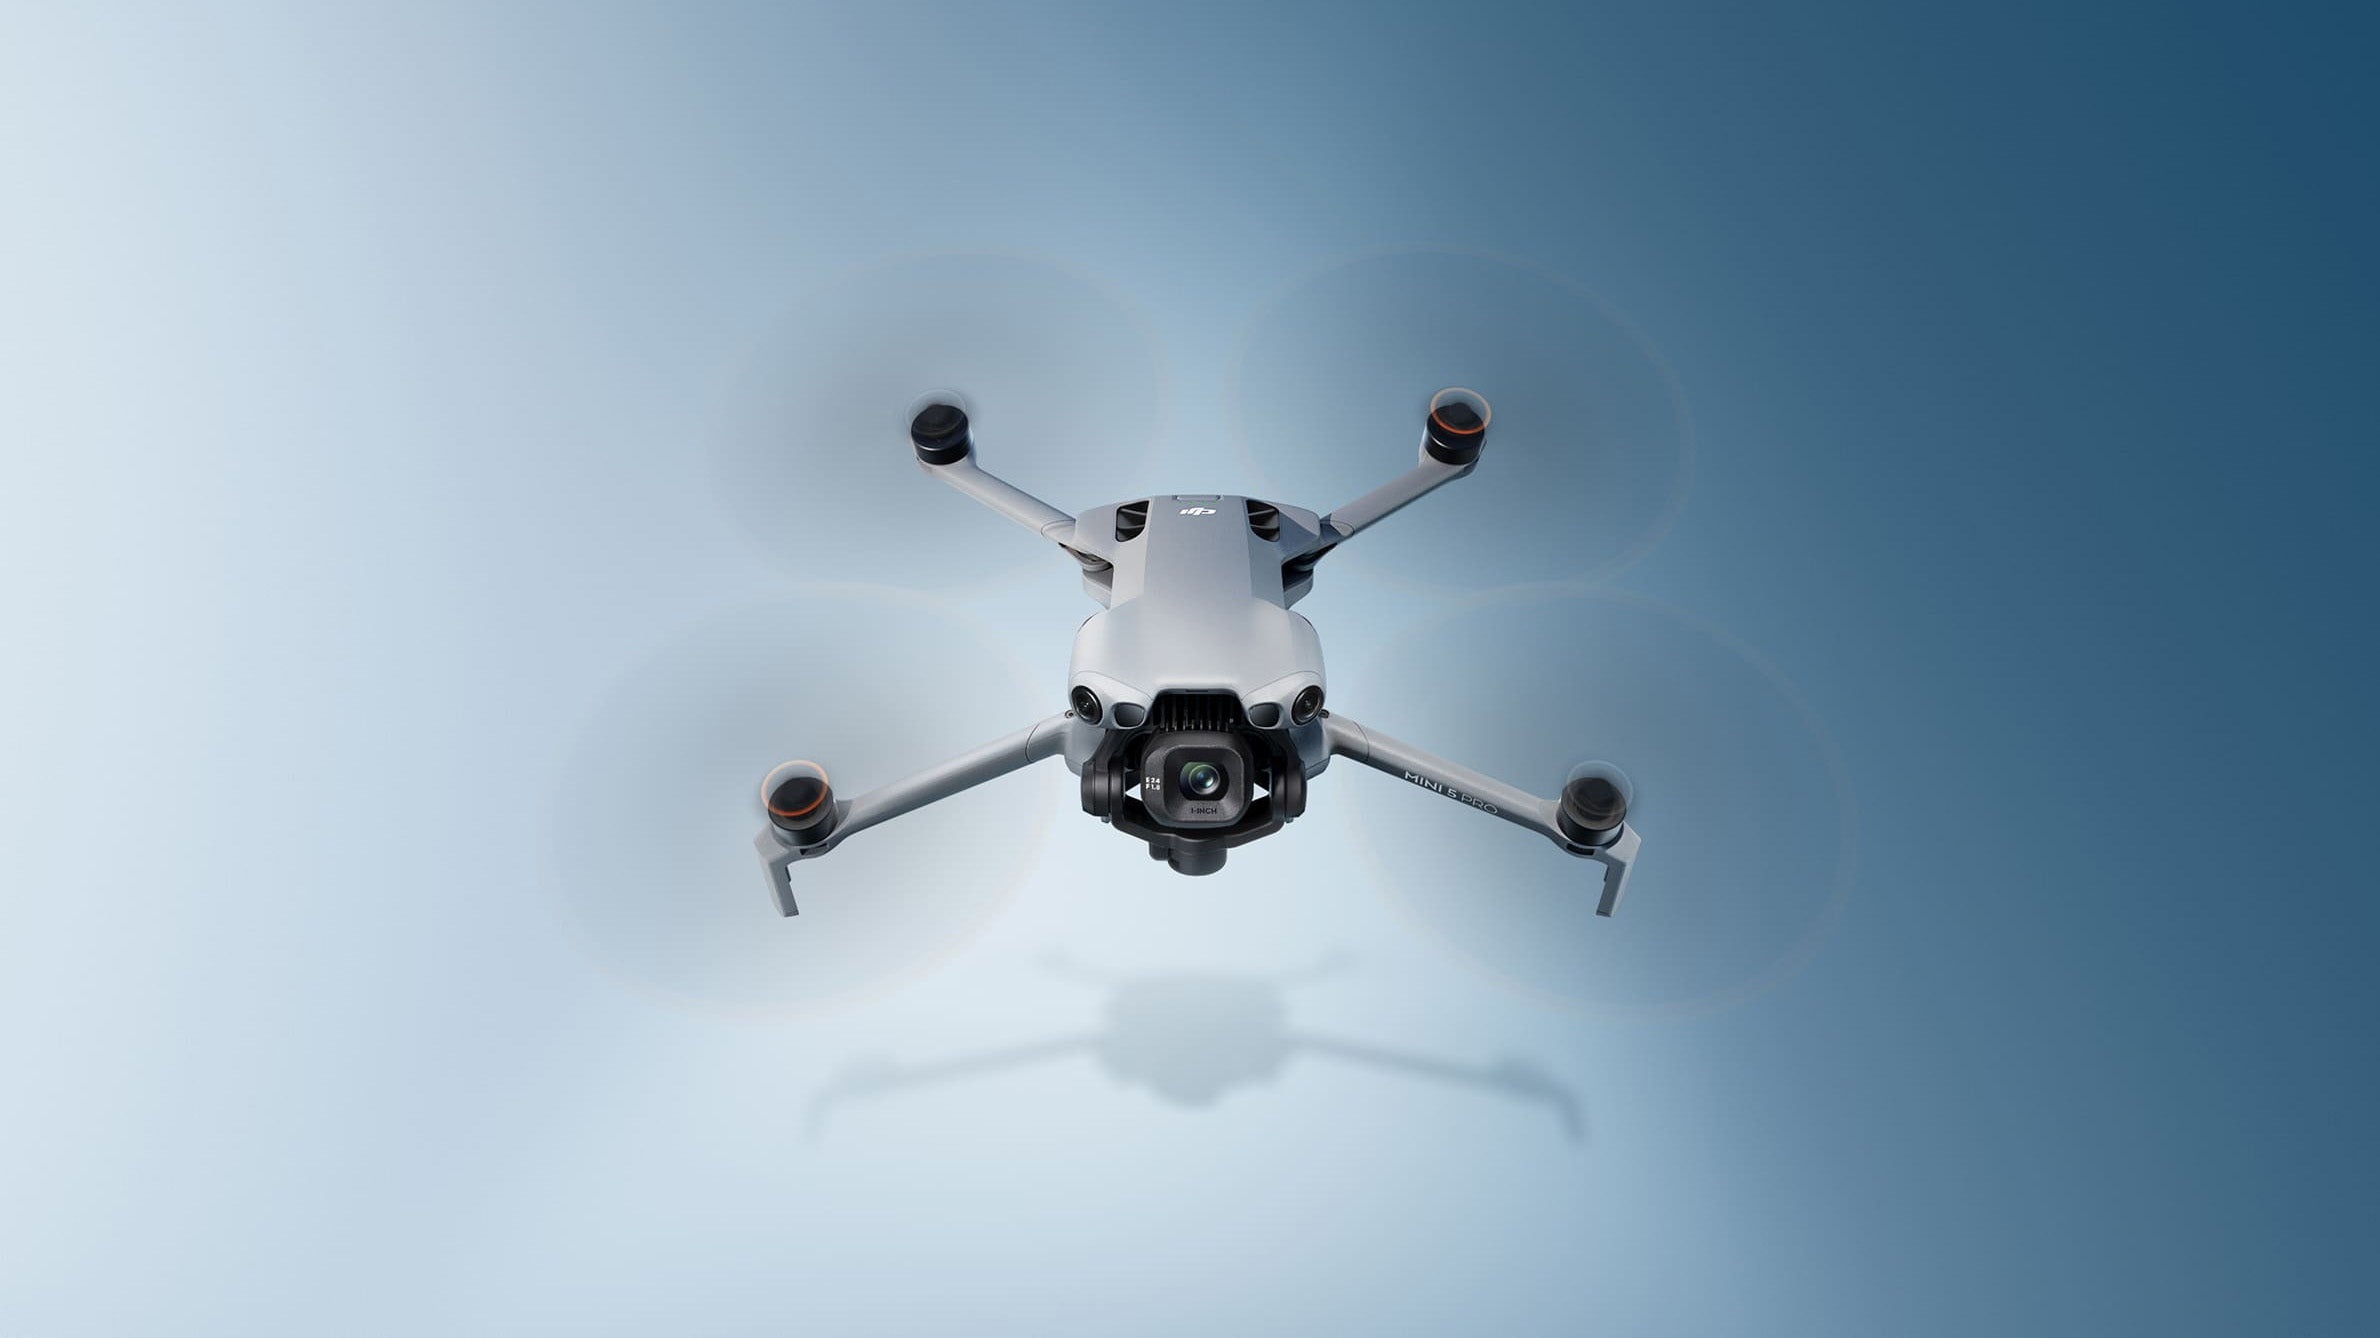
In challenging lighting conditions, capturing beautiful drone photos can be difficult. Fortunately, there is AEB (Auto Exposure Bracketing). AEB provides a solution by capturing multiple exposures. These different exposures can be layered using photo editing software, creating a dynamic drone photo.
In this blog, you will learn how to use AEB for your drone photos.
Why use AEB?
Here are some advantages of AEB:
- Optimization of exposure
- More options in post-processing
- Consistency in changing lighting conditions
- Reduction of noise
AEB gives you more control over (the post-processing of) your drone photos. By capturing multiple exposures, you can select the perfect photo or later merge several photos into one image with the ideal exposure.
What is the difference between an AEB photo and an HDR photo?
With AEB, three to five separate photos are taken with different exposure settings. One photo is underexposed and one photo is overexposed. The remaining photos have exposures in between. You can then select the photo with the best exposure yourself or merge all the photos using a post-processing program.
With HDR, the different images are automatically merged into one photo. Note: With HDR, you cannot select and manually merge different exposures afterward.
How to set AEB on your drone
Follow these steps in the flight app of the DJI device:
- Go to settings
- Select the camera icon
- Open the ‘photos’ setting
- Select AEB
- Select the number of exposures (photos)


Merging AEB photos in post-processing
When you have selected AEB, photos with different exposures are taken. These photos can be merged for an optimal result. You will need a post-processing program such as Lightroom CC, LR Enfuse, or Aurora HDR for this.
We use Adobe Lightroom for post-processing our drone photos. To merge the different exposure photos taken with AEB, you can follow these steps:
- Import the photos you want to merge into Lightroom
- Go to ‘Develop’
- Select the desired photos you want to merge
- Go to the ‘Photo’ option in the top menu
- Choose the ‘Photo Merge’ option and then ‘HDR’
- Select the following settings:
- ✅ Auto-align
- ✅ Auto-tone
- Deghost Amount -> Low
- ✅ Show Deghost Overlay
- Click on ‘Merge’
You can then further edit the created photo with the software.
Flying a drone in the Netherlands
When flying a drone, there are several drone rules you need to consider. Violating drone rules can result in a hefty fine. In our blog about the most important drone rules, we explain these.
Additionally, it is often required to obtain a certificate before you can fly a drone in the Netherlands. Through our selection guide, you can quickly see which certificate you need to obtain to fly your drone in the Netherlands.


Share:
Which drone training for you?
Preview: DJI Air 3S