
A drone takes your photography to the next level. From the air, you can see things from a whole new perspective. Capture more of your surroundings, highlight natural lines, or create depth with multiple layers. It all starts with the right settings, lighting, and perspective. In this blog, we’ll share ten tips to help you noticeably improve your drone photos.
1. Fly during the golden hour
The best time for drone photography
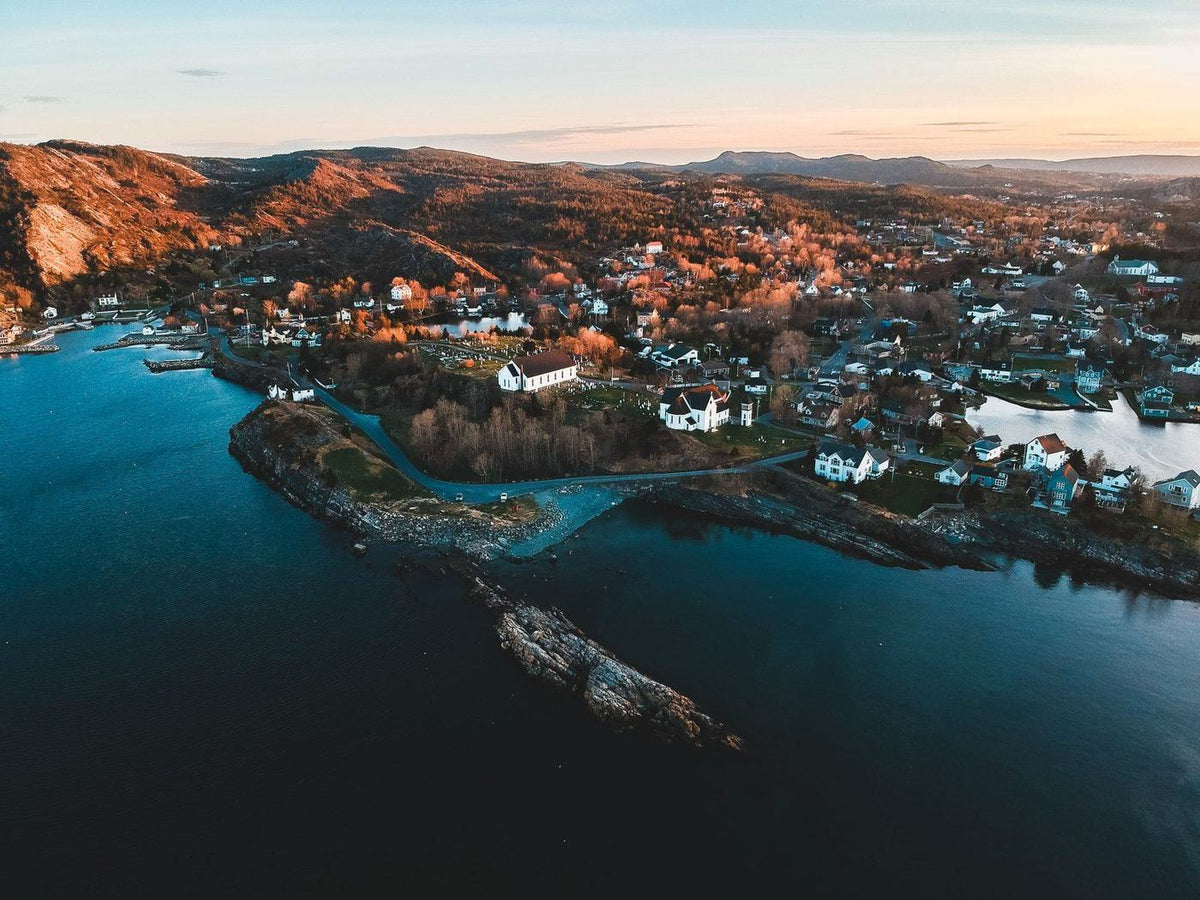
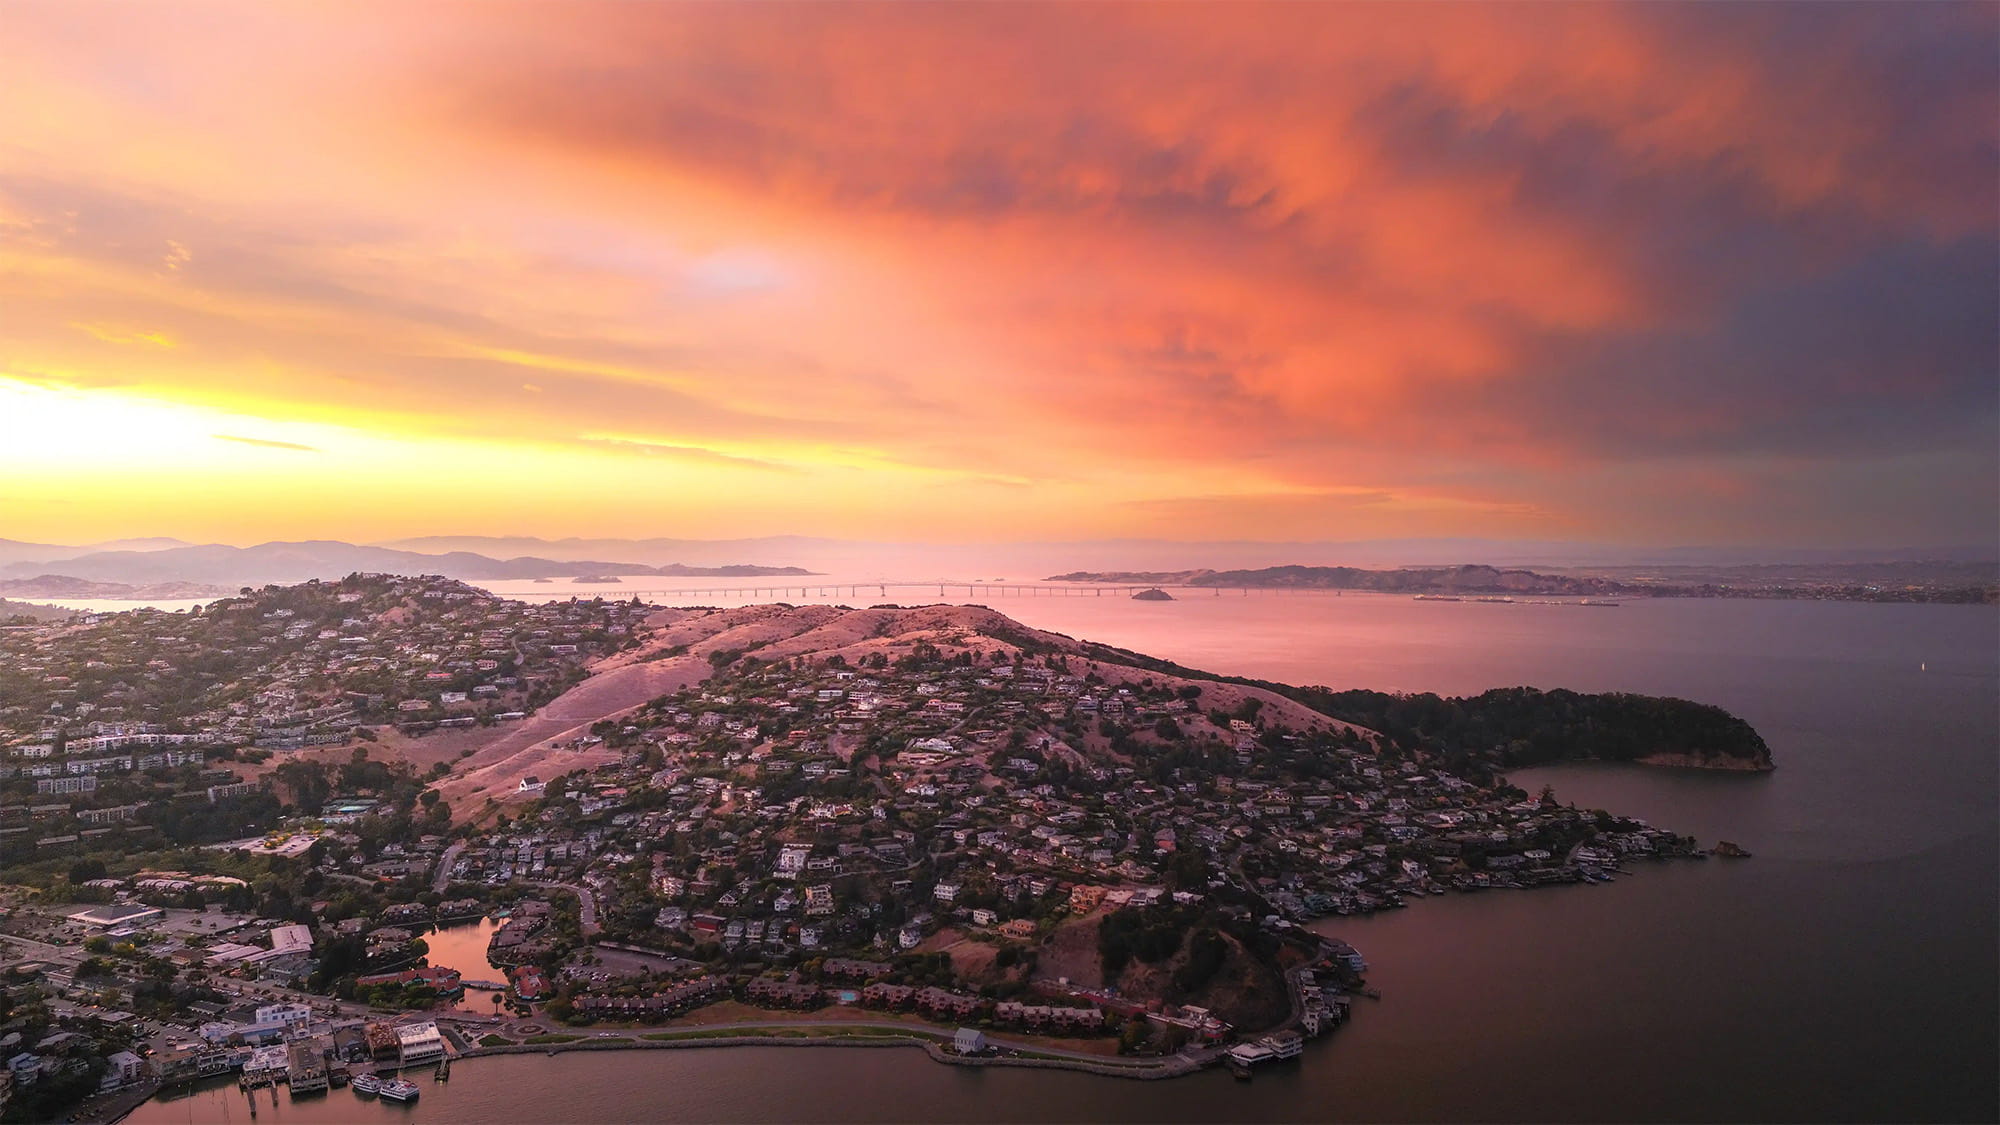
The best lighting for drone photography is during the golden hour: the first hour after sunrise and the last hour before sunset. The sun is low in the sky, the light is warm (with orange and pink hues), shadows are long and dramatic, and the risk of overexposure is minimal. If you fly around noon, the sun is directly overhead, and everything looks flat and lacks contrast. Want sharp, graphic shadows? Then a bright morning is ideal.
2. Always shoot in RAW
More data, more room for improvement
JPEG discards information the moment you take the photo. RAW preserves everything, giving you enormous flexibility in post-processing to recover highlights, brighten shadows, and adjust colors. Especially with aerial photos featuring a bright sky and a dark foreground, that difference is worth its weight in gold.

3. ND Filters in Bright Sunlight
What does an ND filter do on a drone?
An ND (Neutral Density) filter is like a pair of sunglasses for your drone camera. In bright sunlight during the day, you need a very fast shutter speed, which results in an unnatural, jerky look when capturing motion (water, clouds, vehicles). With an ND8 or ND16 filter, you get longer shutter speeds, resulting in smoother motion and cinematic footage. It’s especially indispensable for video, but also for long-exposure photography, such as gently lapping water at the shore.
4. Use AEB for challenging lighting conditions
What is AEB mode on a drone?
AEB (Auto Exposure Bracketing) automatically takes 3 or 5 photos in a row with different exposures: one underexposed, one correctly exposed, and one overexposed. In situations with a wide dynamic range (bright sky and dark foreground), you can combine these in Lightroom or Photoshop into a single HDR photo with perfectly rendered shadows and highlights. This is crucial for sunrise and sunset photography where the sun itself is in the frame.
5. Shooting manually: forget about auto mode
What camera settings do you use for drone photography?
Your drone camera’s automatic mode often makes the wrong choices under challenging conditions. Switch to manual (M mode) and adjust the settings yourself:
|
Setting |
Recommended value |
De ce |
|
ISO |
100 (daytime), max 400 (golden hour) |
A low ISO setting means less noise and a sharper image |
|
Shutter speed |
1/120 to 1/250 s |
Fast enough to capture the drone’s micro-movements |
|
Deschidere |
f/2.8 to f/4 (fixed on small drones) |
Variable on the Mavic 4 Pro: use f/4 to f/5.6 for maximum sharpness |
|
File format |
DNG (RAW), not JPEG |
Much more flexibility in post-processing |
|
White balance |
Daylight (5500K) or manual |
Auto white balance often produces color casts during the golden hour |

Composition and Perspective: Thinking from the Air
6. The Top-Down Shot
What Is a Top-Down Drone Photo?
A top-down shot is a photo taken with the camera pointing straight down. Fly your drone high. At an altitude of 80 to 100 meters, you’ll capture abstract, graphic patterns: fields, the tiled surfaces of squares, the lines of roads winding through forests, and the curves of rivers. This is by far the most recognizable genre of drone photography. Tip: Descend slowly and take shots at 80m, 90m, and 100m to get a variety of compositions.
7. Work with leading lines and patterns
Which compositions work best for drone photography?
From the air, you see patterns that disappear on the ground: the zigzag of a mountain road, the circles of a roundabout, the symmetry of solar panels on a roof, the grid of a polder. Consciously incorporate these patterns as compositional elements. A strong leading line draws the viewer’s eye through the photo—an effect that’s rare in standard photography but readily available in drone photography.
8. Apply the rule of thirds
What is the rule of thirds in drone photography?
Don’t place the horizon line in the center of your frame. Position it one-third from the top (if you want to include a lot of land) or one-third from the bottom (if you want to include a lot of sky). Place your subject at one of the four intersections of the imaginary rule-of-thirds grid. Most drones display this grid in the Fly app. Turn it on and use it. It’s a classic principle, but all the more important in drone photography, where you have plenty of space to work with.

9. Think in terms of layers and depth
How do I create depth in a drone photo?
A common mistake: shooting only from a great height. This makes everything look flat. The best drone photos have three layers: foreground, midground, and background. On a coastline, for example, the foreground is the rocks and surf directly below the camera, the midground is a small cove with a boat, and the background is the coastline fading into the distance. You can achieve this kind of layered composition by tilting the camera toward the horizon instead of shooting purely from a top-down angle.
Post-processing: the final step toward the “wow” effect
10. Editing your drone footage
Which program is best for editing drone photos?
There are many editing programs available for editing drone footage. A well-known program for this is Adobe Lightroom. It’s easy to use and has all the features you need to make your drone footage stand out. Here are a few elements you can adjust:
Basic workflow:
- Import in DNG format and copy to a secondary storage location
- Adjust the white balance first
- Boost or reduce the shadows
- Adjust the highlights
- Slightly increase texture and clarity for more detail
- Adjust vibrance, never saturation
- Finish with dehaze for extra contrast
Nu știi sigur de ce licență ai nevoie?
Want to learn more and get tips from other drone pilots?
With Drone Class Plus, you’re guaranteed access to interesting (online) courses, such as photography, videography, and visual inspections. We also organize in-person activities for drone pilots, such as flying afternoons and field trips. Get your first month free and join us for our next flying session.
Try Drone Class Plus for free.