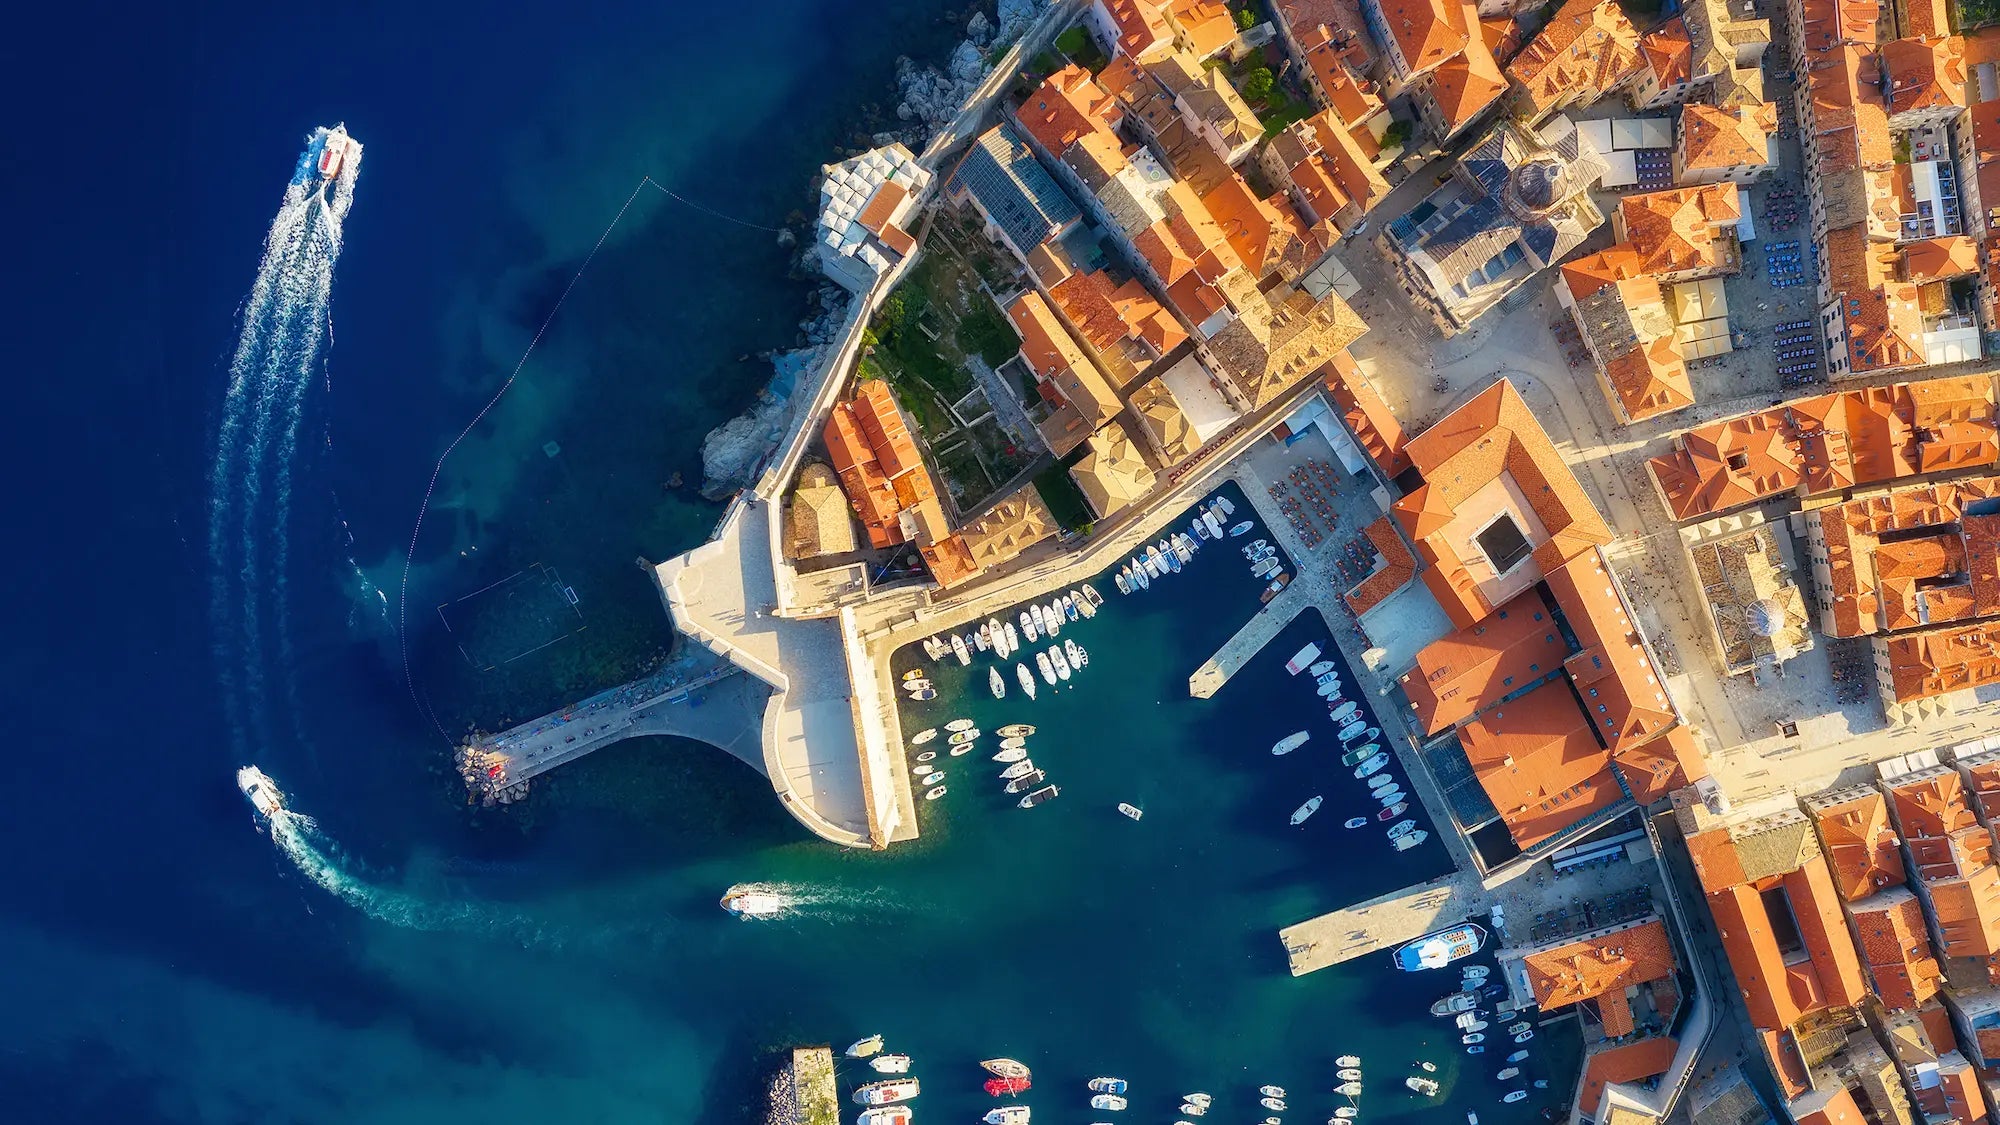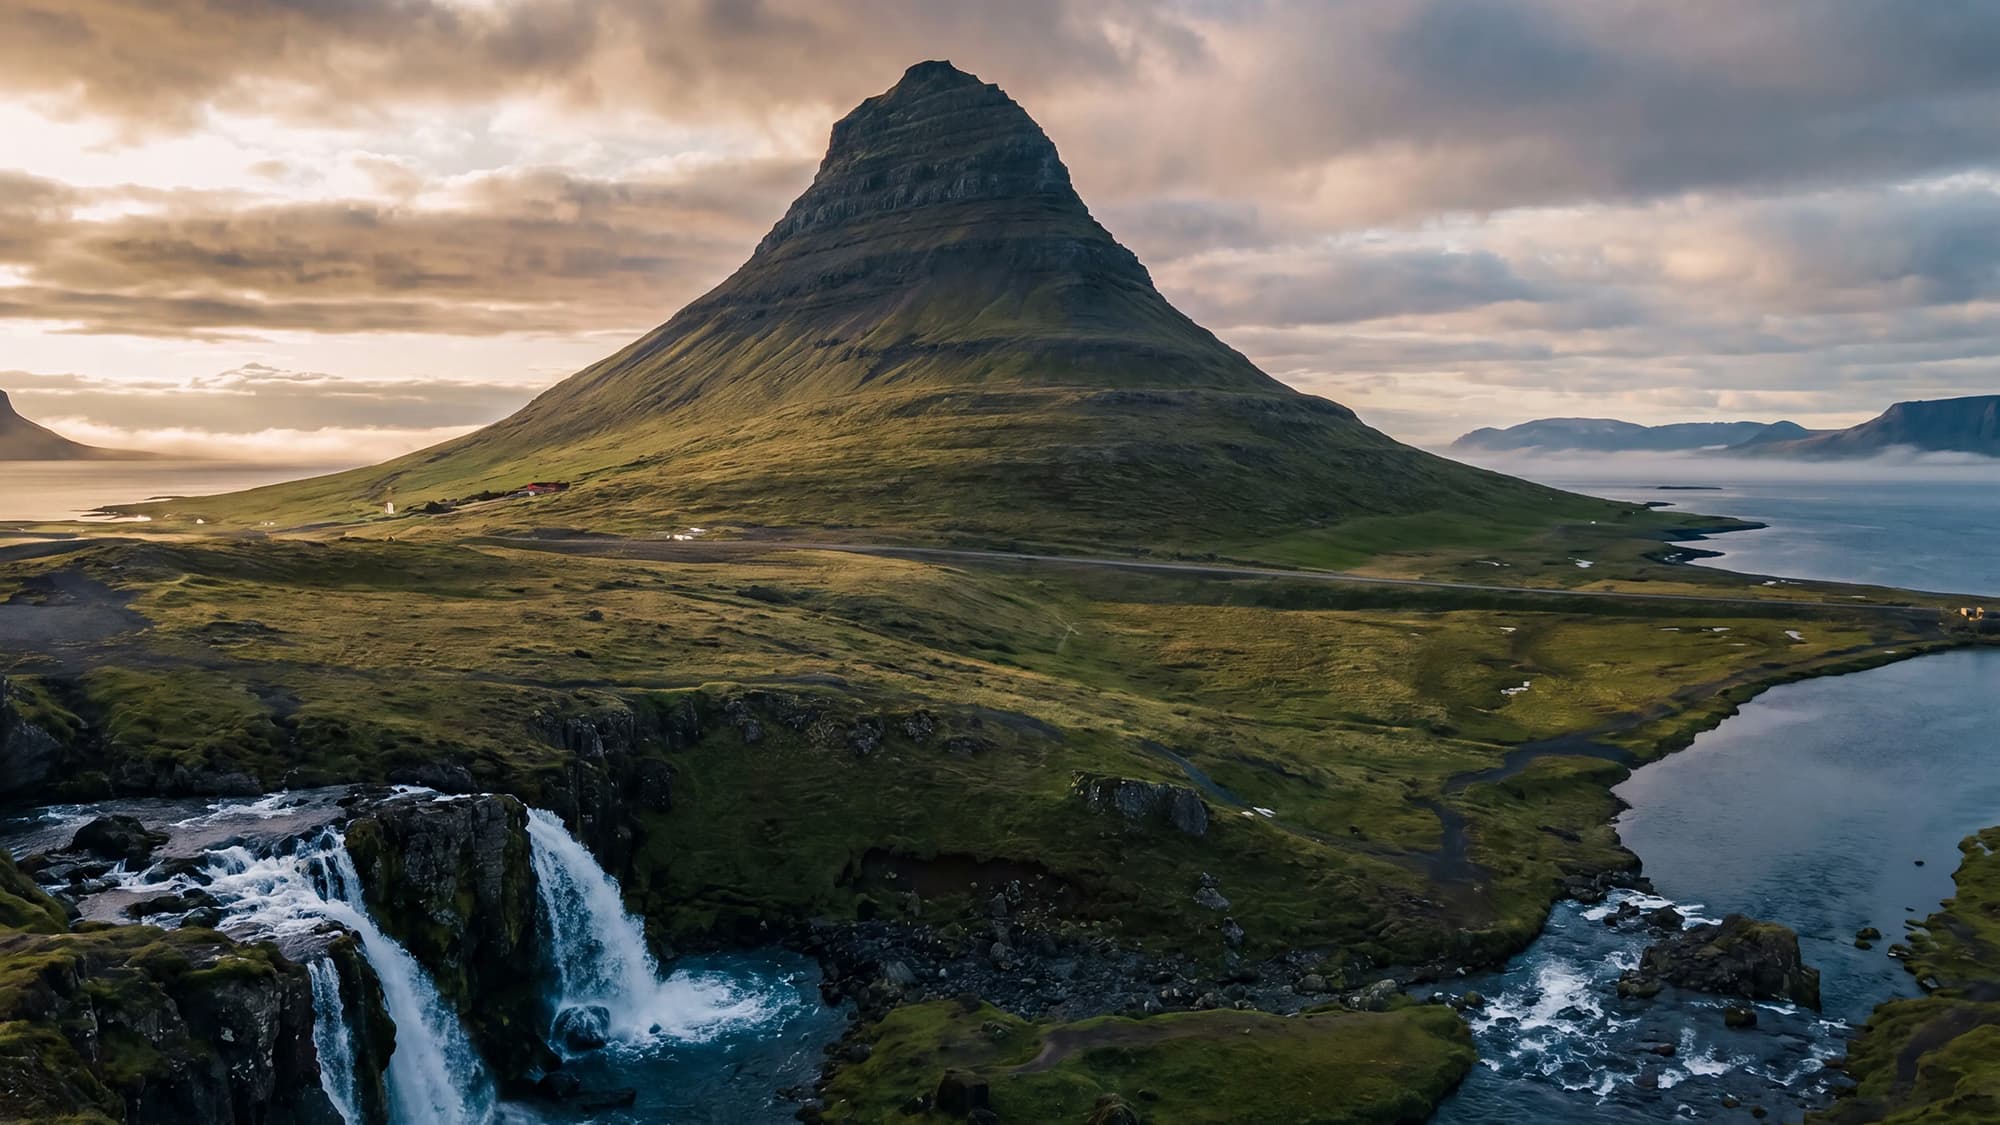
Em condições de iluminação desafiadoras, pode ser difícil capturar belas fotos com drones. Felizmente, existe o AEB (Auto Exposure Bracketing, ou sequência de exposições automáticas). O AEB oferece uma solução ao capturar várias exposições. Essas diferentes exposições podem ser sobrepostas usando um software de edição de fotos, criando uma foto dinâmica com drone.
Neste blog, aprenderá a usar o AEB para as suas fotos de drone.
Porquê usar o AEB?
Aqui estão algumas vantagens do AEB:
- Otimização da exposição
- Mais opções no pós-processamento
- Consistência em condições de iluminação variáveis
- Redução do ruído
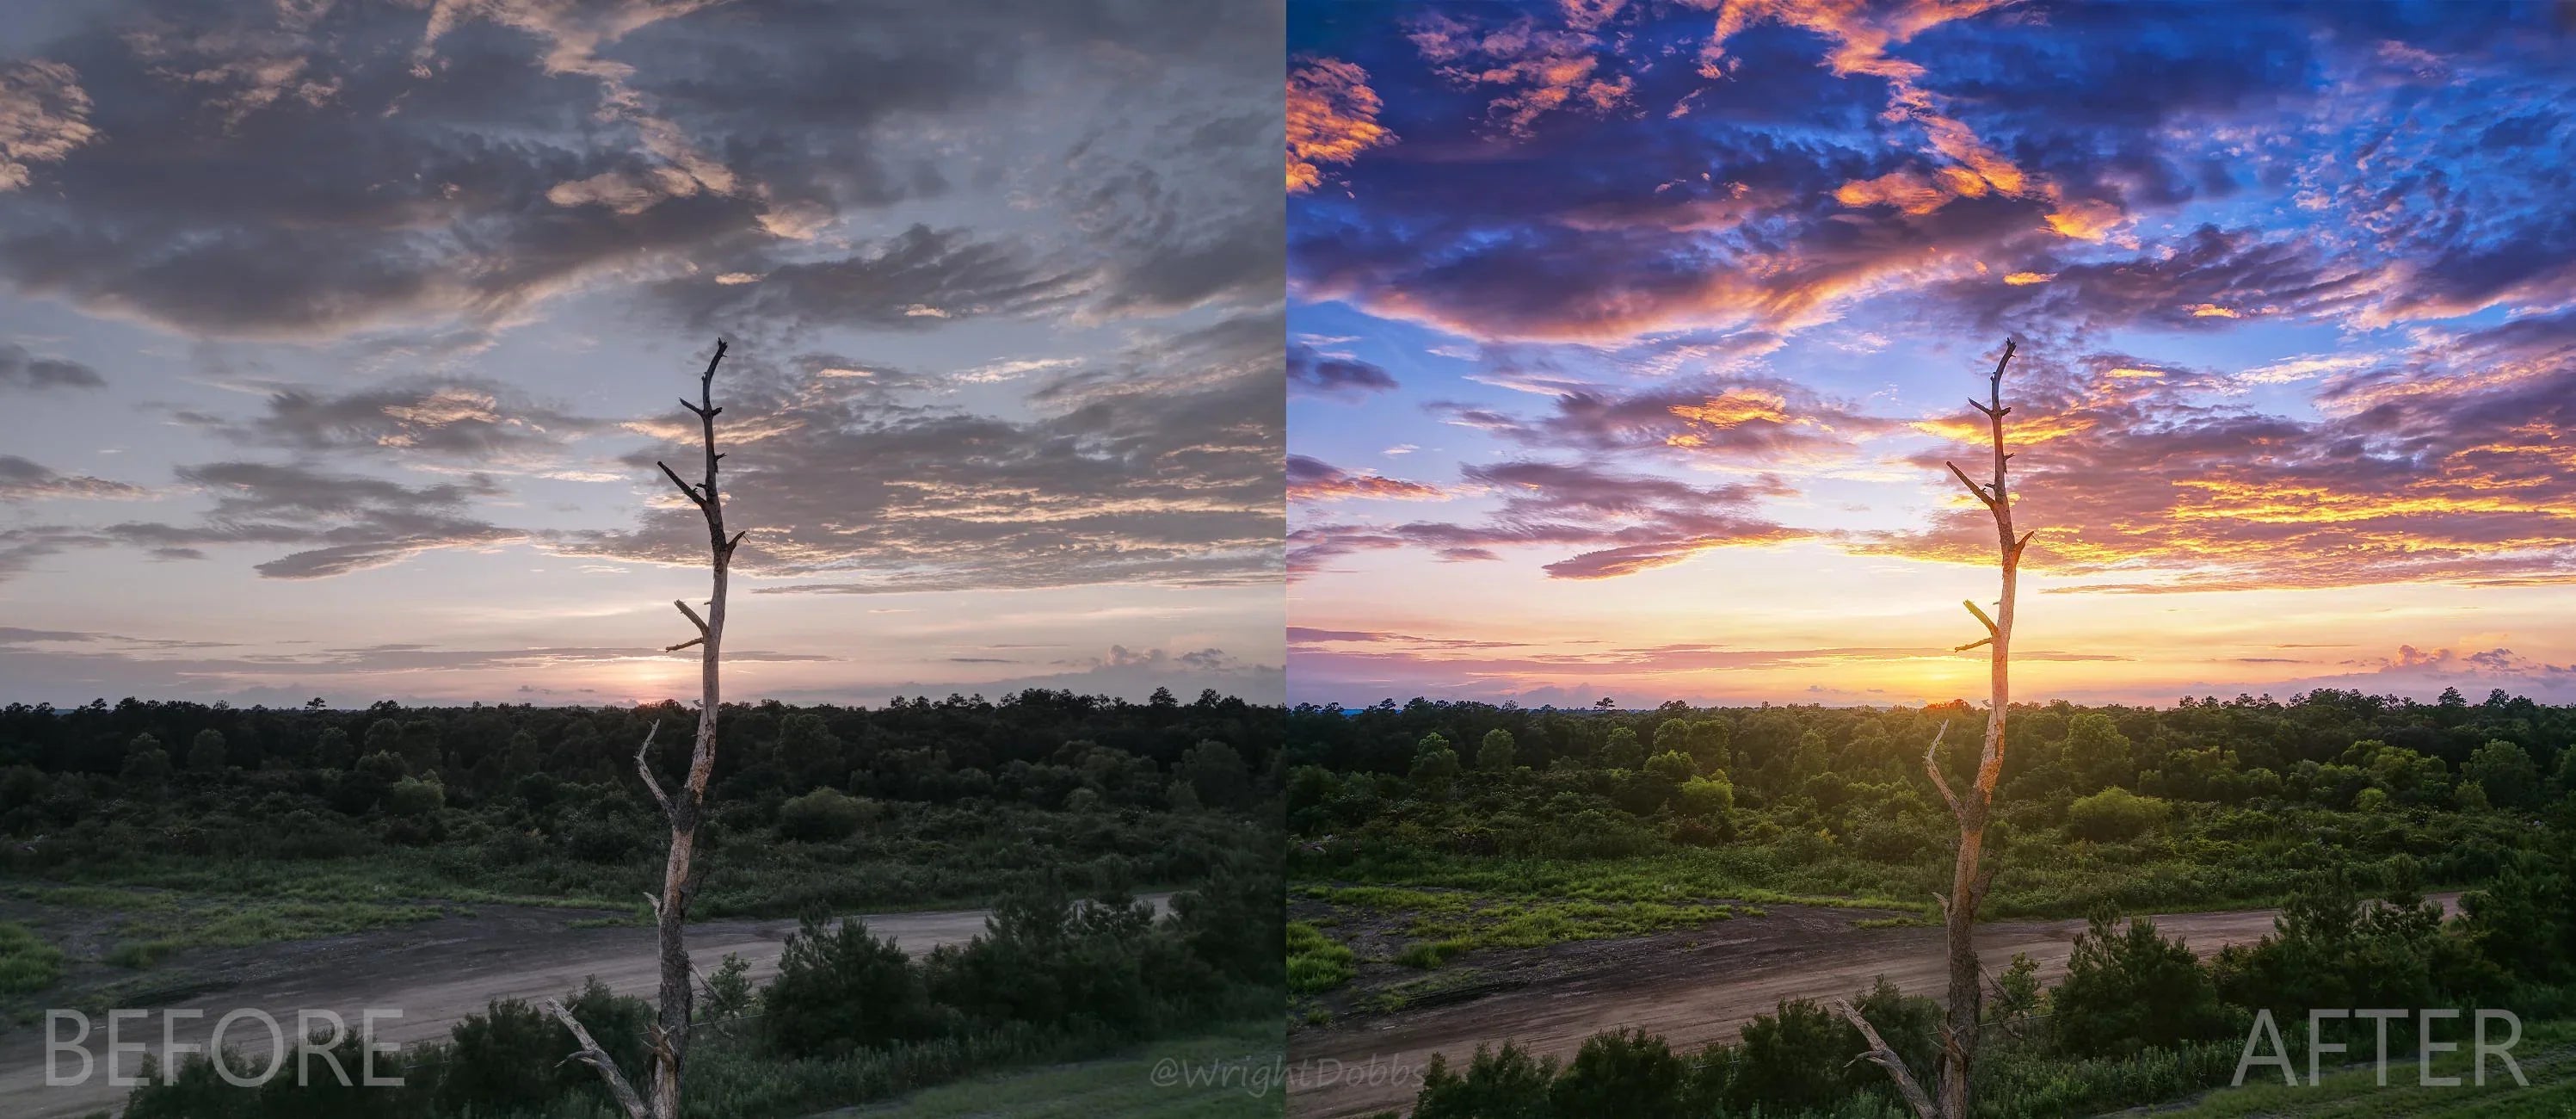
O AEB oferece mais controlo sobre o pós-processamento das suas fotos tiradas com drone. Ao capturar várias exposições, pode selecionar a foto perfeita ou, posteriormente, mesclar várias fotos em uma única imagem com a exposição ideal.
Qual é a diferença entre uma foto AEB e uma foto HDR?
Com o AEB, são tiradas três a cinco fotos separadas com diferentes configurações de exposição. Uma foto fica subexposta e outra fica superexposta. As restantes fotos têm exposições intermediárias. Você pode então selecionar a foto com a melhor exposição ou mesclar todas as fotos usando um programa de pós-processamento.
Com o HDR, as diferentes imagens são automaticamente combinadas numa única fotografia. Nota: Com o HDR, não é possível selecionar e combinar manualmente diferentes exposições posteriormente.
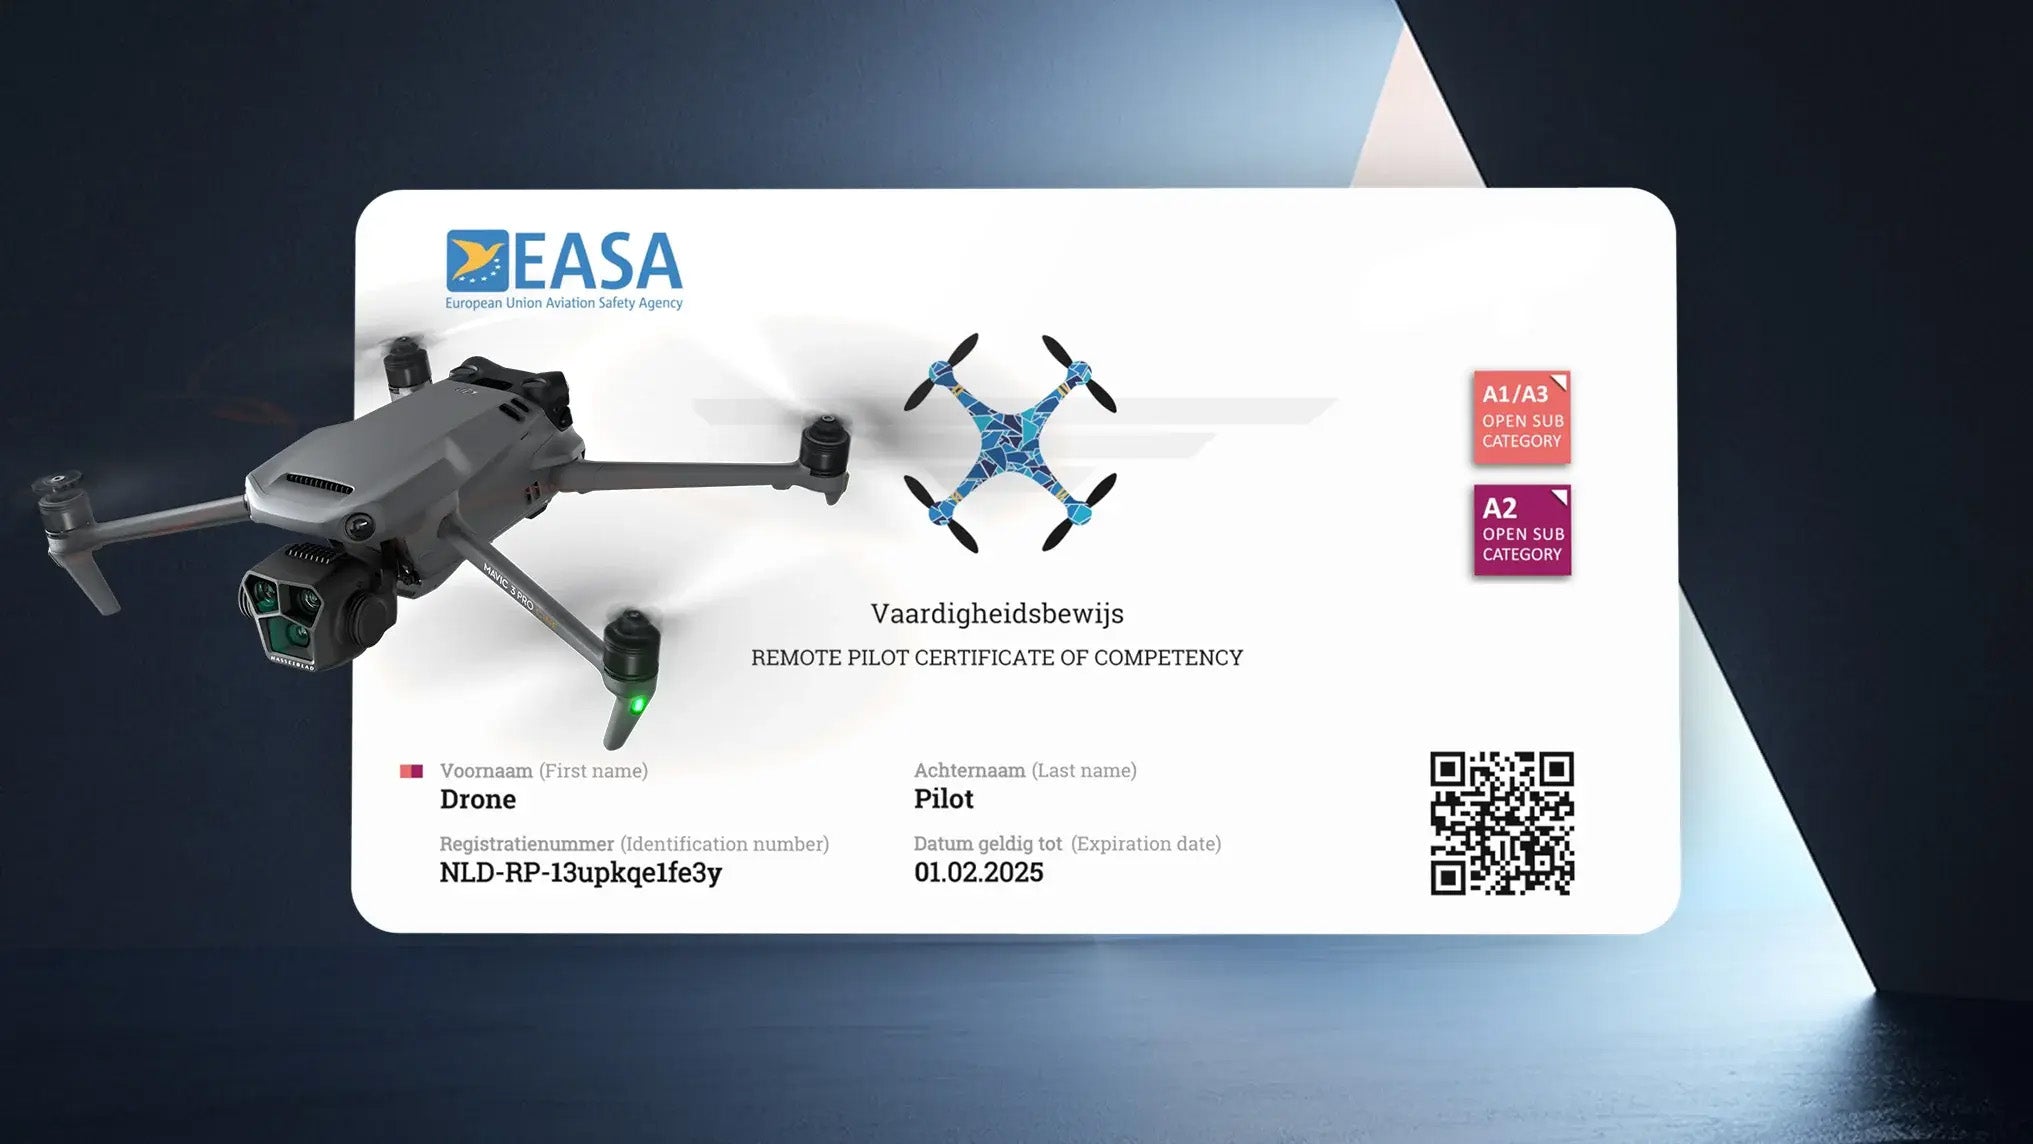
Não sabe qual a licença de que precisa?
Como configurar o AEB no seu drone
Siga estes passos na aplicação de voo do dispositivo DJI:
- Vá para as definições
- Selecione o ícone da câmara
- Abra a configuração «fotos»
- Selecione AEB
- Selecione o número de exposições (fotos)


Mesclando fotos AEB no pós-processamento
Quando seleciona AEB, são tiradas fotos com diferentes exposições. Essas fotos podem ser mescladas para obter um resultado ideal. Para isso, será necessário um programa de pós-processamento, como Lightroom CC, LR Enfuse ou Aurora HDR.
Utilizamos o Adobe Lightroom para o pós-processamento das nossas fotos tiradas com drones. Para mesclar as fotos com diferentes exposições tiradas com AEB, siga estes passos:
- Importe as fotos que deseja mesclar para o Lightroom
- Vá para «Desenvolver»
- Selecione as fotos que deseja juntar
- Vá para a opção «Foto» no menu superior
- Selecione a opção «Photo Merge» (Mesclar fotos) e, em seguida, «HDR».
- Selecione as seguintes configurações:
- ✅ Alinhamento automático
- ✅ Tom automático
- Quantidade de Deghost -> Baixa
- ✅ Mostrar sobreposição Deghost
- Clique em «Mesclar»
Em seguida, pode editar ainda mais a foto criada com o software.
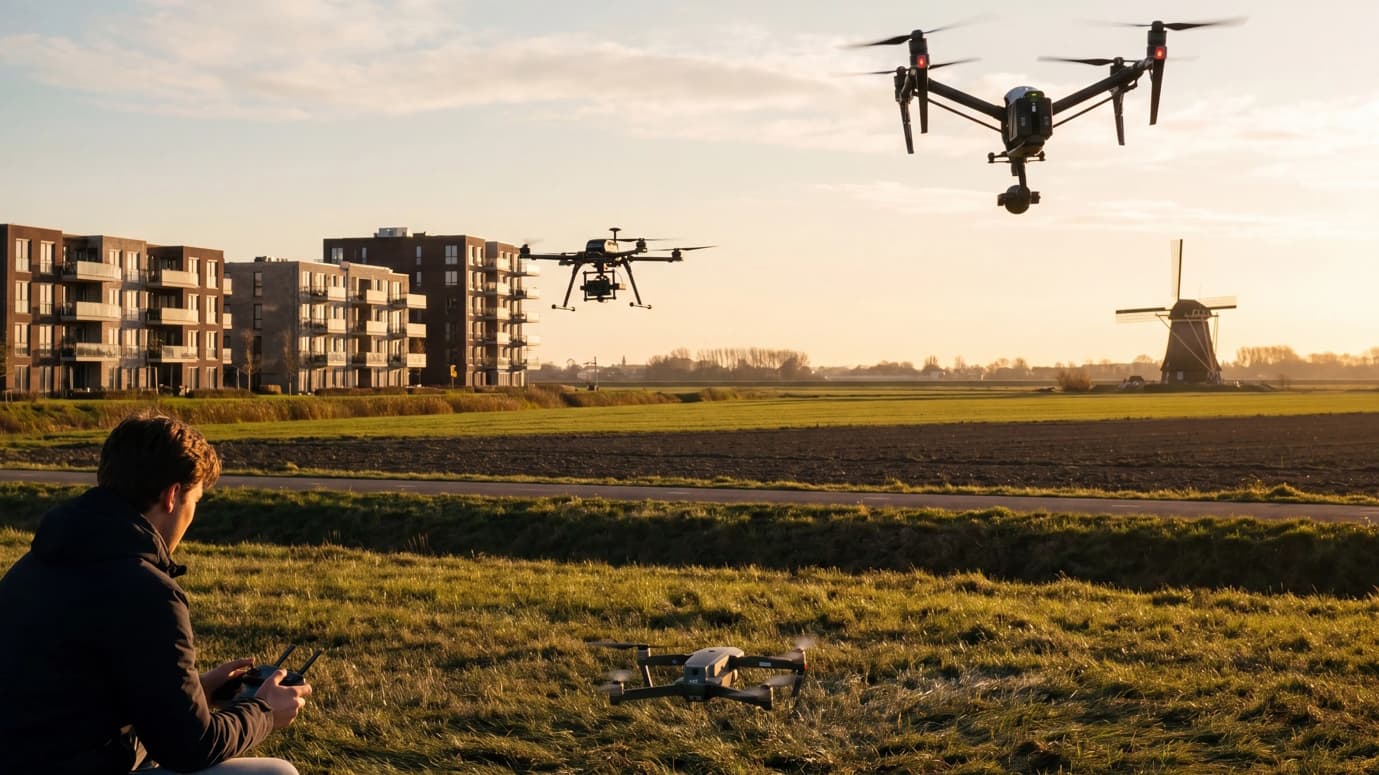
Voar um drone na Holanda
When flying a drone, there are several drone rules you need to consider. Violating drone rules can result in a hefty fine.
Além disso, muitas vezes é necessário obter um certificado antes de poder pilotar um drone na Holanda. Atravésdo nosso guia de seleção , pode ver rapidamente qual certificado precisa obter para pilotar o seu drone na Holanda.