Vous souhaitez vous lancer dans la photographie par drone ? Ou vous avez du mal à réaliser de superbes clichés avec votre drone ? Vos photos sont-elles toujours sous-exposées ou surexposées ? Alors ces conseils pourraient vous aider. Dans cet article, nous allons vous expliquer comment réaliser des photos par drone parfaitement exposées.
À quel moment de la journée faut-il faire voler son drone ?
Lever du soleil
Le grand avantage du lever du soleil, c'est que l'endroit où vous souhaitez prendre vos photos sera probablement calme. Les sites touristiques, en particulier, peuvent être pris d'assaut par les visiteurs. Juste avant le lever du soleil, vous serez peut-être même le seul sur place. De plus, le lever du soleil offre la « golden hour », qui confère à vos photos une lumière chaude et douce. L'inconvénient du lever du soleil est que vous ne pouvez savoir si la journée sera nuageuse ou brumeuse qu'une fois la lumière apparue. Vous vous serez peut-être levé tôt pour rien.
+ L'heure dorée, avec beaucoup de couleurs chaudes et douces
+ C'est encore calme, il y a peu de monde
- Il pourrait y avoir des nuages ou du brouillard
Midi
En début d'après-midi, le soleil est à son zénith. L'avantage de ce moment de la journée est que les ombres posent moins de problèmes. À cette heure-là, vous pouvez obtenir des images nettes. Vers midi, la lumière est un peu plus crue, ce qui augmente le risque de surexposition. Vous pouvez y remédier à l'aide d'un filtre ND ou lors du traitement post-prise de vue.
+ Pas d'ombres, des images nettes et claires
- Risque de surexposition
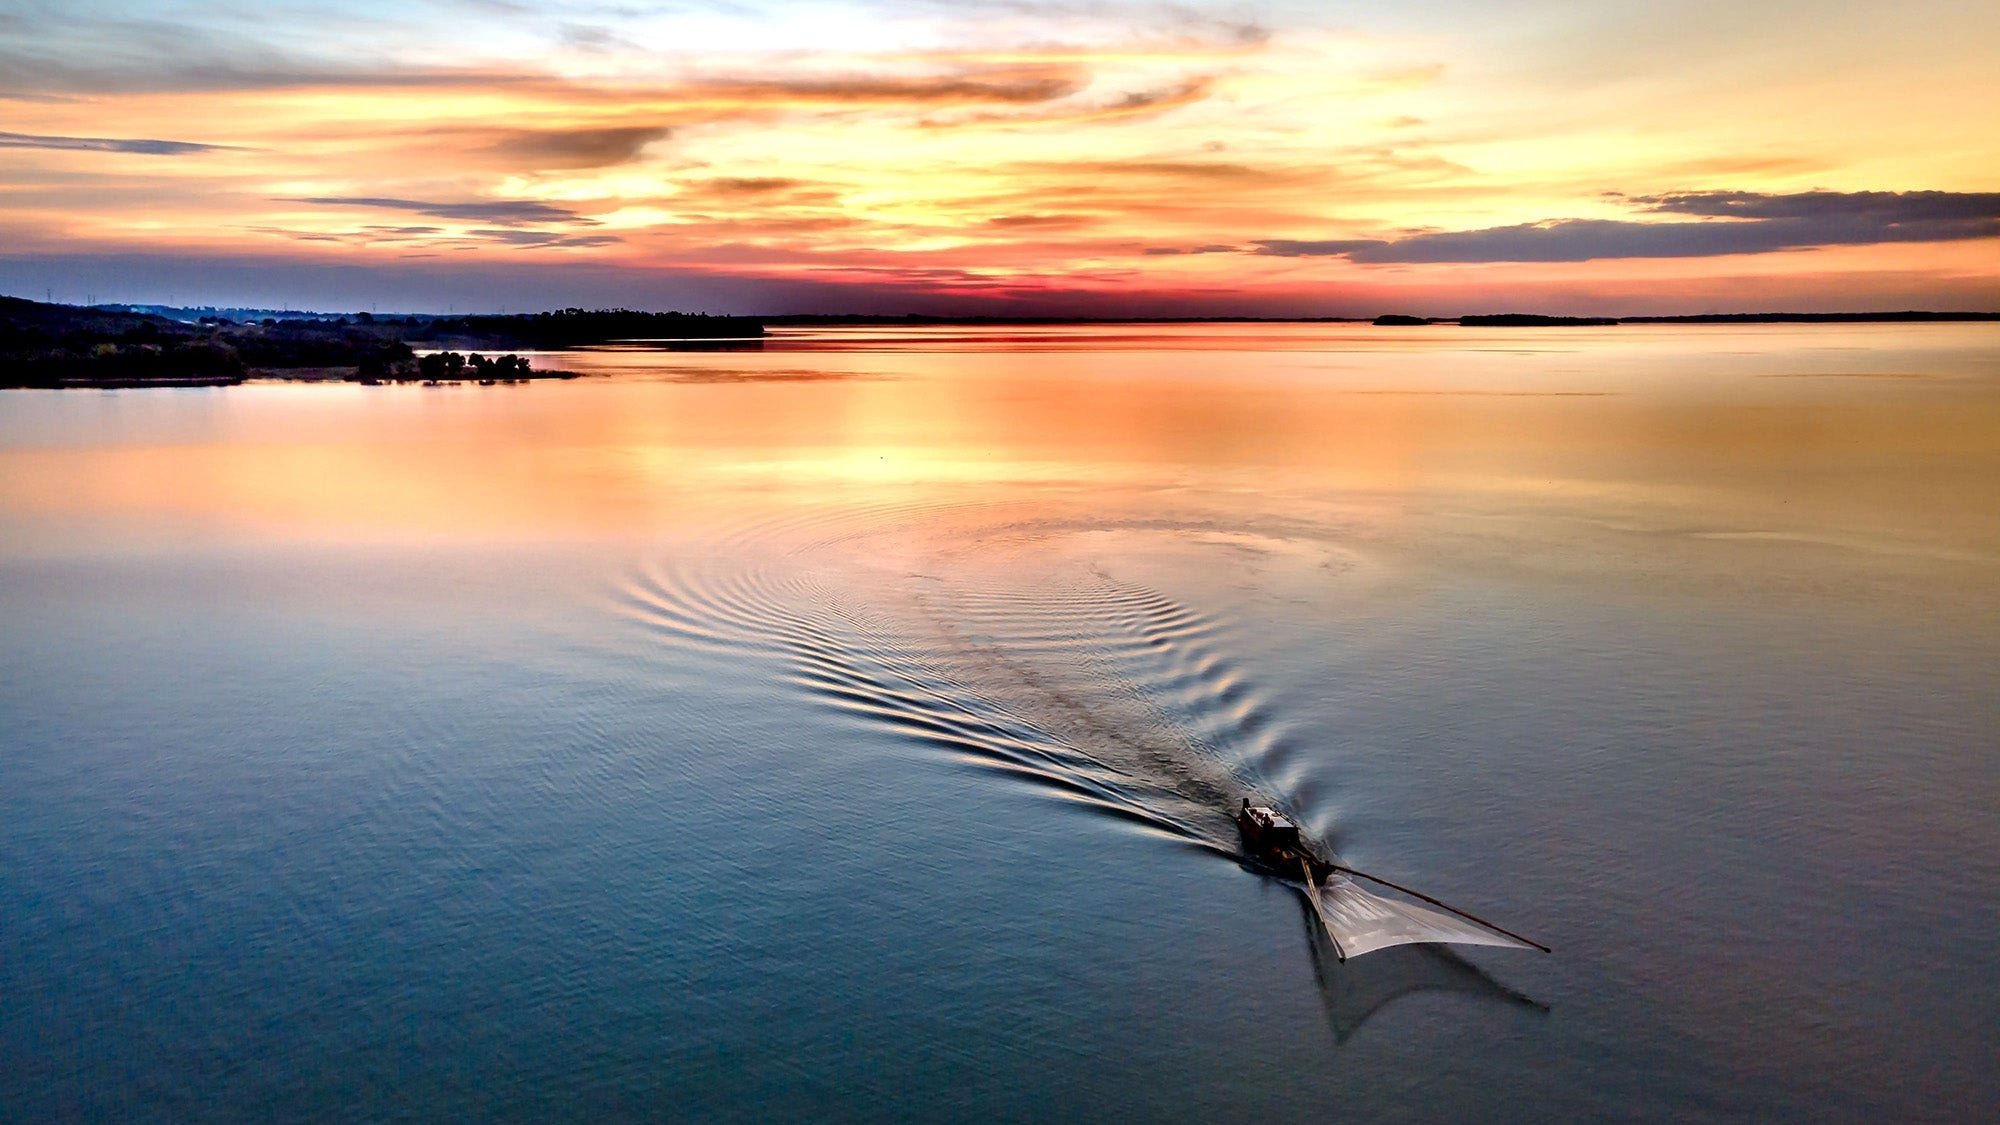
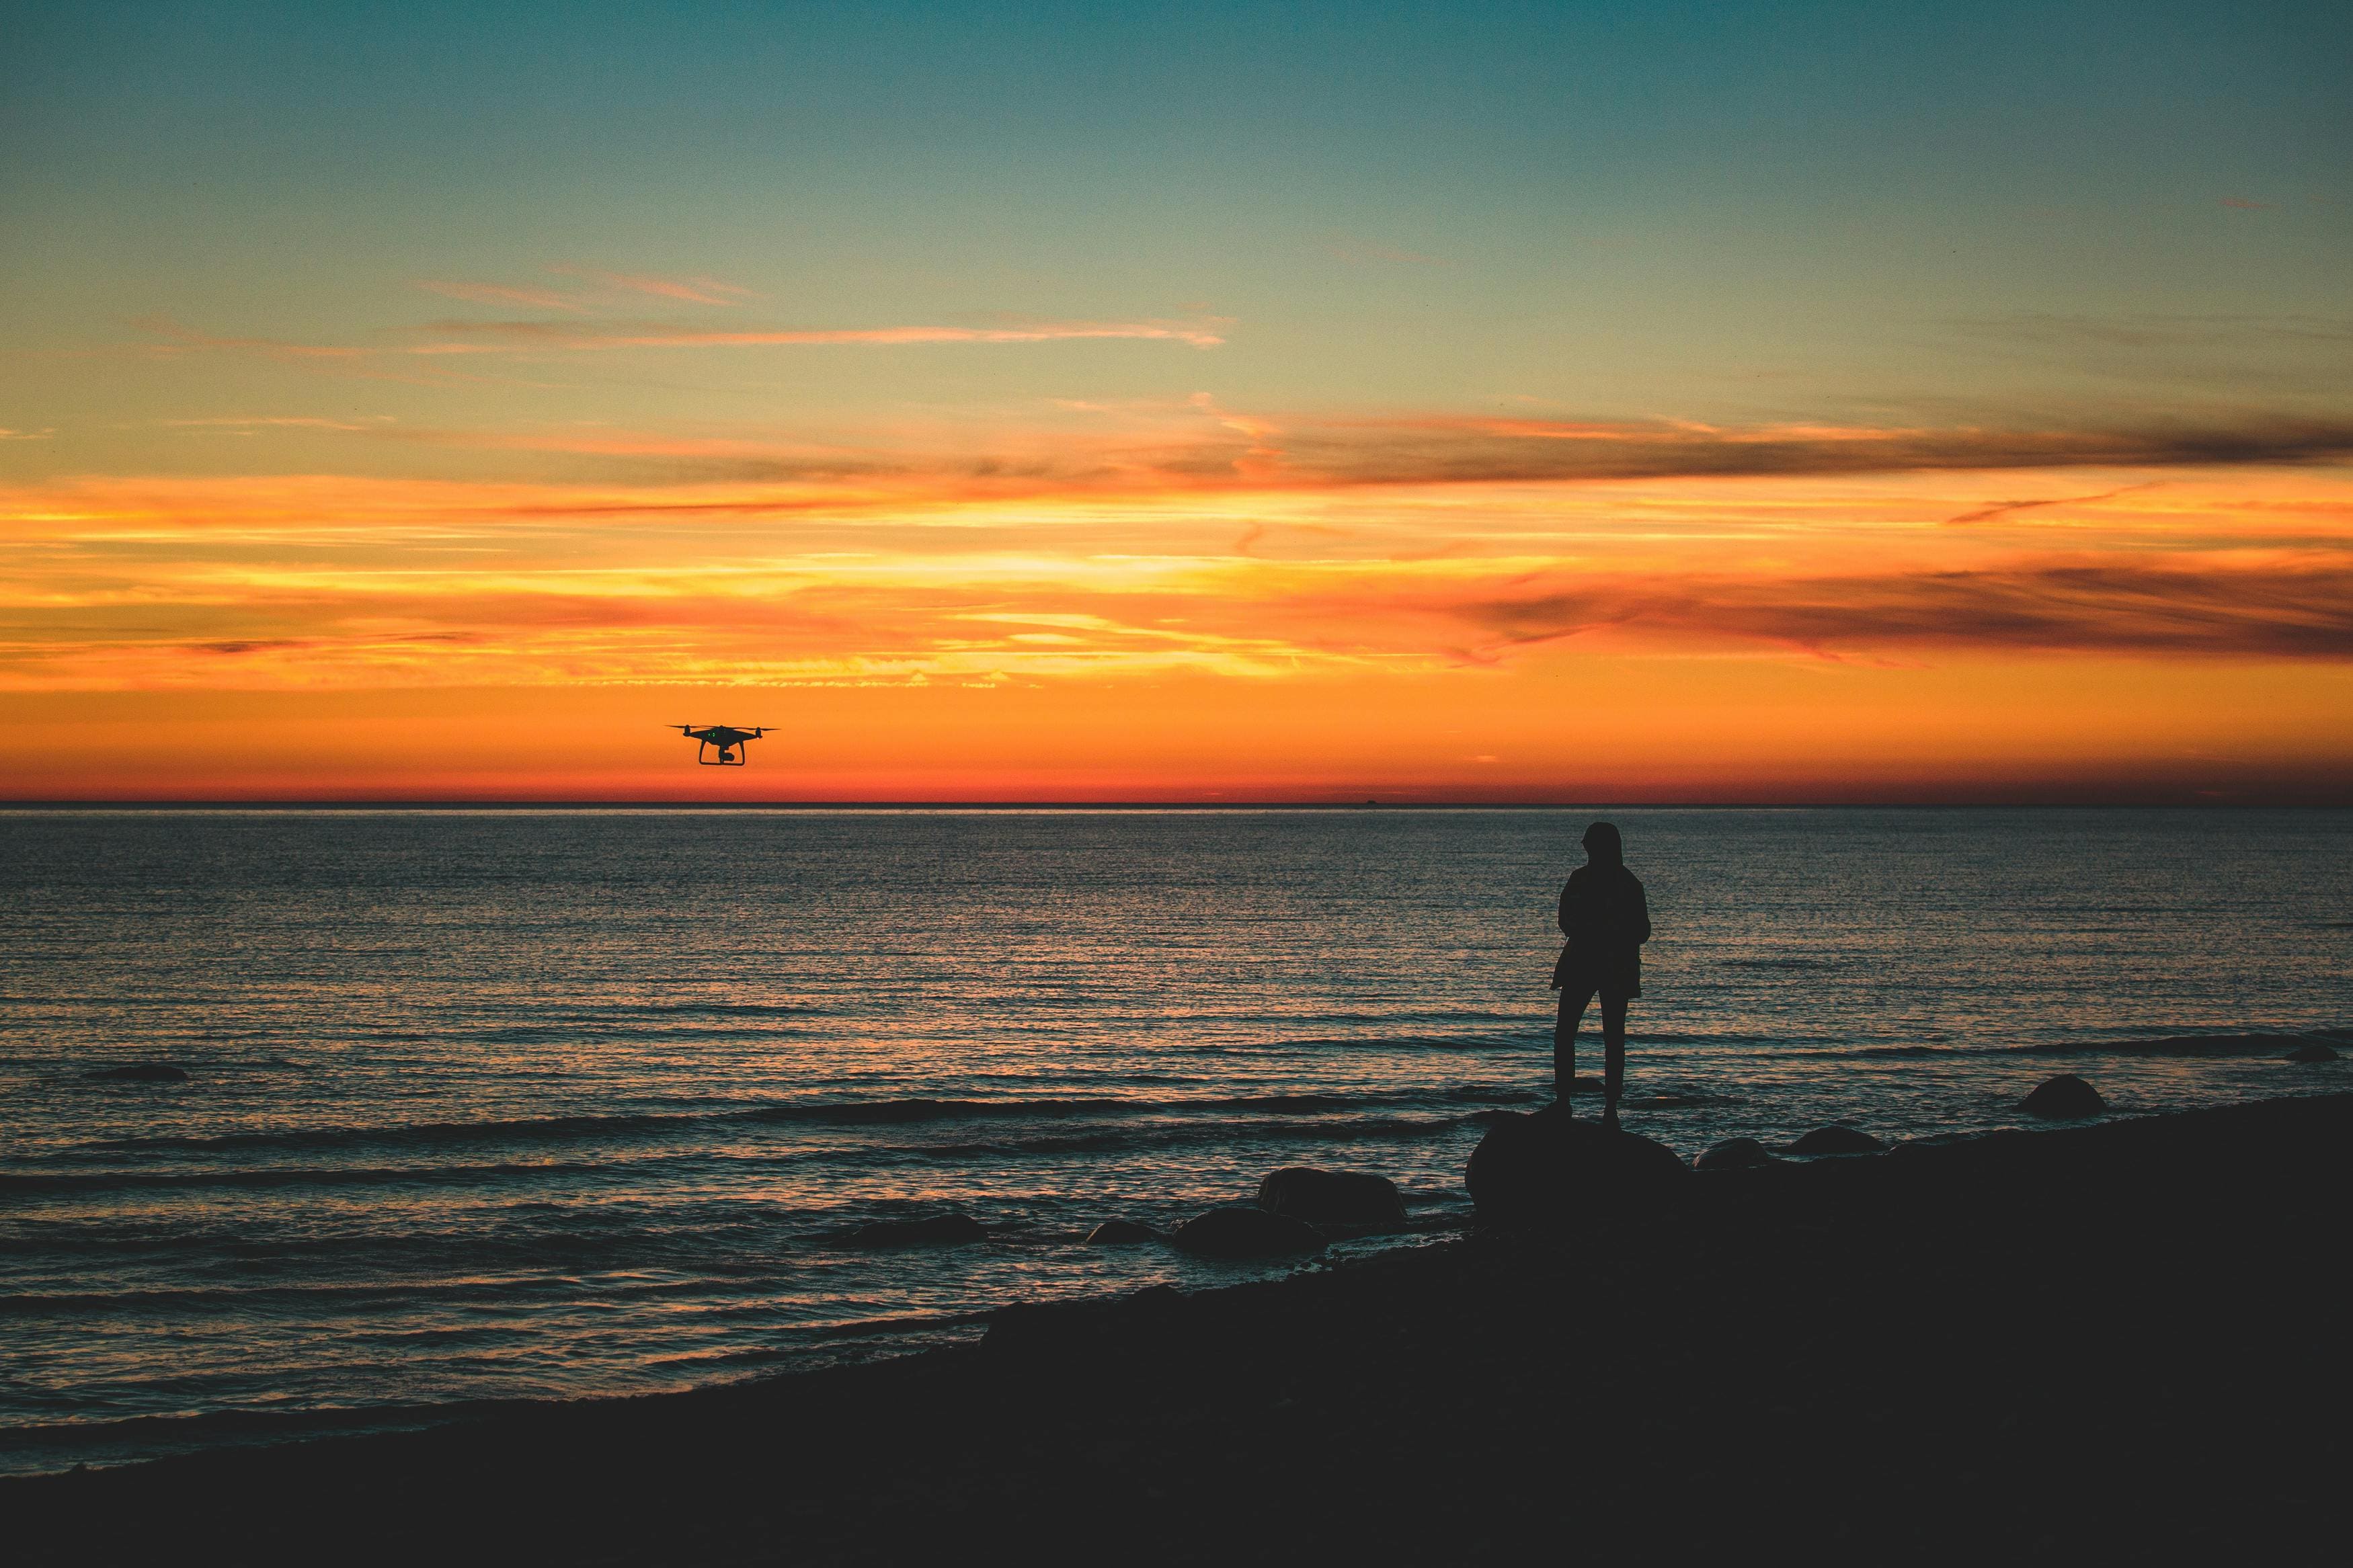
Coucher de soleil
Le coucher de soleil marque le retour de « l'heure dorée », qui baigne vos photos d'une lumière chaleureuse. L'inconvénient du coucher de soleil, c'est qu'il y a beaucoup de monde et qu'il n'est pas toujours possible de prendre des photos en toute tranquillité. L'avantage, c'est que vous pouvez voir dès la journée s'il y a beaucoup de nuages et si le coucher de soleil sera dégagé.
+ L'heure dorée, avec ses nombreuses couleurs chaudes et douces
+ Souvent très animé, avec beaucoup de monde dans les rues

Quels sont les paramètres importants ?
Tout comme pour les appareils photo traditionnels, le triangle d'or s'applique également aux drones :
- Ouverture : adaptez votre ouverture à la lumière disponible. Une ouverture plus petite (un nombre f plus élevé) offre une plus grande profondeur de champ.
- Vitesse d'obturation : la vitesse d'obturation détermine la durée d'exposition du capteur. Une vitesse d'obturation rapide est idéale pour « figer » les mouvements rapides. Plus la vitesse d'obturation est longue, plus le mouvement est capturé, ce qui crée des effets de lumière fluides.
- ISO : En réglant la sensibilité ISO, vous réglez la sensibilité du capteur de l'appareil photo. Maintenez la sensibilité ISO aussi basse que possible pour réduire le bruit au minimum. Cela garantit des images plus nettes.
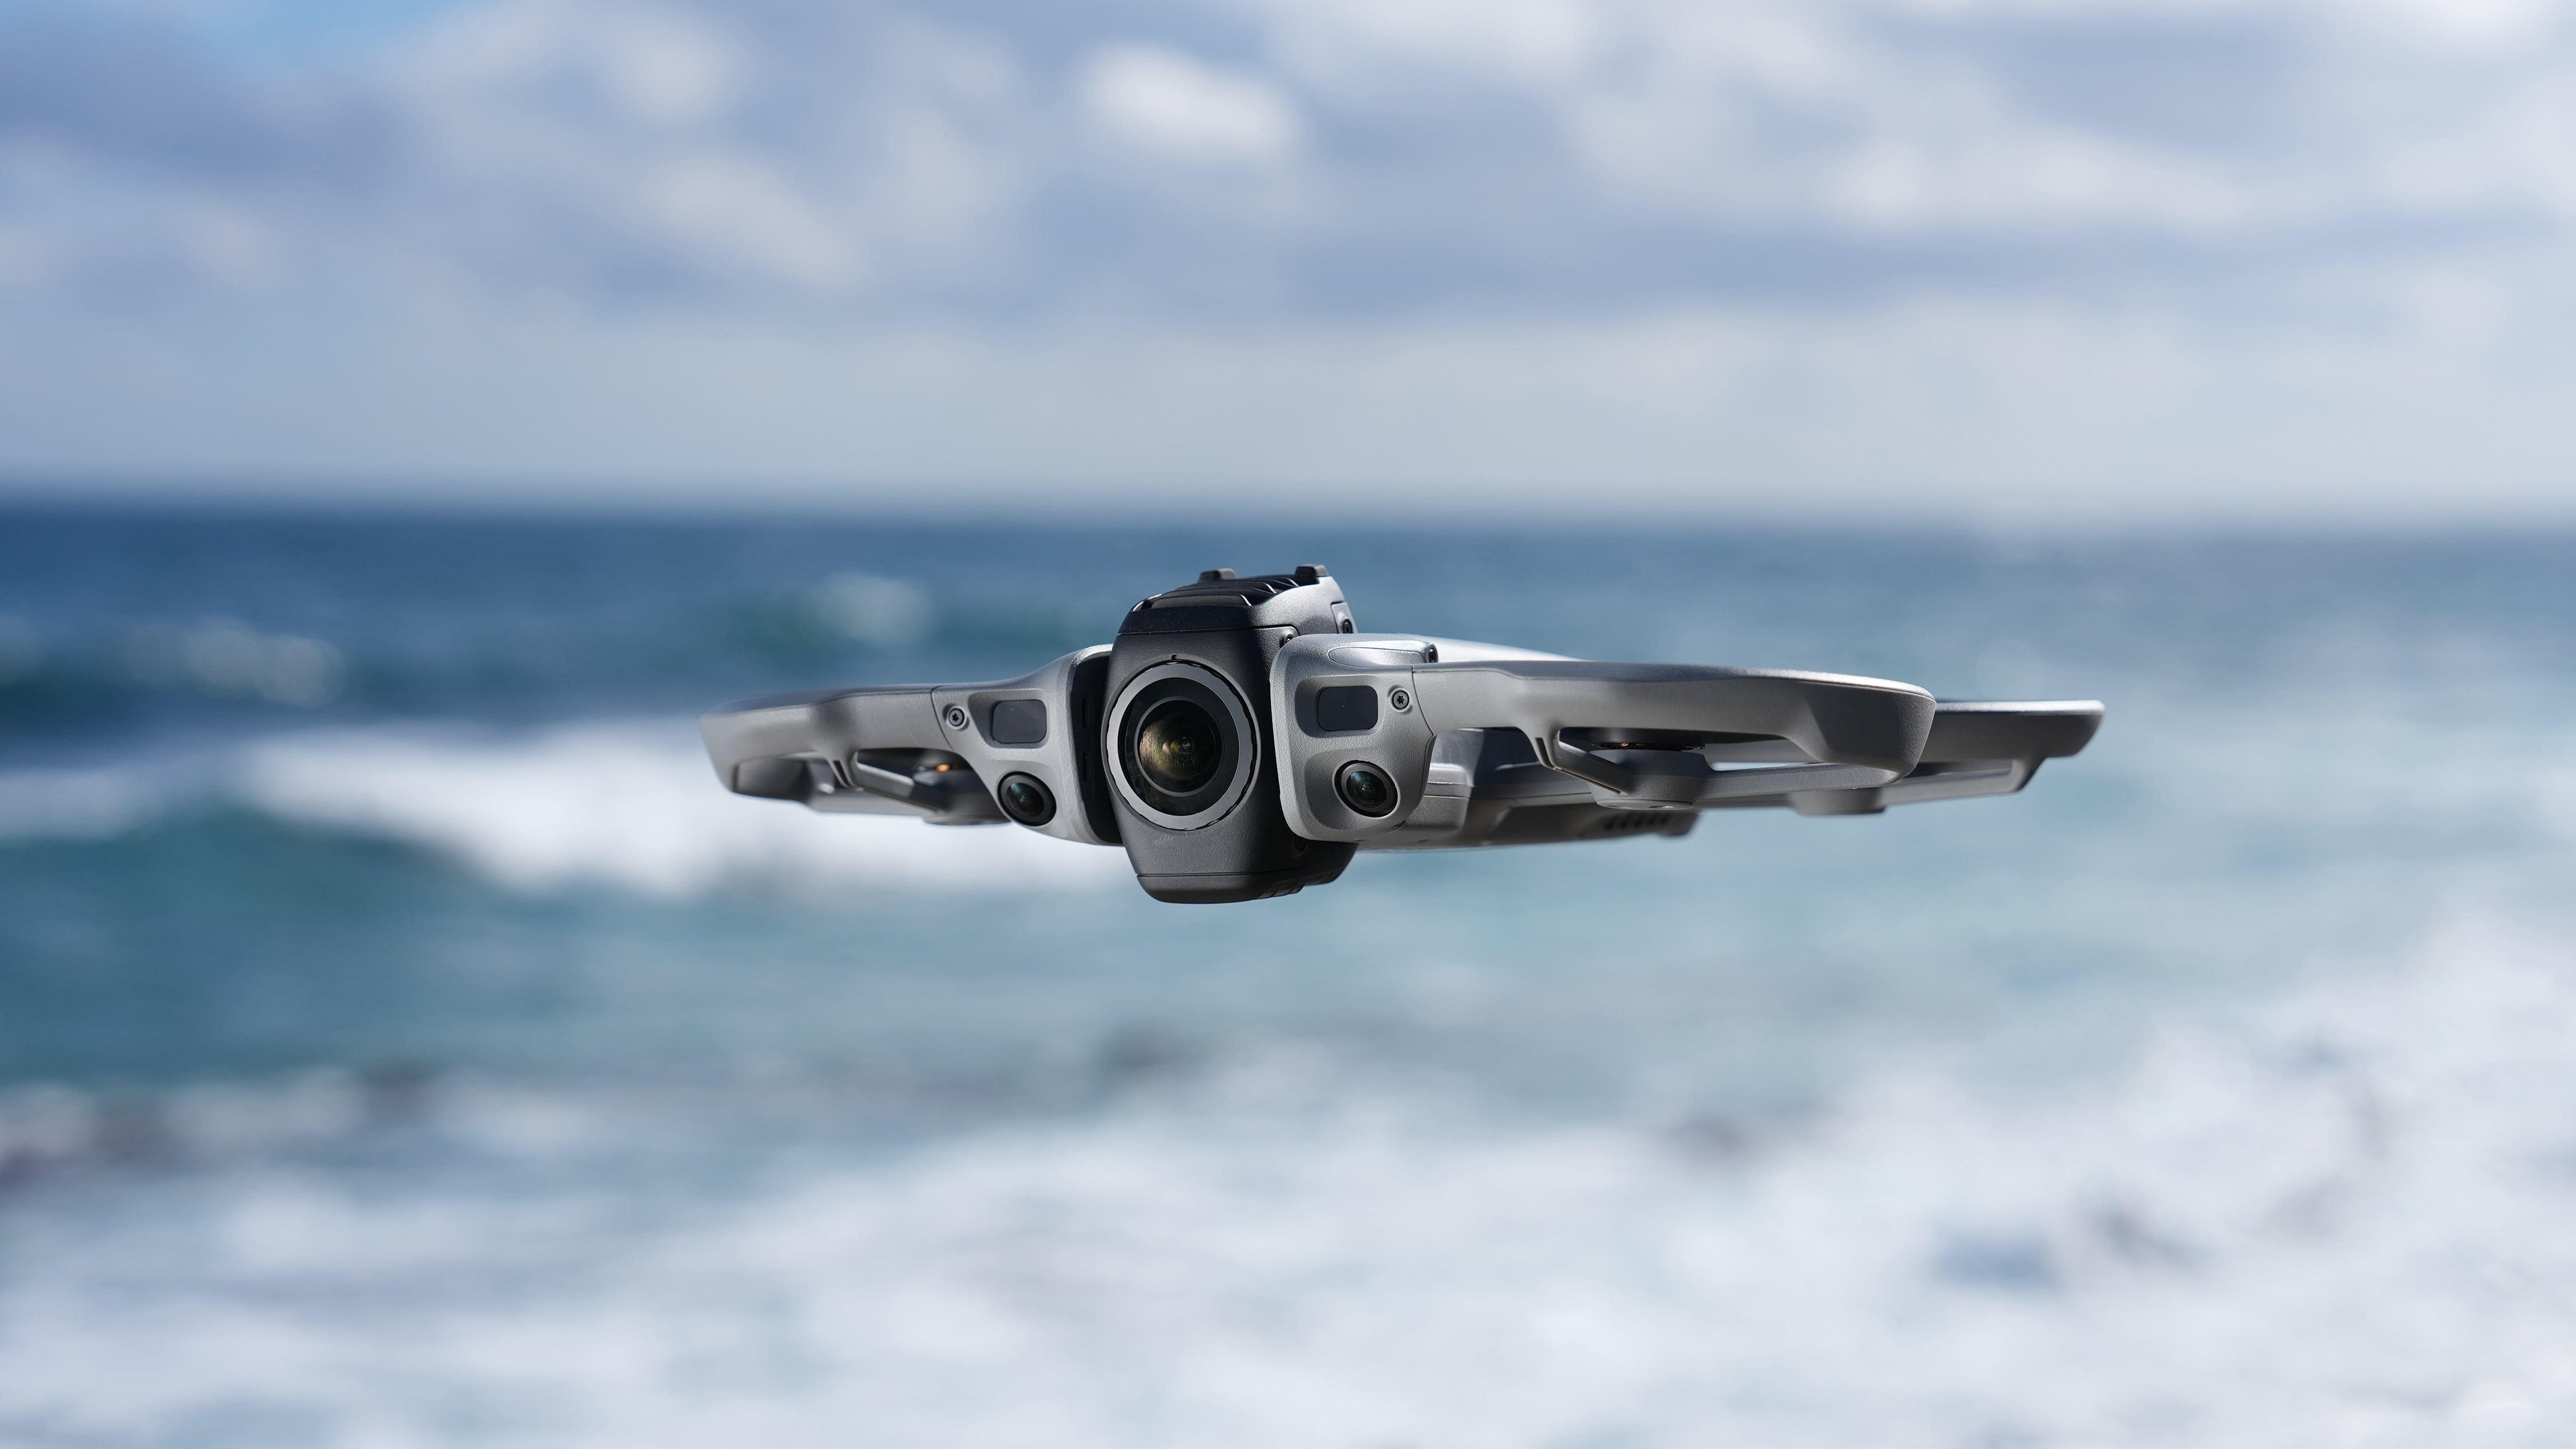
Malheureusement, sur les drones équipés d'un petit capteur, l'ouverture n' est pas réglable. Cela signifie que vous ne pouvez régler que la vitesse d'obturation et la sensibilité ISO. Si nécessaire, vous pouvez utiliser un filtre ND pour disposer de plus d'options.
Vous ne savez pas quelle licence choisir ?
D-log ou profil de couleur
Si vous comptez vous lancer dans la vidéographie par drone, vous avez le choix entre deux modes d'enregistrement : D-Log ou profil de couleur. D-Log : ce mode offre une plage dynamique plus étendue, ce qui vous donne davantage de souplesse lors du post-traitement. Il convient aux pilotes de drone qui souhaitent disposer d'une grande liberté lors du post-traitement, notamment en matière de correction des couleurs.
Profil de couleur : si vous souhaitez utiliser les images prises par drone immédiatement ou après un traitement minimal, choisissez un profil de couleur standard.
RAW ou JPG
En photographie, vous avez le choix entre deux formats de fichier : RAW ou JPG.
RAW : Lorsque vous photographiez en RAW, le niveau de détail capturé est bien plus élevé. Cela vous offre une plus grande flexibilité lors du traitement post-prise de vue. L'inconvénient de la prise de vue en RAW est qu'elle génère des fichiers volumineux et nécessite donc beaucoup plus d'espace de stockage.
JPG : Si vous souhaitez limiter le traitement post-prise de vue au minimum et utiliser vos photos immédiatement, optez pour le format JPG. La photo est compressée afin de réduire la taille du fichier.
Si vous ne pouvez pas ou ne souhaitez pas faire de choix, vous pouvez sélectionner « JPG+RAW » afin que la photo soit enregistrée dans les deux formats.

Quelques conseils supplémentaires
C'est parti ! Vous pouvez tester différents réglages de caméra pour tirer le meilleur parti de vos photos et vidéos prises par drone et laisser libre cours à votre créativité.
Photographie :
- Réglez la sensibilité ISO au niveau le plus bas possible (100-200) pour éviter le bruit
- Choisissez le format RAW si vous souhaitez retoucher vos photos ou conserver cette option
- Utilisez la fonction AEB pour sélectionner la photo la mieux exposée (par la suite)
Vidéographie :
- Réglez la sensibilité ISO au niveau le plus bas possible (100-200) pour éviter le bruit
- La vitesse d'obturation doit être deux fois supérieure à la fréquence d'images pour obtenir un mouvement fluide
- Sélectionnez « D-log » (uniquement) pour un post-traitement approfondi
Comment utilisez-vous les filtres ND sur votre drone ?
Un filtre ND agit comme une sorte de « lunettes de soleil » pour votre drone. Vous placez ce filtre gris sur la caméra de votre drone. Le filtre est constitué de verre foncé qui bloque la lumière. Les filtres ND existent en différentes intensités. Par exemple, un filtre ND16 bloque 3 diaphragmes de lumière. Cela signifie que la vitesse d'obturation de votre caméra est allongée de 3 diaphragmes. En plein soleil, par exemple, vous utiliserez un filtre ND8 ou ND16. Par temps nuageux, ces filtres donneront une exposition (trop) sombre. Dans ce cas, choisissez un filtre plus clair ou retirez le filtre ND de la caméra. Lorsque vous achetez un kit de filtres ND, vous disposez de filtres ND de différentes intensités.
Pour finir : comment utilise-t-on l'AEB ?
La fonction AEB est très utile pour obtenir des images parfaitement exposées. Elle permet de prendre plusieurs clichés d'une même scène. Vous pouvez ensuite superposer ces différentes expositions à l'aide d'un logiciel de retouche photo afin de créer une image dynamique (HDR).
Résumé
Choisissez le moment de la journée qui vous convient pour la prise de vue et réglez manuellement la caméra de votre drone. Sur les petits drones, vous ne pouvez régler que la vitesse d'obturation et la sensibilité ISO. Utilisez un filtre ND lorsque vous filmez, et ce, surtout en plein soleil.