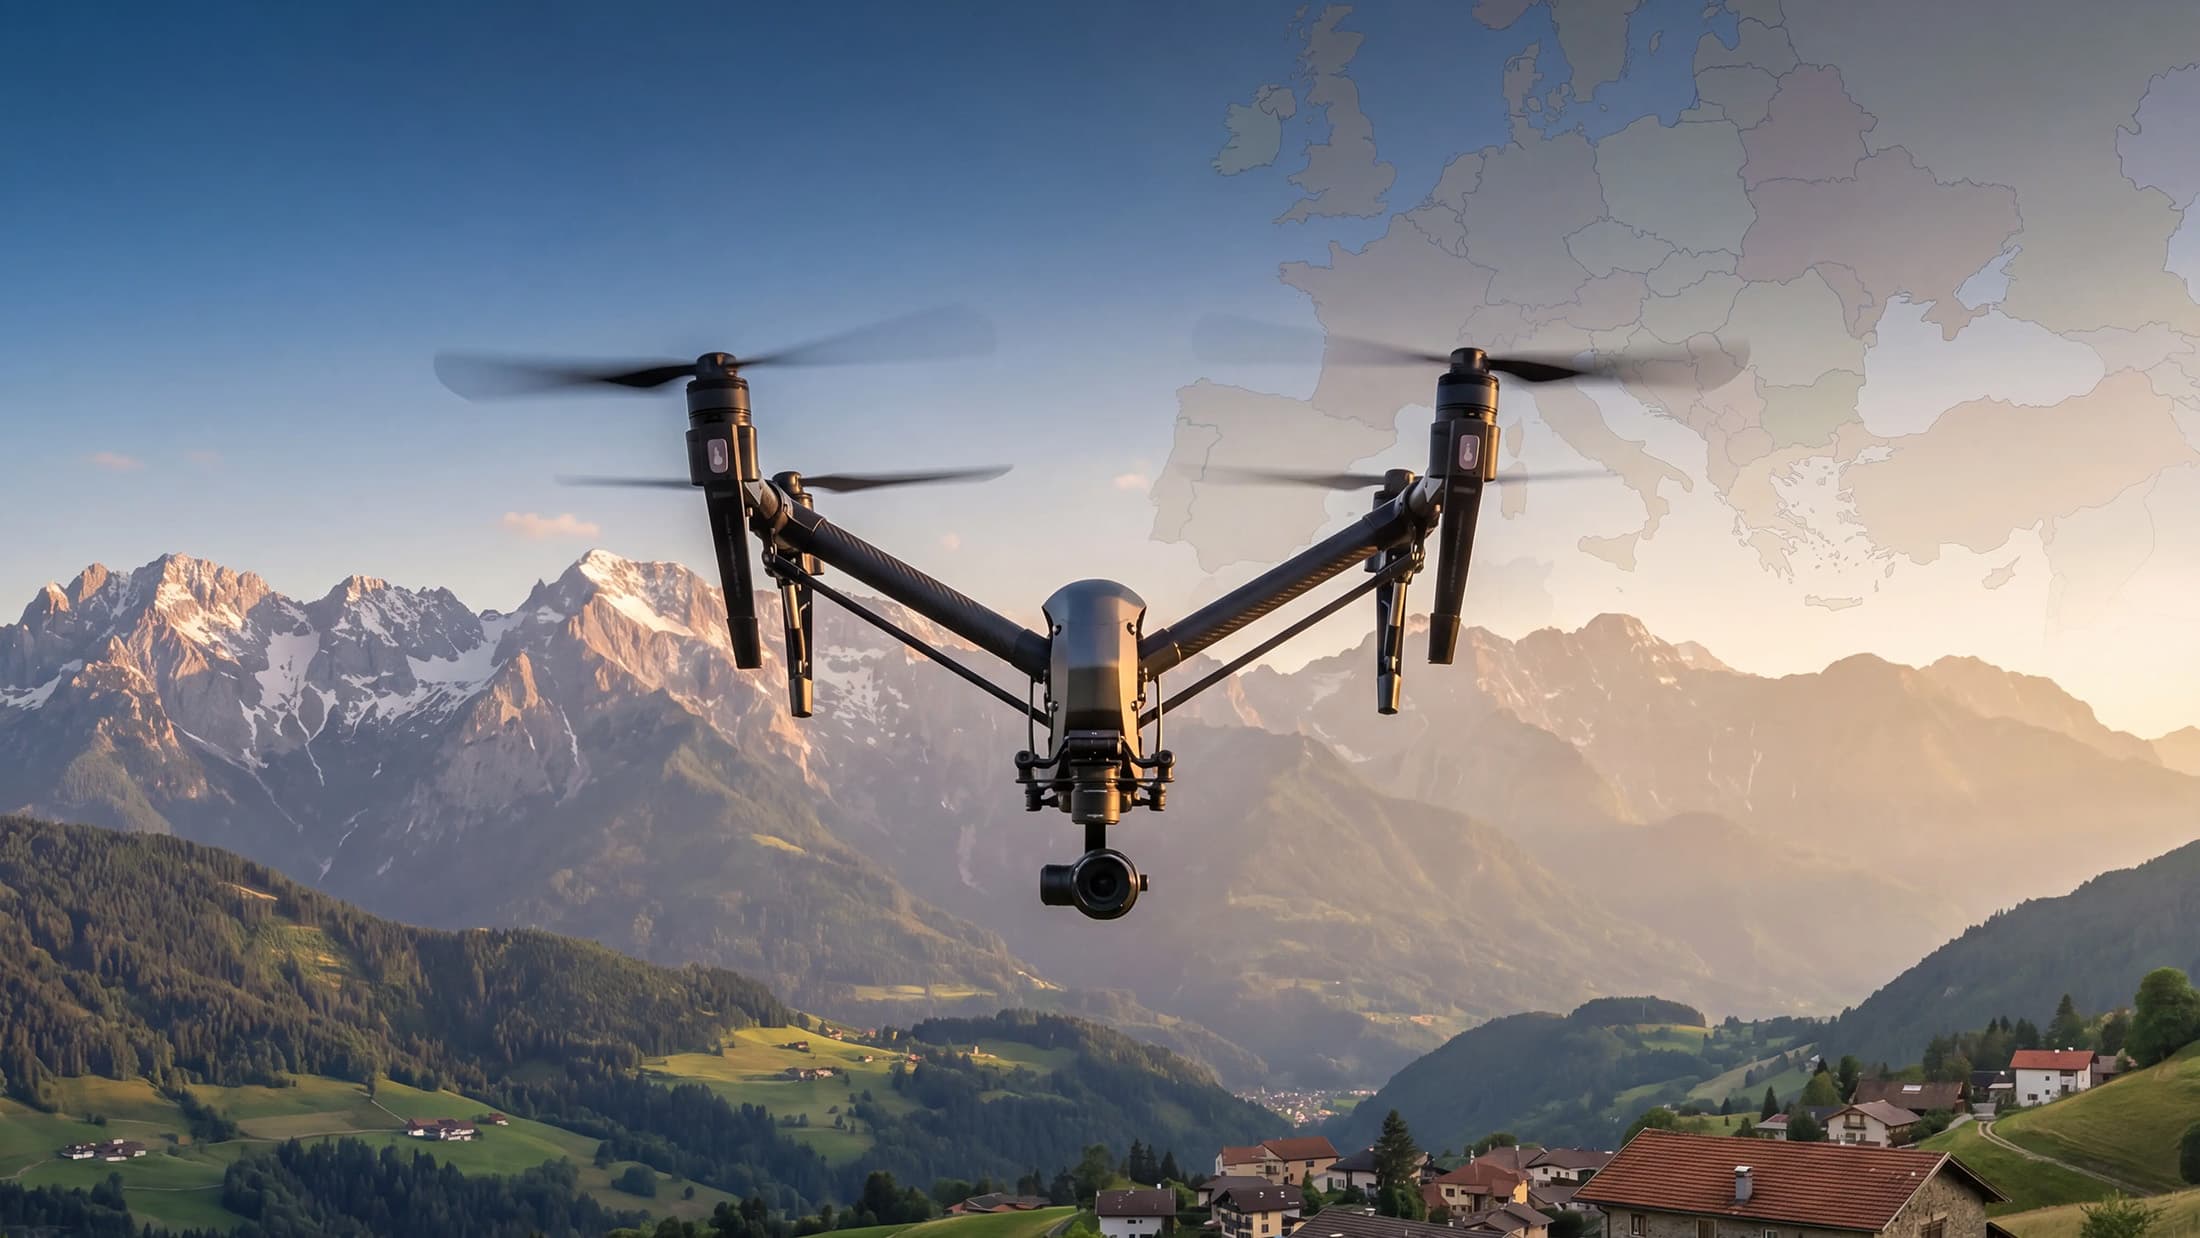
Un drone est un élément incontournable de votre équipement photographique. Il convient à tous ceux qui souhaitent créer du contenu aérien ou apporter une perspective différente à leurs photos. Prendre des photos avec un drone est un véritable plaisir. Si vous souhaitez réaliser des clichés encore plus originaux et magnifiques, découvrez nos dix conseils pour réussir vos photos de drone.
1. Une bonne préparation
Lorsque vous commencez à piloter un drone, une bonne préparation est essentielle. Si vous débutez dans le pilotage de drones, il est conseillé de vous entraîner d'abord dans un endroit sans obstacles. Nous avons décrit plusieurs exercices qui vous permettront de vous entraîner à piloter le drone. Vous préférez effectuer vos premières heures de vol en compagnie d'un pilote expérimenté ? Dans ce cas, vous pouvez opter pour une leçon de pilotage. Une fois que vous maîtriserez parfaitement le drone, vous pourrez commencer à prendre des photos et à filmer.
2. Photographiez en RAW
Si votre drone peut prendre des photos au format RAW, il est conseillé de les enregistrer dans ce format. Le format RAW offre davantage de possibilités lors du traitement des images. Au format RAW, les images sont capturées avec plus de détails et en haute résolution. Cela présente des avantages lors du traitement des images. Il est alors possible d'effectuer davantage de réglages de couleur et d'exposition sans que la photo ne paraisse artificielle.
Vous ne savez pas quelle licence choisir ?
3. Photographiez avec une sensibilité ISO faible
En photographiant avec une sensibilité ISO faible, vous éviterez l'apparition d'un bruit important sur vos images. Les caméras des drones sont souvent équipées de petits capteurs. Ces capteurs ne fonctionnent pas bien avec des sensibilités ISO élevées. Nous vous recommandons donc de régler votre sensibilité ISO en dessous de 100 lorsque vous photographiez de jour. Si vous souhaitez que vos images soient plus lumineuses, vous pouvez ouvrir le diaphragme ou utiliser une vitesse d'obturation légèrement plus lente. Cela permettra de conserver la netteté de vos images.

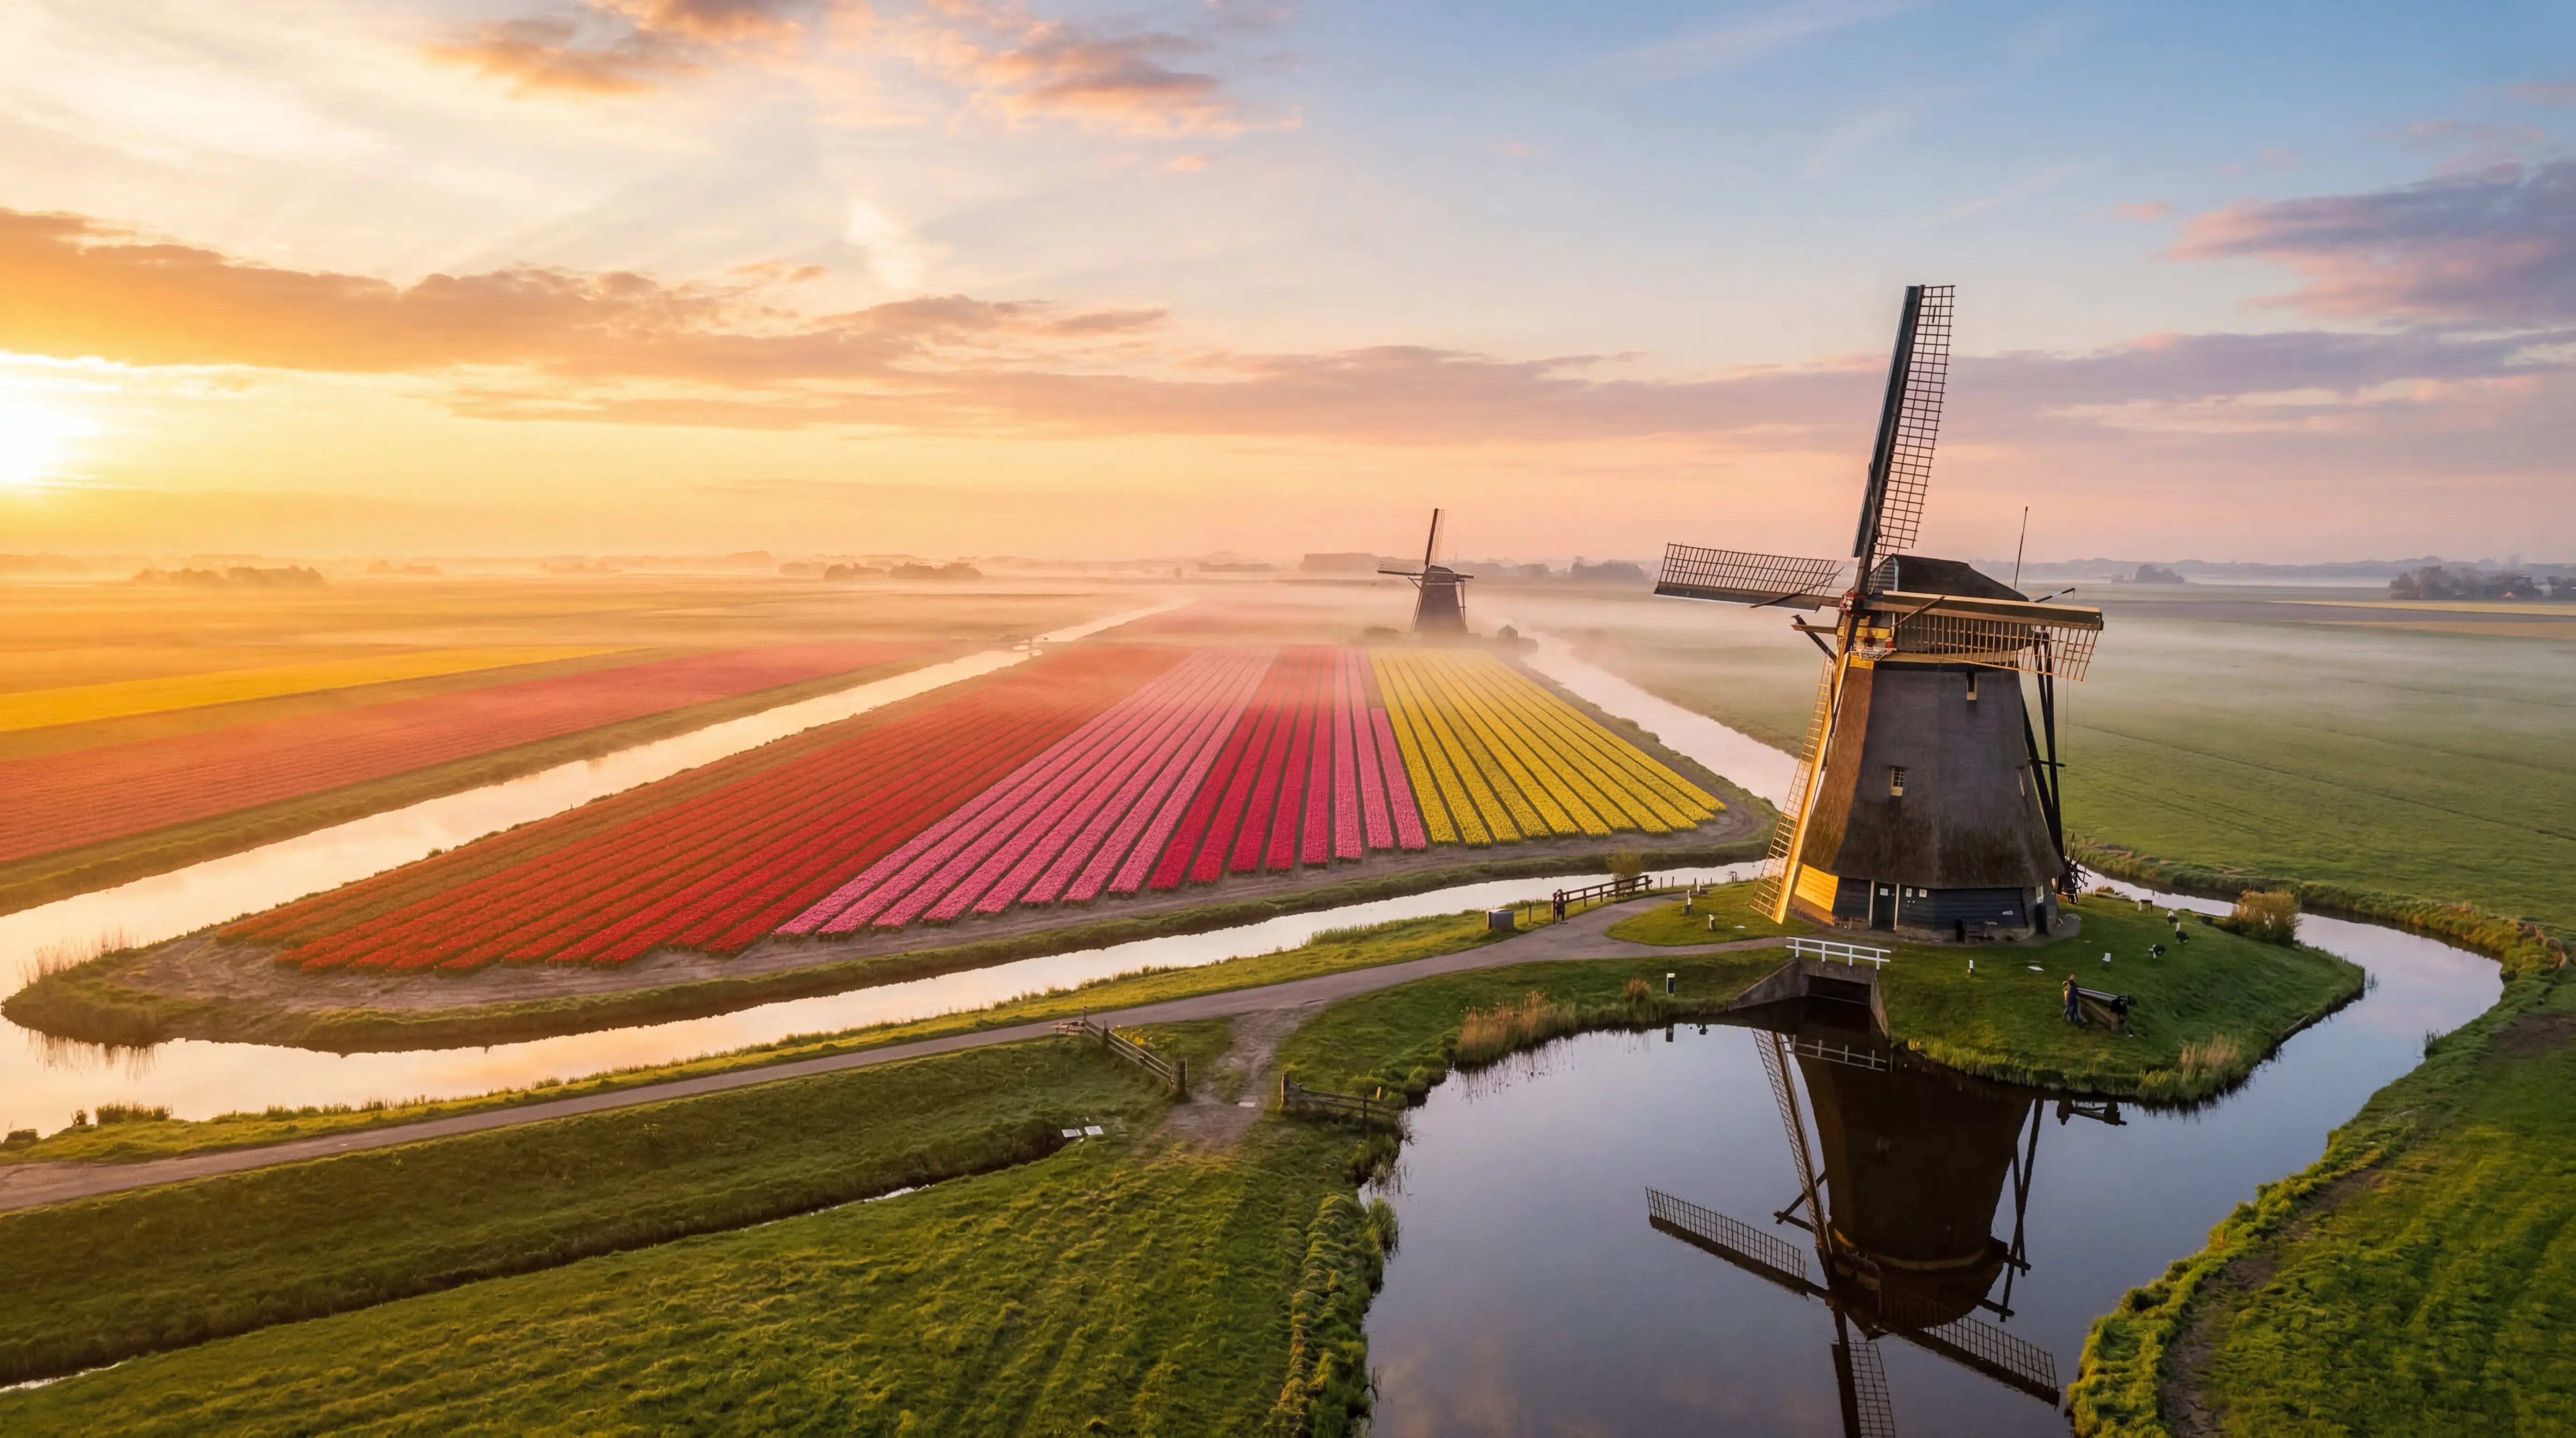
4. Envolez-vous au lever et au coucher du soleil
Le meilleur moment pour la photographie par drone est au lever et au coucher du soleil. La lumière du soleil est plus douce à ces heures-là, ce qui permet d'obtenir de magnifiques nuances dorées et orangées. Ces conditions sont idéales tant pour la photo que pour la vidéo. Se lever tôt pour immortaliser les premiers rayons du soleil est récompensé par de superbes clichés. Il règne souvent un grand calme à cette heure de la journée, ce qui est également propice à la prise de photos.
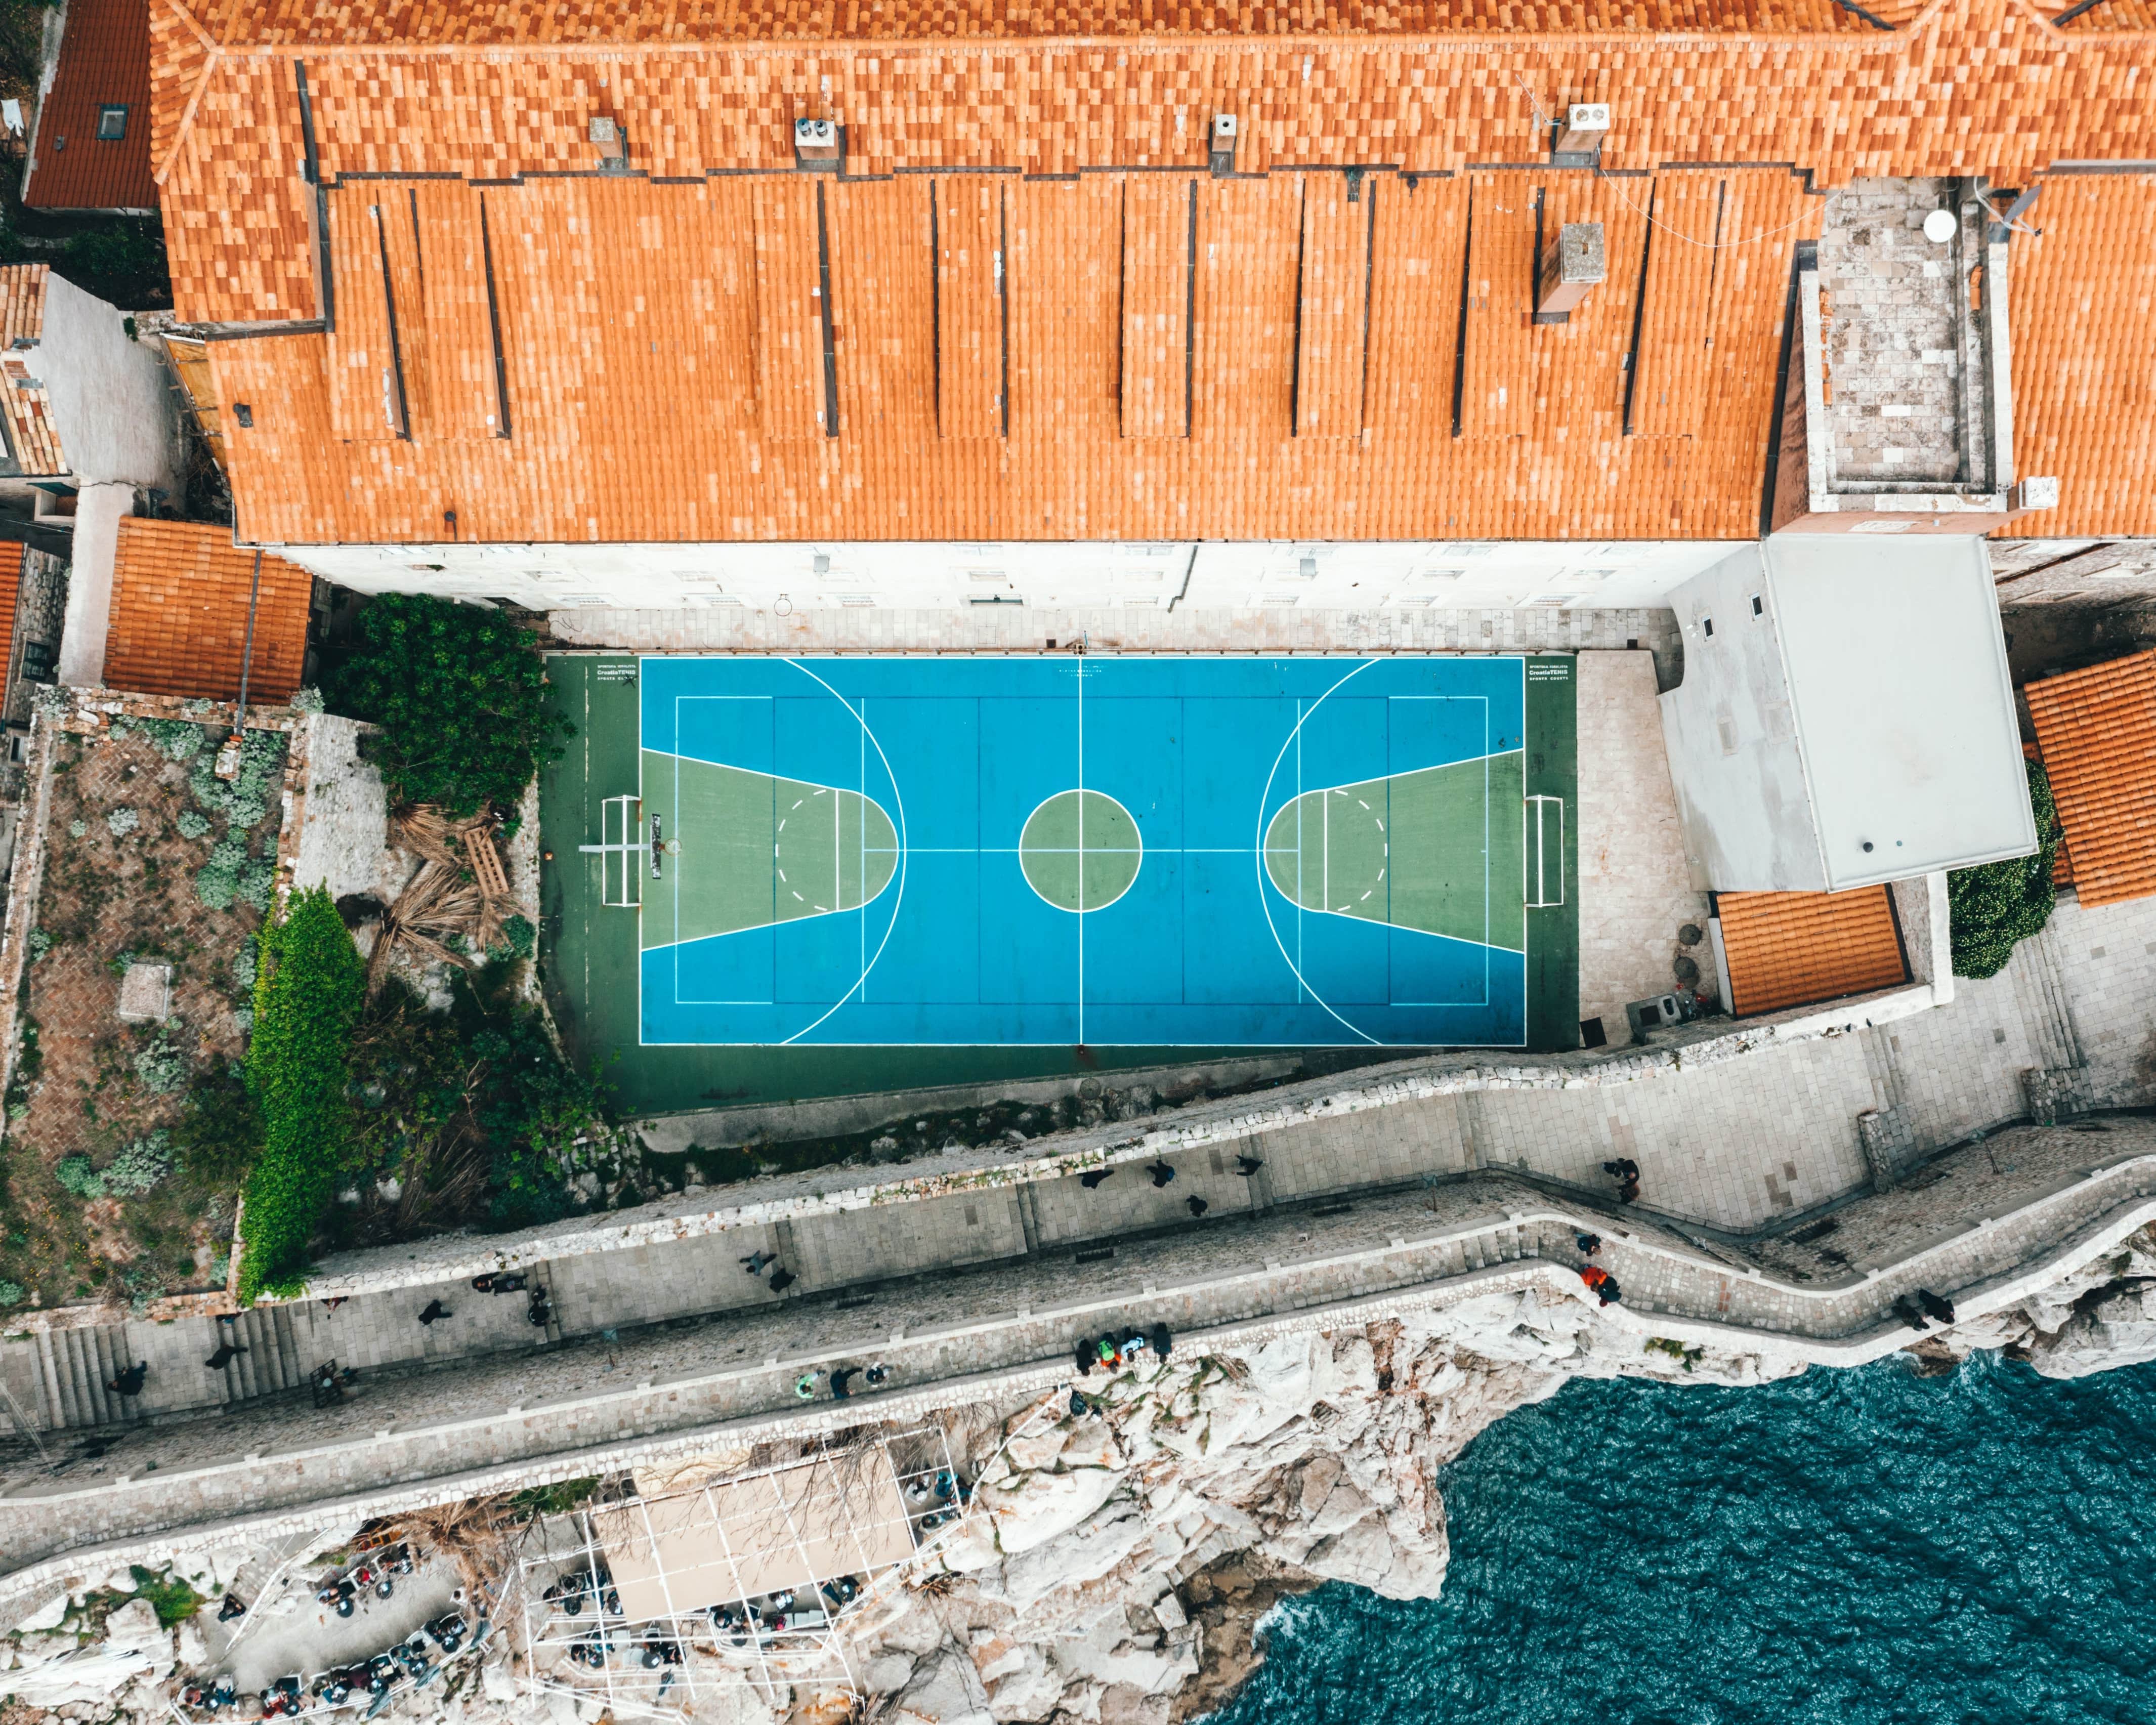
5. Essayez différentes compositions
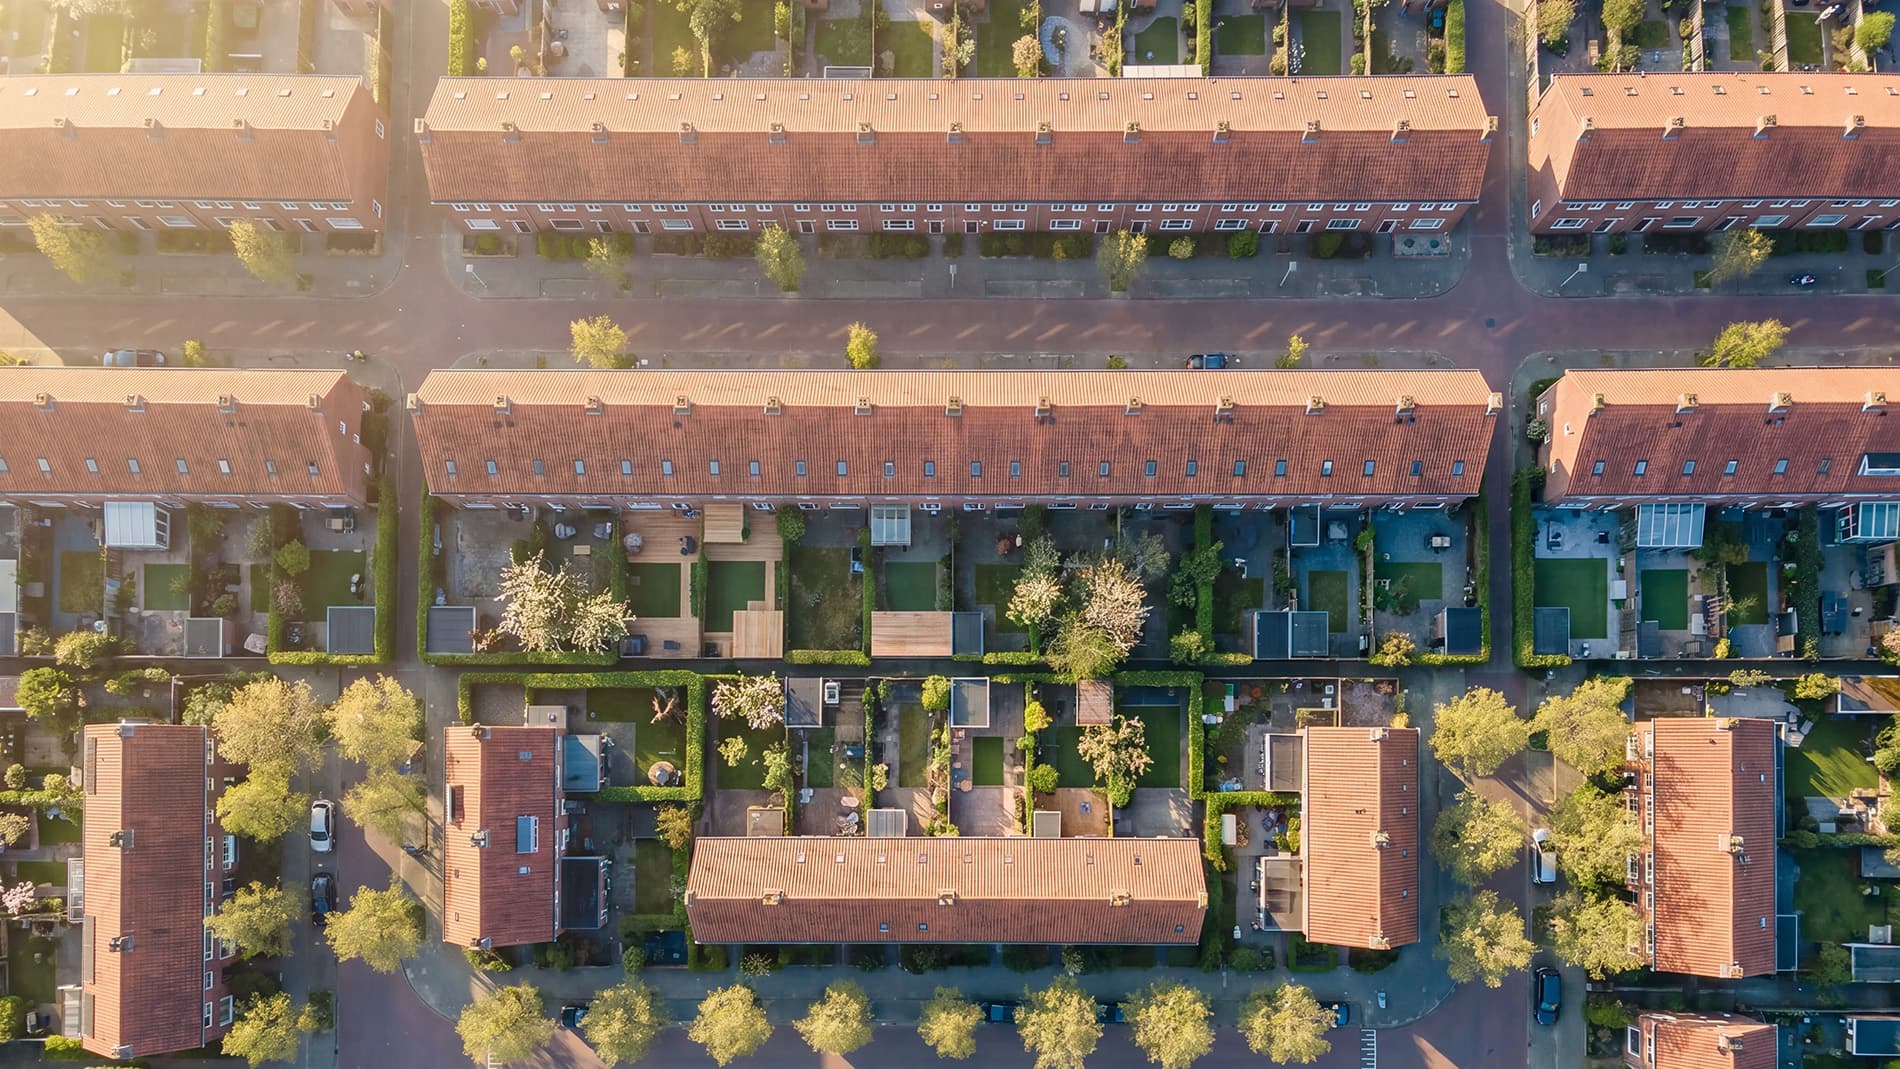
Vu d'en haut, le monde prend un tout autre aspect. De nouvelles lignes et de nouveaux motifs apparaissent. Vous pouvez jouer avec ces lignes et ces motifs dans vos compositions. Vous pouvez prendre des photos depuis une grande hauteur en orientant l'appareil photo à la verticale, on parle alors de « photo en plongée ». Vous pouvez également vous approcher de votre sujet en orientant l'appareil photo selon un angle compris entre 90 et 180 degrés. Chaque composition donne une image différente. Essayez différentes compositions pour trouver celle qui vous plaît le plus.
Astuce : sur notre page Instagram,vous pouvez découvrir différentes compositions réalisées par d'autres pilotes de drone pour trouver l'inspiration.
6. Utilisez des filtres pour objectif
Les conditions météorologiques varient et influencent la luminosité. La neige réfléchit beaucoup la lumière. En été, le soleil est très intense. En automne, le temps peut parfois être très maussade. Vous souhaitez neutraliser ces expositions afin que la photo ne soit ni surexposée ni sous-exposée. La caméra du drone est équipée d'un petit capteur, ce qui ne permet pas toujours de neutraliser l'exposition via les réglages. Une bonne solution consiste alors à utiliser un filtre d'objectif. Il suffit de visser ce filtre sur l'objectif de la caméra. Il existe un filtre différent pour chaque type d'exposition.

7. Utilisez ActiveTrack
Le drone peut continuer à suivre un sujet depuis les airs. Vous n'avez alors plus besoin de le piloter vous-même. Sélectionnez le sujet, lancez l'enregistrement et laissez le drone le suivre. ActiveTrack permet de suivre des sujets tels qu'une voiture, un bateau, une moto, un vélo ou une personne. Grâce à ActiveTrack, les images sont stabilisées et enregistrées en toute fluidité. Si votre drone dispose de la fonction ActiveTrack, nous vous recommandons vivement de l'essayer.
8. Utilisez la fonction Hyperlapse
Une autre fonctionnalité intéressante des drones est l'hyperlapse. Un hyperlapse est un time-lapse en mouvement. Le drone vole vers l'avant et prend une nouvelle photo presque toutes les secondes. Dans les paramètres du drone, vous pouvez définir le nombre de photos à prendre toutes les quelques secondes et la distance que le drone doit parcourir. Cela permet d'obtenir des images uniques. Découvrez cet hyperlapse.
9. Utilisez le bracketing d'exposition automatique (AEB)
Lorsque le mode AEB est activé, le drone prend généralement entre trois et cinq clichés avec des expositions différentes. Ces photos peuvent être fusionnées dans un logiciel de retouche pour créer une image dynamique. Les photos présentant des expositions différentes peuvent également être retouchées séparément. Parmi les différentes expositions, vous choisissez la série qui bénéficie du meilleur éclairage. Avec l'AEB, vous avez la certitude qu'il y aura toujours une photo avec la bonne exposition parmi celles-ci.
10. Modifier les images
Les réglages du drone offrent de nombreuses possibilités, mais il est également important de disposer d'un bon logiciel de retouche. Vous pouvez adoucir les couleurs, éclaircir la photo, choisir un éclairage différent ou modifier légèrement la composition. Pour réaliser une vidéo à partir de plusieurs images, vous aurez besoin d'un logiciel. De nombreux pilotes de drone utilisent Adobe Lightroom pour la retouche photo et Adobe Premiere pour le montage vidéo. Ces logiciels demandent un peu de pratique, mais une fois que vous les maîtrisez, vous pouvez créer de superbes images.