From the air, a photographer can give a completely different perspective to photos. In recent years, drone photography has become increasingly popular for good reason. However, it can be quite a challenge to get started. After all, drone photography involves a lot of things: drone controls, camera settings, location, using flight functions and post-processing.
In this blog, we provide eight tips for getting started with drone photography.
1. Choose a drone and get flying
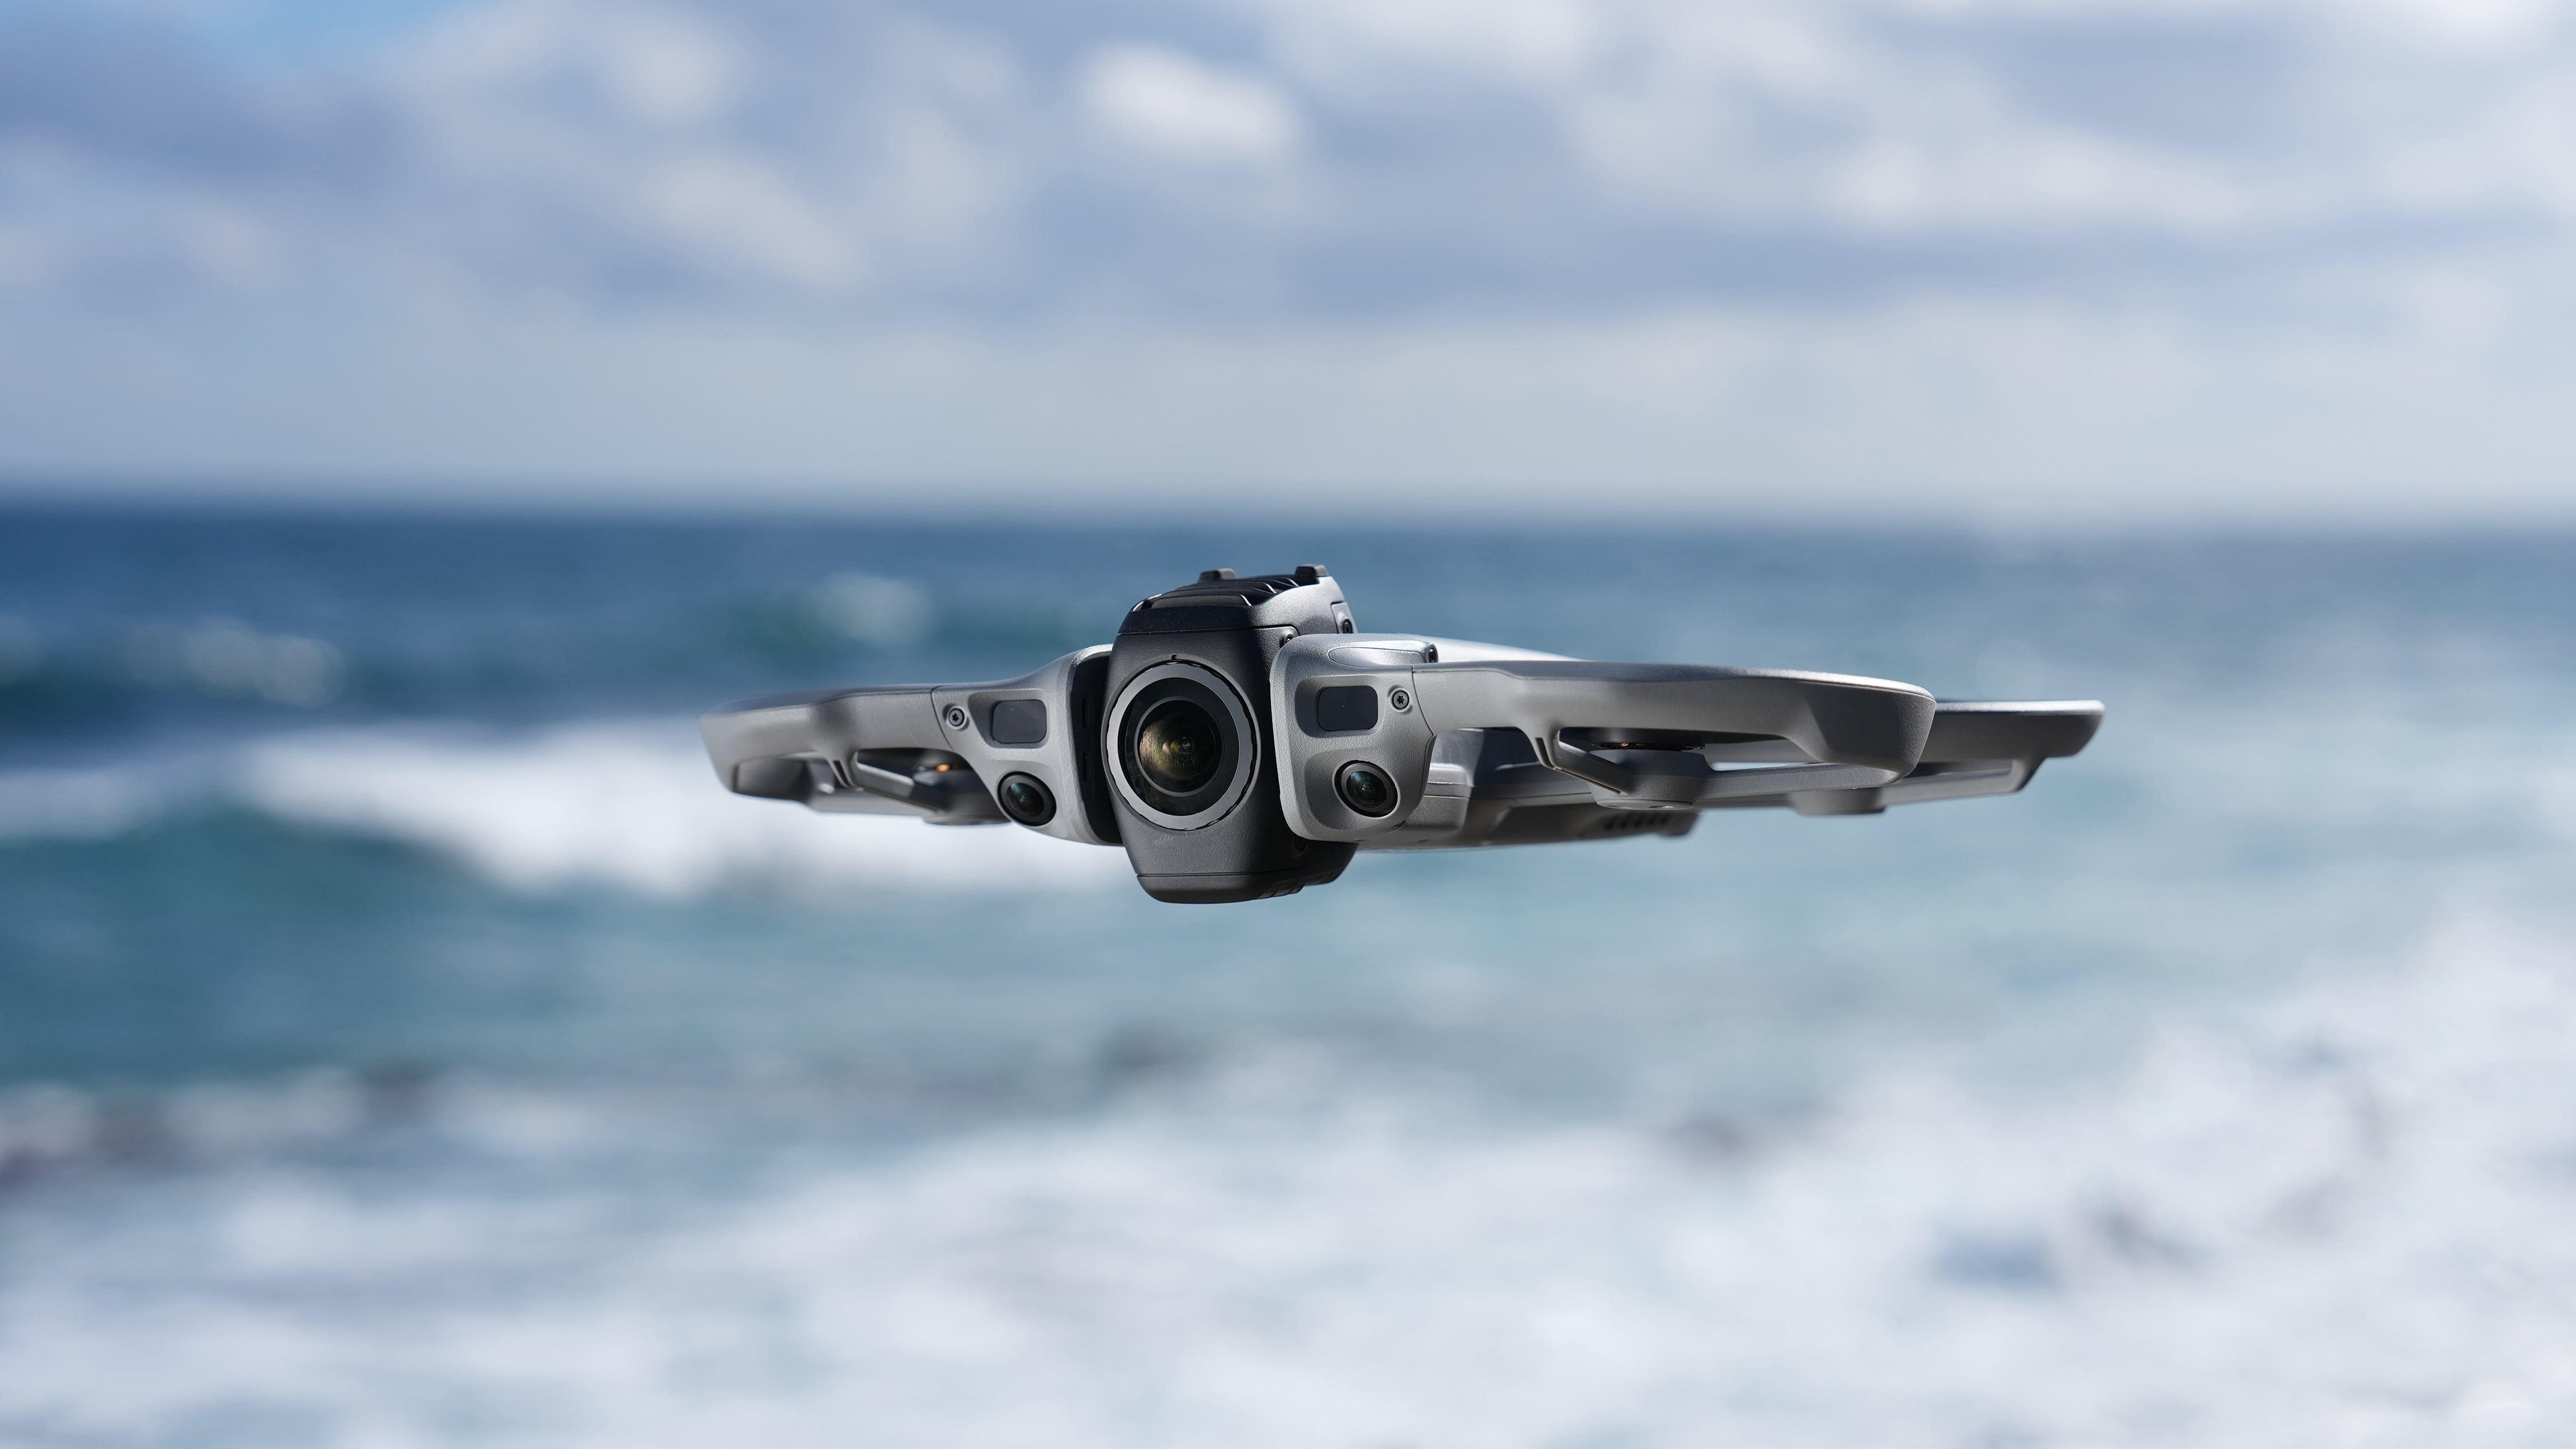
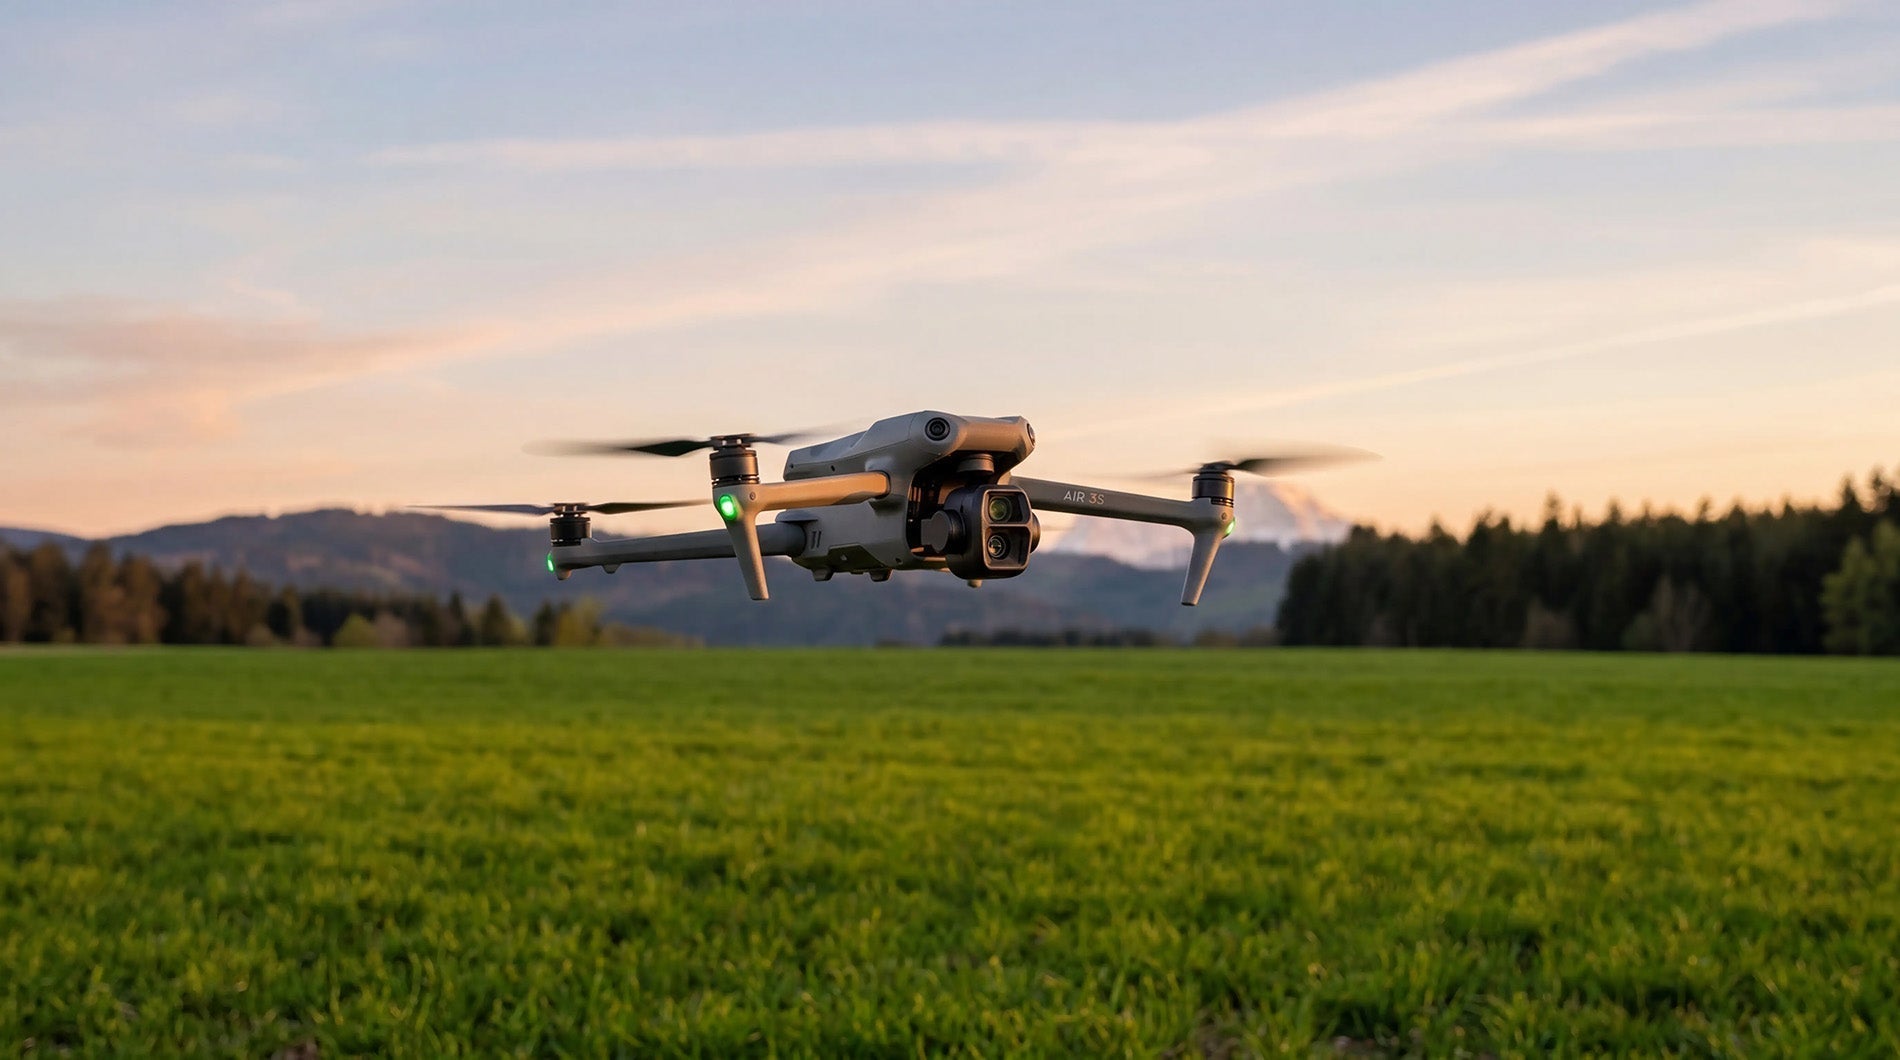
The basics of drone photography are a good drone and enough flying hours. A good drone is more than just a drone with a high-resolution camera. For drone photography, you need a drone that flies stably, can withstand some wind and is easy to control. You also want a drone with some flight features: obstacle sensors and Return to Home are a must. If you are looking for a good camera drone for drone photography, these tips for camera drones might help.
When you own a drone, it is important to get enough flying hours first. Practising once and then taking the drone on a trip is not wise. Many elements come into play simultaneously during drone photography: drone controls, camera settings and focusing on a great photo. You therefore want to master the drone's controls well so you can focus on photography.
2. Make a difference with the right lighting

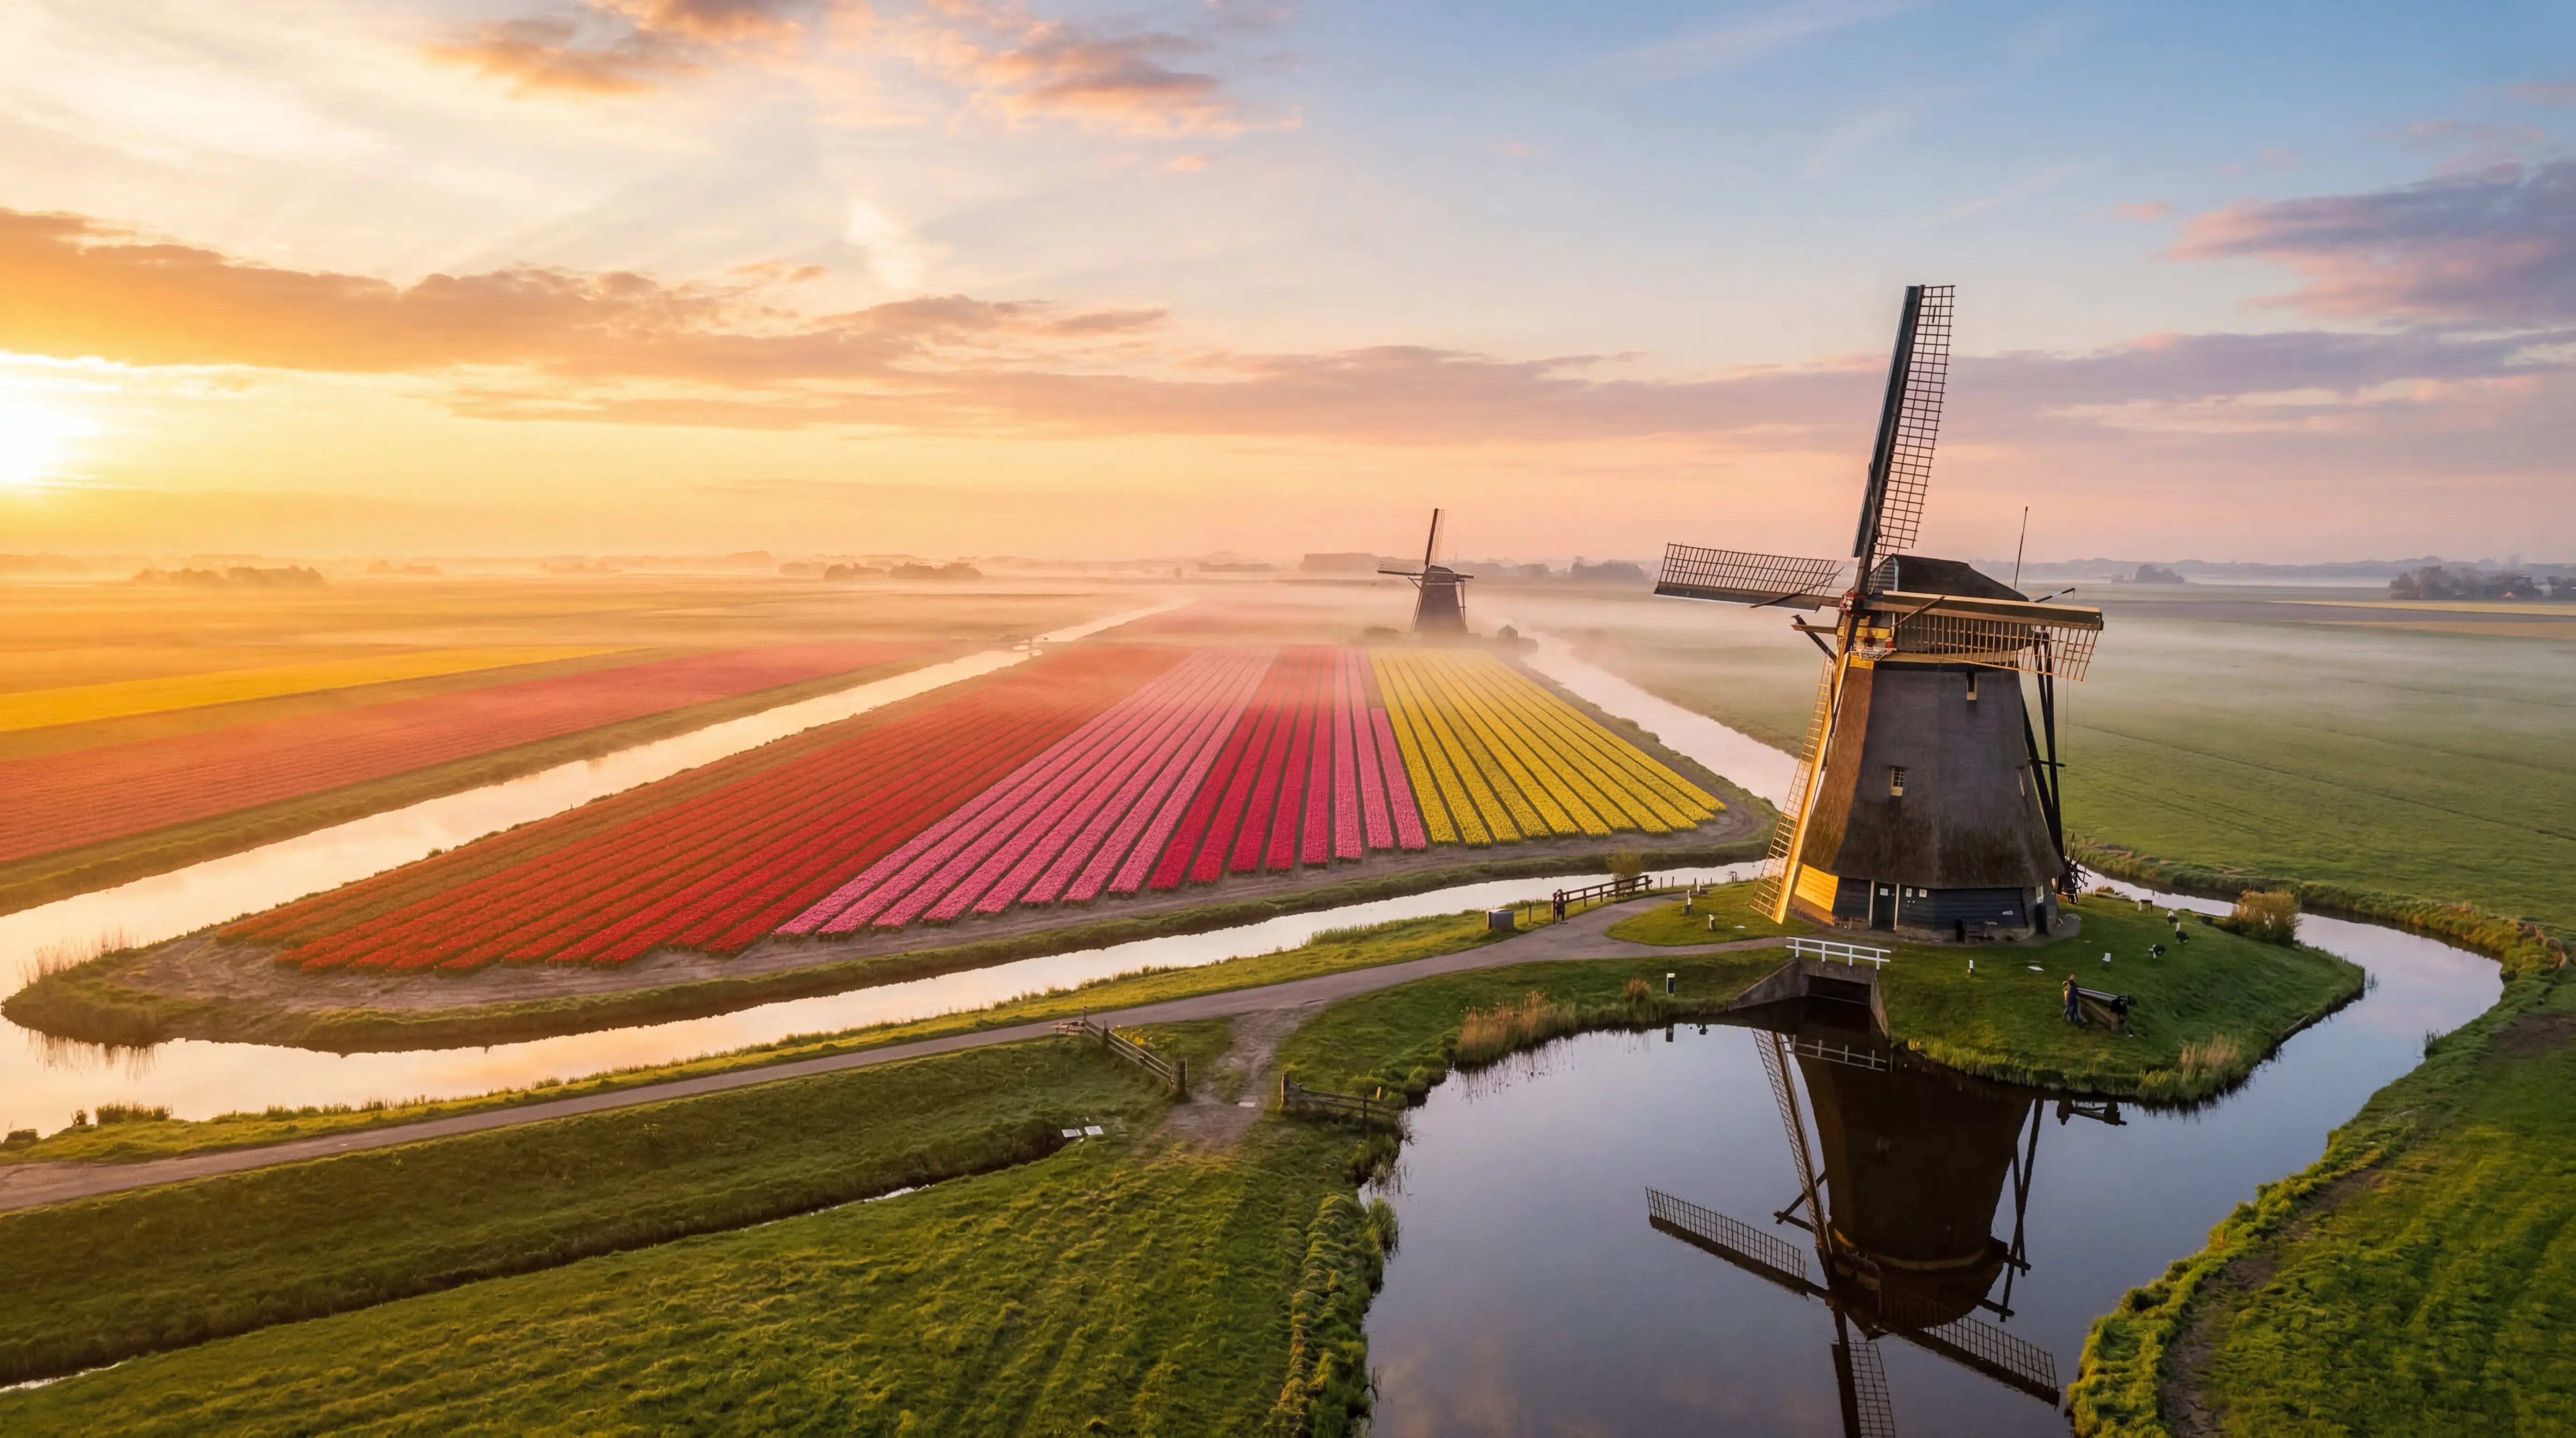
Outdoors, you are dependent on the light from the sun. Light can make a big difference in a photo. The best light is during sunrise and sunset. During the day, the light is flatter and on the cold side with lots of white and blue tones. This creates a chance of overexposure and daytime light makes a photo less exciting. During sunrise and sunset, there are many warm shades present in the sky. Think of the colours orange and pink. You can play with long shadows and the chance of overexposure is somewhat less.
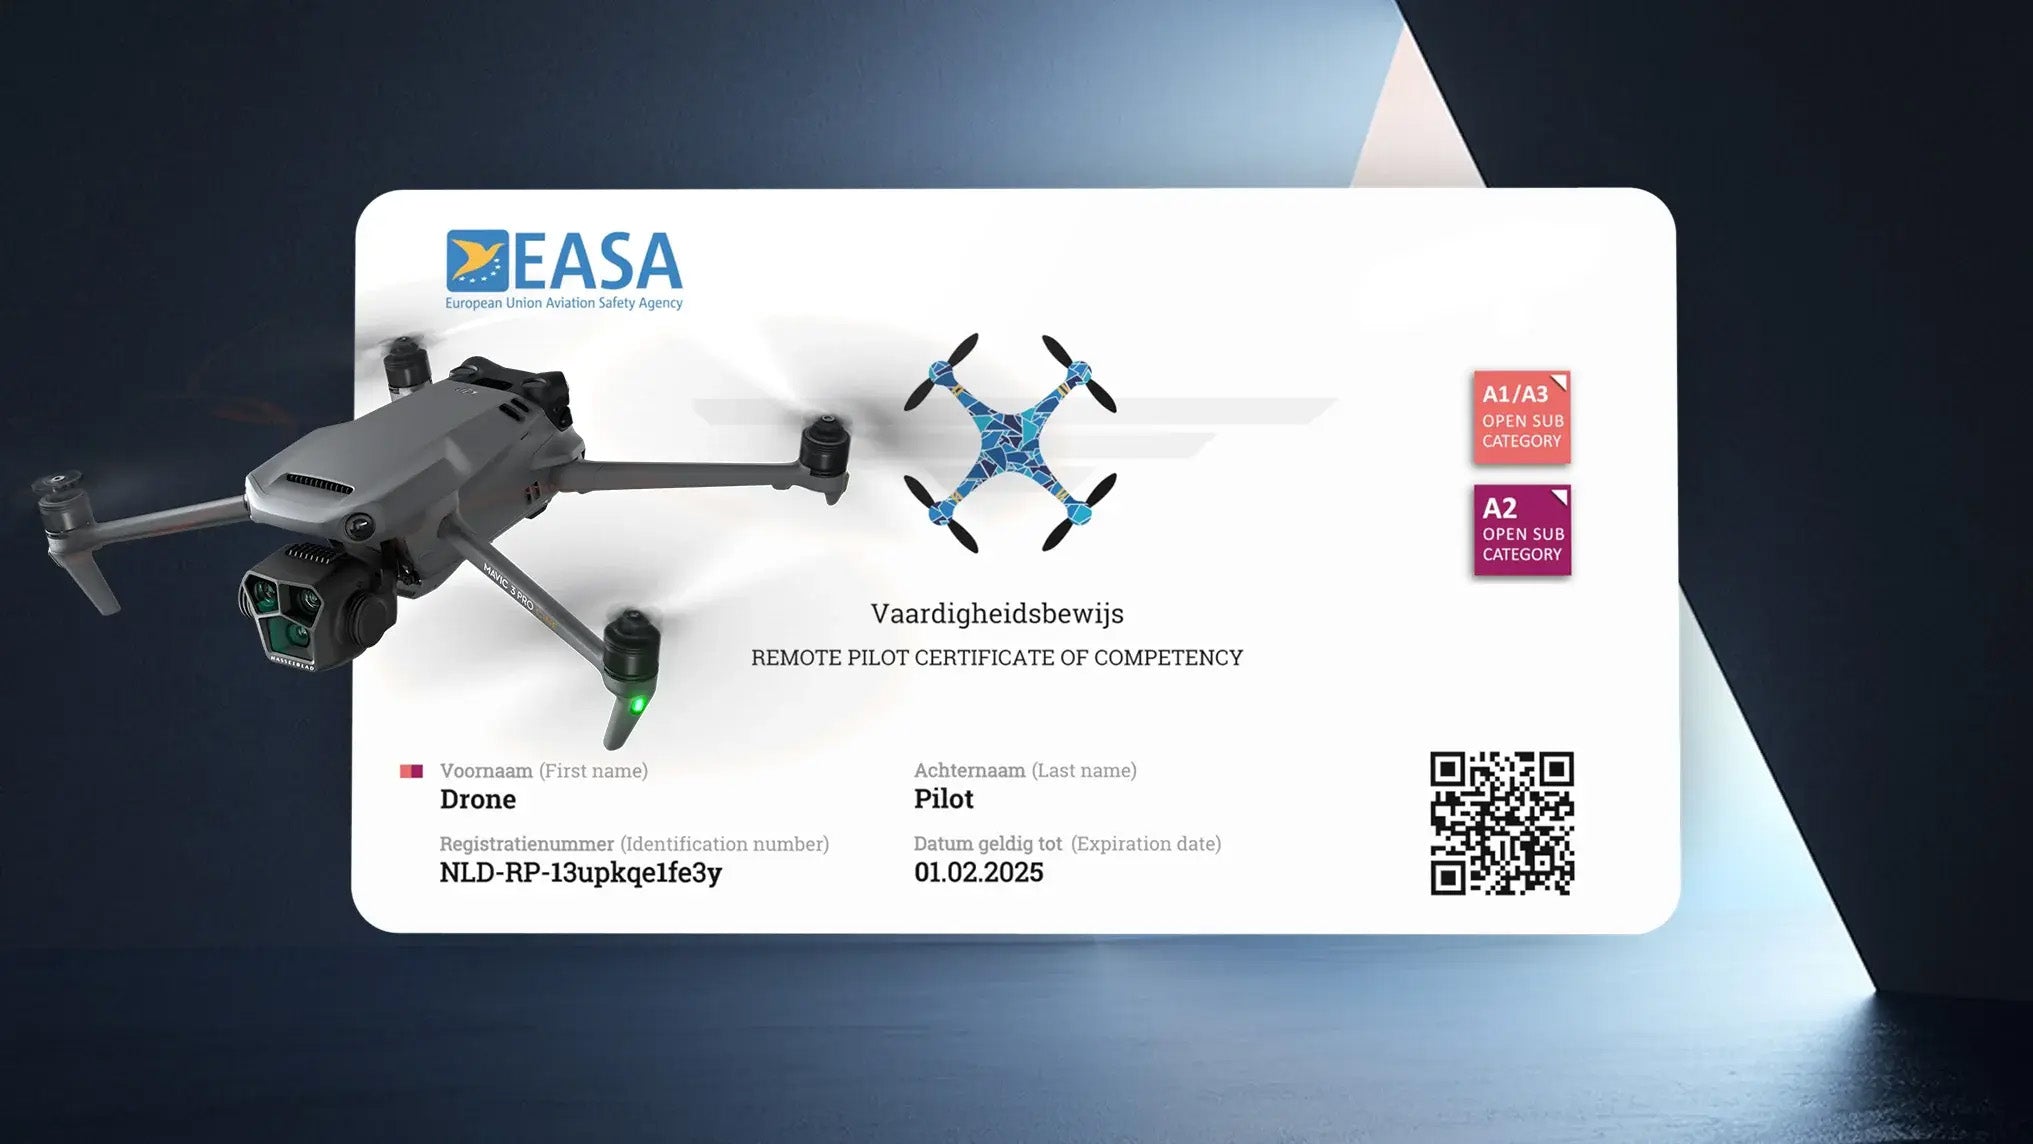
Not sure which license you need?
3. Try out AEB
When AEB mode is enabled, the drone usually takes between three and five shots from different exposures. These photos can be merged into a dynamic image in an editing programme. The photos can also be edited separately from each other. From the different exposures, choose the photo with the best exposure.
4. Dive into camera settings
When getting started with drone photography, it is wise to delve into the camera settings. You can change automatic settings on a drone camera. This starts with manually adjusting aperture, shutter speed and ISO value. Many drone cameras can shoot in JPEG and DNG (RAW), with us recommending DNG (RAW).
5. Pay attention to the composition of the photo

A subject in the centre of the image makes a photo look static. Make use of a different kind of composition: the rule of thirds. On the drone controller, you can display a grid with nine equal squares. The rule of thirds means that you place the subject on the left or right side of the drone photo. When a grid of nine equal squares is displayed on the controller, these are the three squares below each other on the left and right sides. The rule of thirds provides variation in drone photography with a different kind of composition.
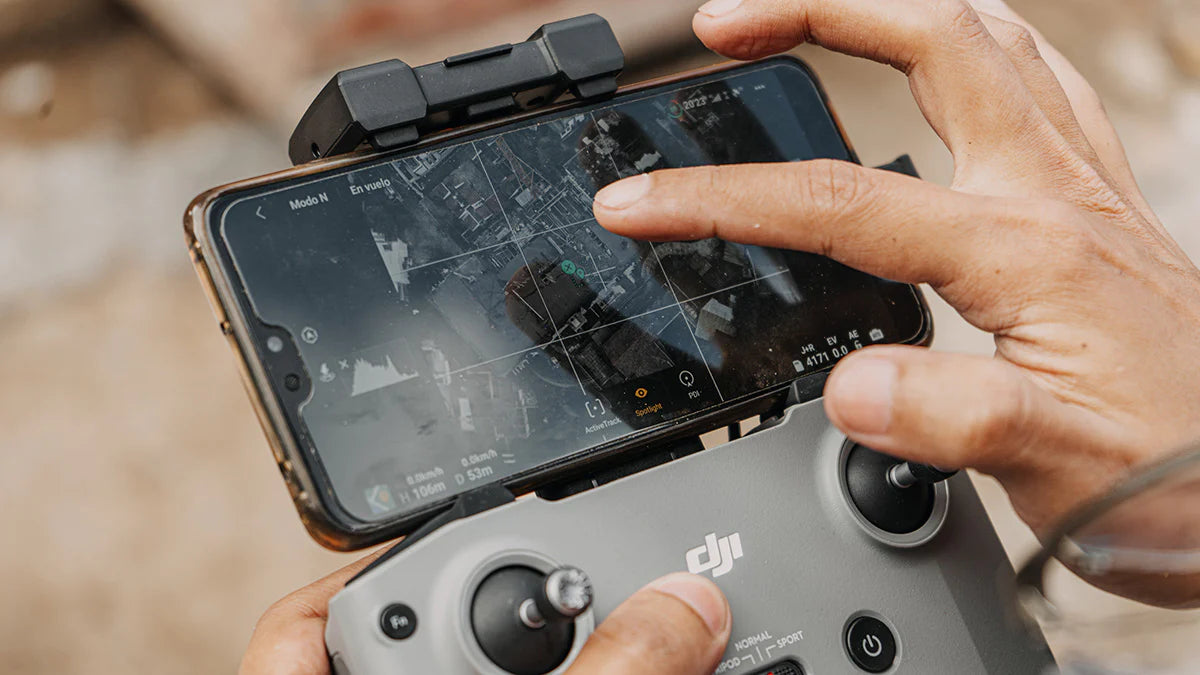
6. Use Point of Interest to bring the subject into focus
All new DJI aircraft have automatic flight programmes, where the device can fly a figure or a route you set. Because the drone flies itself, you can focus on the camera.
An example is Point of Interest. This can be enabled by selecting the subject. The drone automatically flies a circle around the subject. By using this feature, you will encounter different perspectives. Try out different flight functions, and find out which becomes your favourite.
7. Use Earth and Maps for flight locations

With Google Maps and Earth, you can find and view photogenic locations. In Google Earth, locations are (also) shown from above. This allows you to get a good idea of what the drone photo might look like. Google Maps can be used to save locations. Have you found beautiful locations via Google Earth, are you driving near a beautiful location or have you found a beautiful location via social media? Then save it in Google Maps. In Google Maps, you create an overview of different locations.
Don't forget to check for no-fly zones in the Netherlands via GoDrone. For other EU countries, we provide an overview of online drone maps.
8. Post-edit photos
Camera settings for exposure matter in photography, but so does post-processing. During post-processing, drone photos can be brought to life even more. If you photographed with AEB, then different exposures can be combined. You can also, for example, accentuate colours more, adjust shadows and play with the temperature and tone of the photo. To post-process photos, you need a good editing programme, like Adobe Lightroom.