Have you just bought your first drone, or are you about to buy one? Then this article will save you a lot of frustration. The biggest mistakes beginners make aren't in complicated camera tricks, but in simple habits: wanting to fly too soon, choosing the wrong spot, or forgetting to keep an eye on the battery. With these eleven tips you'll start your drone adventure with confidence, making your first steps safe, relaxed and, above all, fun.
Tip 1: Don't fly straight after unboxing your drone
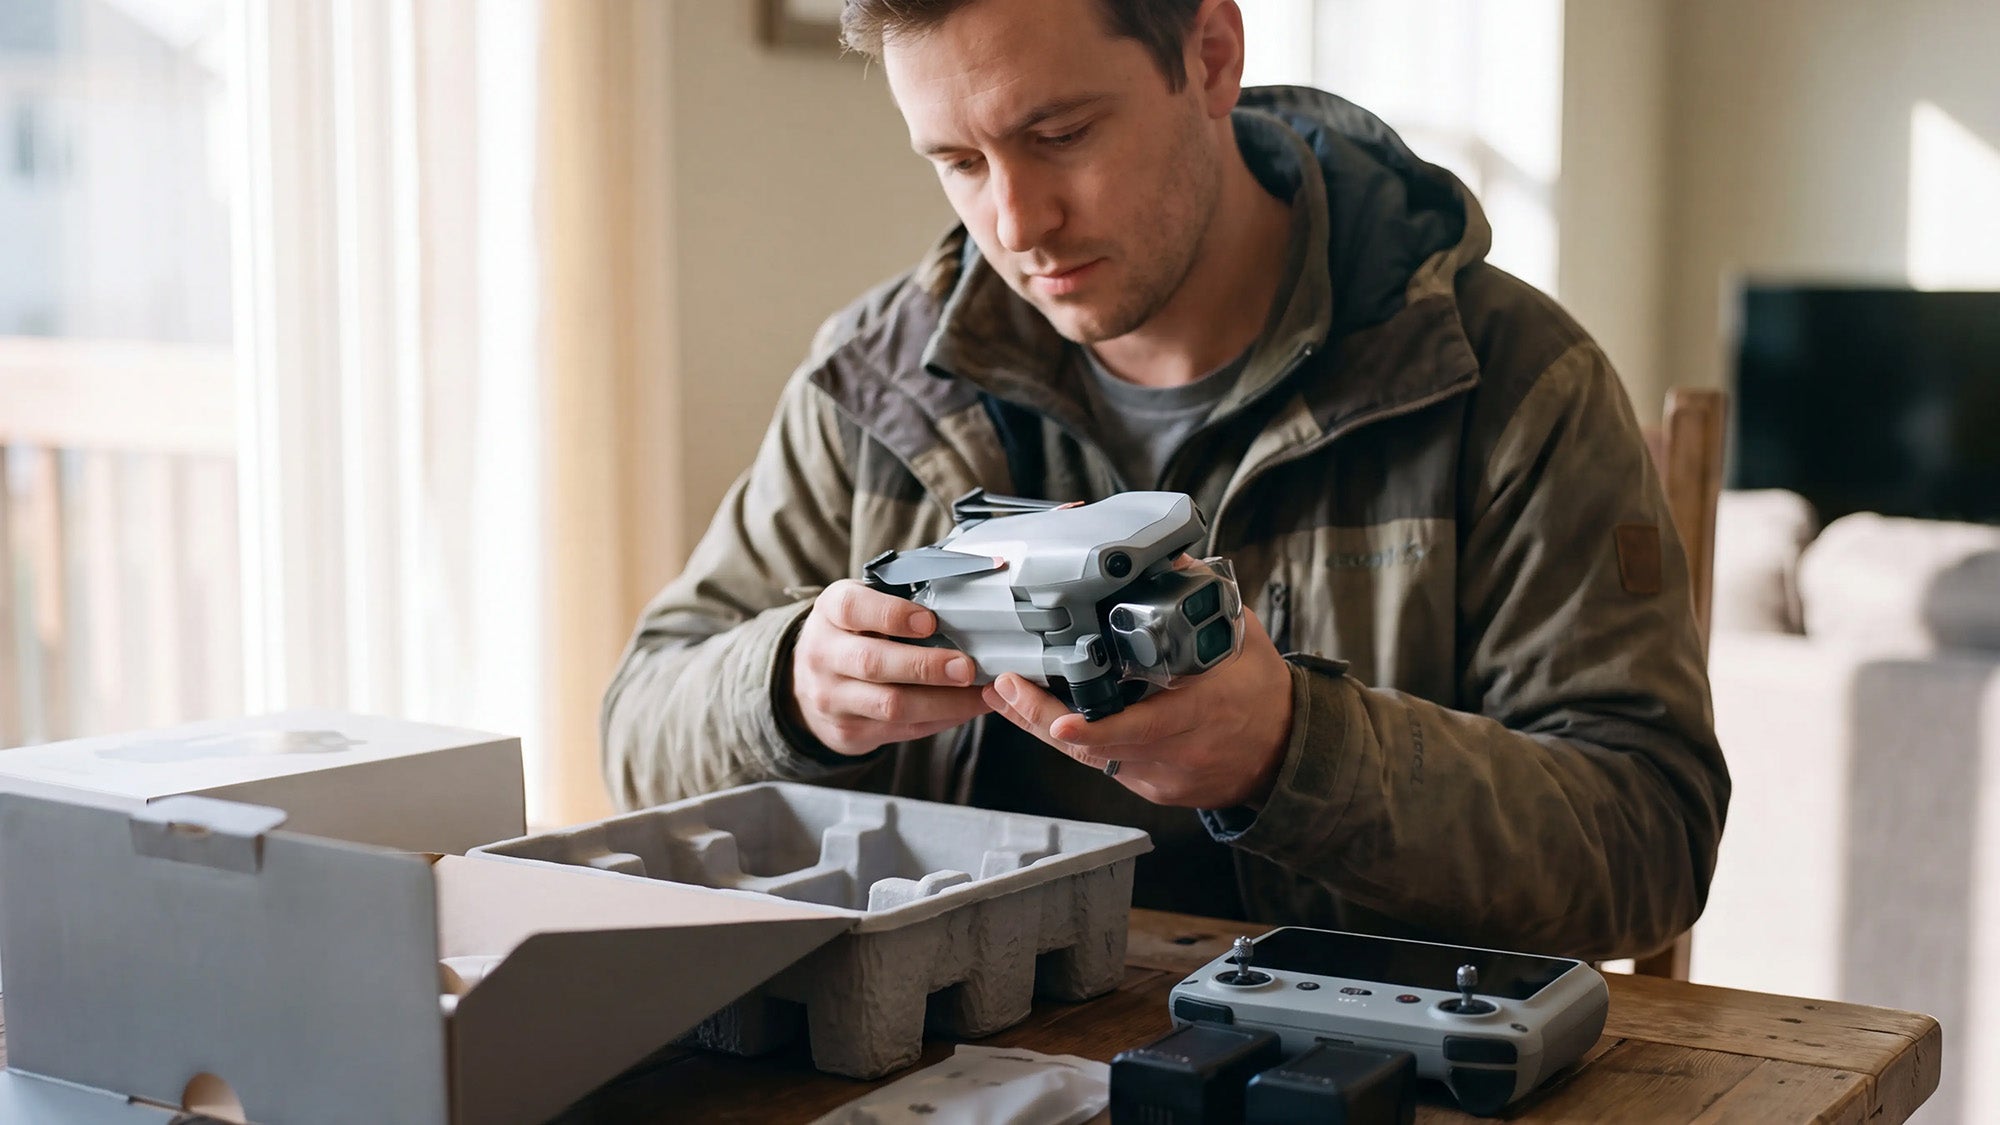
We get the temptation: the box has just arrived and you want nothing more than to pop in a battery and take to the sky. Yet that's exactly the pitfall. First take your time to get to know everything on the ground. Charge all the batteries, update the firmware, install the app, pair the controller and find out what every button does. Learn how to swap the propellers, fold the arms in and out and, if you have them, how to fit the ND filters. Every minute you spend preparing on the ground saves you ten minutes of frustration in the air.
Tip 2: Choose a wide, empty spot for your first flight
Don't make your first flight over water, over the city or over friends, family or other people. For your first flight, look for a large empty field: no trees, no power lines, no traffic and as few onlookers as possible. The less distraction, the easier it is to concentrate on the controls. An added benefit of a quiet spot: you won't be bothered by the tension of people watching you or thinking you're filming them. That makes your first drone flight feel much more pleasant.
Not sure which license you need?
Tip 3: Test Return to Home while everything is still going well
Return to Home (RTH) is the feature you hope you'll never need, but that's exactly why you should practise it beforehand. Most beginners only try it when something goes wrong, and by then they're already panicking. Fly a short distance away over an open field, deliberately press the RTH button and watch what the drone does: it climbs to the set return altitude, turns towards you, flies back and lands where you took off.
Check your return altitude first, though. It needs to be higher than the tallest obstacle in the area. Don't know how high that is? Fly with the camera pointing straight ahead (gimbal at zero) towards the tallest tree or building until the highest point is in the centre of your screen, and read off the altitude. Set your RTH altitude well above that. When in doubt: better too high than too low.
Please note: within the EU, the maximum flight altitude is 120 metres.
Handy extra: RTH isn't just for emergencies. If you briefly lose sight of your drone, a press of the button brings it close enough for you to reorient yourself. Then you cancel (the red button) and simply carry on flying.

Tip 4: Learn to look at your screen
It feels unnatural, but experienced pilots look at the screen far more than at the drone. Beginners look up for practically the entire flight. Of course you must always keep sight of your drone (that's mandatory too), but your screen shows you information you can't see with the naked eye: your battery level, altitude, distance, camera view, warnings and obstacle alerts. Learn to balance looking up and looking at your screen; it's one of the biggest steps towards confidence.
Tip 5: Fly into the wind on the way out
On the ground the wind often seems mild, but a hundred metres higher it can be a completely different story. The common beginner mistake is flying away with the wind because everything feels smooth, and then having to fight a strong headwind on the way back. Your speed drops, the battery drains faster and sometimes the drone only just makes it. Before every flight, think about the return trip, not just the outbound leg. Position yourself so that you have the wind behind you on the way back. There are apps that show the wind speed at your flight altitude; handy on less calm days.
Tip 6: First learn which stick does what
Sounds simple, but at first it's confusing: which stick does which movement? In the default setting (mode 2), the right stick handles sideways and forward and backward movement, and the left stick handles rotation (yaw) and altitude. Practise each movement separately first: only sideways, only forward and backward, only turning, only climbing and descending. While doing so, alternate between looking at the screen and at the drone. Only once that comes naturally do you combine the movements.
Leave the gimbal wheel (which tilts the camera angle) at zero in the beginning. Don't try to fly and operate the camera at the same time: that's exactly where many beginners get stuck and frustrated. Learn to fly first, add the camera later.
Tip 7: Master the basic movements before you think about filming
Before you chase cinematic footage, practise the basics. Straight ahead, straight back, gently to the left, gently to the right. Practise slow yaw rotations and then combine them into smooth circles and figure eights. Focus on soft starts, soft stops and smooth stick movements. The smoother you fly, the smoother your footage will automatically look. Beautiful drone footage starts with beautiful flying.

Tip 8: Deliberately test the safety features, including obstacle avoidance
Set aside an afternoon to deliberately try out your safety features. Obstacle avoidance is one of them, and it's precisely the one people often don't trust, because you're never sure whether the drone will spot the obstacle in time. That's why you need to practise it. Set obstacle avoidance to "brake" in the settings (not "bypass" yet; that's too distracting). Then fly slowly straight at an obstacle, such as a tree, and watch how the drone stops by itself. Repeat it a few times, a bit faster too, and in every direction your drone has obstacle sensors for (not every drone has them all round).
Tip 9: Never land with an almost empty battery
Wind, distance, altitude and temperature all affect your battery life. Never plan a landing with just a few percent left: that's not battery management, that's gambling. Keep a healthy margin on every flight. Also, don't wait until your drone itself displays "return now" on your screen and starts beeping, because that's exactly when you'll get a fright. Keep an eye on your battery yourself and bring your drone back before you hit around 15 percent. Preferably land with at least 15 percent remaining.
Tip 10: Fly slowly and deliberately
Beginners often fly fast, because it's exciting and fun. Experienced pilots fly deliberately and calmly instead. Slow movements give smoother footage, more time to react, fewer mistakes and a more professional result. Speed is fun now and then, but control is what makes a good drone pilot. As a rule: the calmer you fly, the better your footage gets.
Tip 11: Always keep an overview of your surroundings
If we could give you just one tip, it would be this: always maintain situational awareness. Your drone isn't the only thing that moves. People, cars, dogs, birds, changing wind and light: your surroundings are constantly changing. Good pilots don't just watch the sky and their screen, but everything around them. Is someone coming up behind you? Do you hear a car? Is the weather changing? The flying itself will become second nature on its own. Maintaining that awareness is the skill that makes you a pilot. The sooner you build that habit, the safer and more confidently you'll fly.
Tip 12: Know where you're allowed to fly and know the drone rules
Your first flights aren't about impressive footage, but about building confidence. Every experienced pilot once started out nervous. The drone doesn't create the beautiful footage, the pilot does. And part of that confidence is knowing the rules: where are you allowed to fly, what's mandatory, and how do you avoid a fine? That's exactly what you learn in the course for the drone license.
Frequently asked questions
Where is the best place to fly my drone for the first time?
Choose a large, open spot without trees, cables, traffic or onlookers. A spacious field or an open patch of green away from the crowds is ideal. Avoid your back garden (too many obstacles) and busy parks. That way you can concentrate on the controls without distraction.
What's the fastest way to learn to control a drone?
Practise the basic movements separately first: forward, backward, sideways, turning, climbing and descending. Leave the camera gimbal at zero in the beginning. Only once flying comes naturally do you combine movements and start working with the camera. Practising calmly and step by step works faster than trying to do everything at once.
What is Return to Home and should I test it?
Return to Home (RTH) makes your drone automatically return to the take-off point. Test it deliberately over an open field while everything is going well, so you know what your drone does if you ever lose the signal or sight of it. Make sure the return altitude is set higher than the tallest obstacle in the area.
How much battery should I have left when landing my drone?
Preferably land with at least 15 percent battery remaining. Wind, distance, altitude and temperature affect your battery life, so always keep a margin and don't wait until your drone itself gives a warning. Returning in time yourself prevents stress and risk.
Do I need a drone licence as a beginner?
For every drone from 250 grams you need the EU Drone License, plus registration as an operator. Even as a beginner. The licence immediately teaches you the rules that prevent fines and dangerous situations.
Start right: get your drone license
Flying with confidence starts with knowing the rules. You learn the knowledge for the EU Drone License online, at your own pace and usually within a day: exactly what you need to know to fly safely and legally. Drone Class is recognised by the RDW and EASA, 75,000+ pilots have gone before you with a 4.9 rating from 3,300+ reviews and 95% pass first time. You can retake your exam for free.